
Before I jump into this tutorial on the different products and materials you can use to create image transfers, I want to let you local folks know that the early bird discount deadline for the Oct. 5 messenger bag painting and string art workshops has been extended to Sept. 25… so you have a few more days!
Also, if you will be in the Topeka area on Sept. 28, be sure and stop and say hello at the Aaron Doglas Art Fair. I am looking forward to seeing some of my Topeka art friends there as well!
Now on to our tuturial:
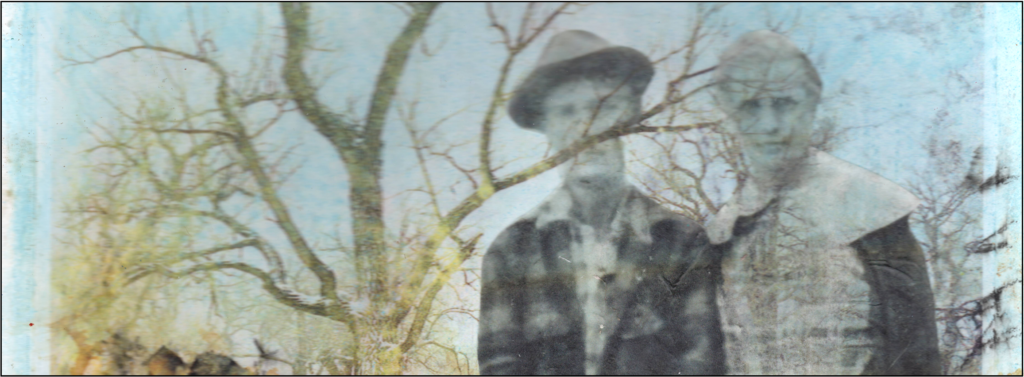
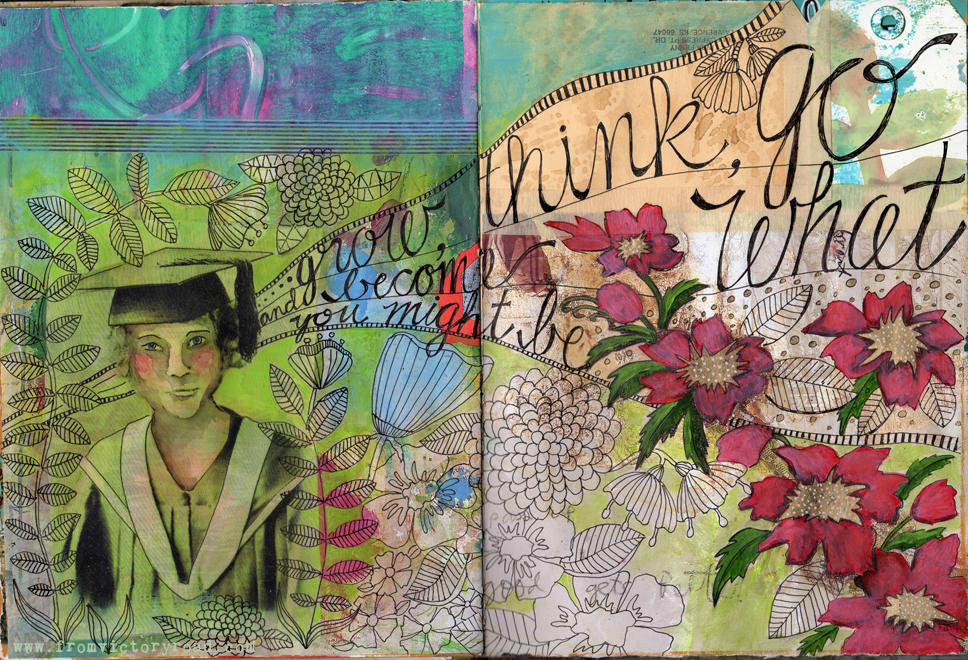
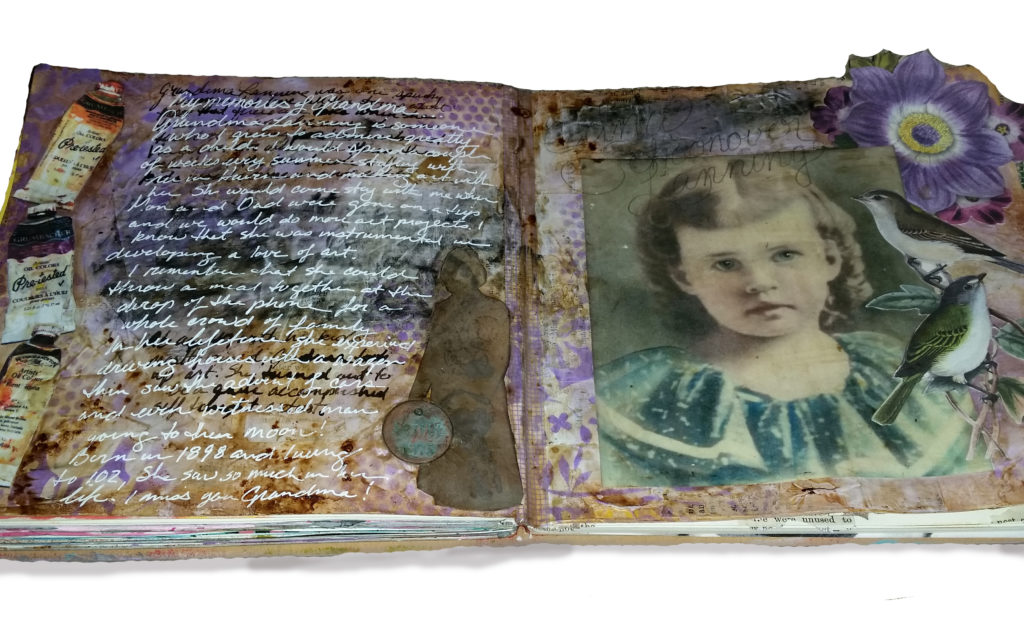
There are so many possibilities and techniques for using image transfer in artwork and art journals. It is a physical version of what many digital artists accomplish in programs like Photoshop, allowing layers and transparency.
This post is by no means a complete record of every image transfer technique, but it covers some of the most popular and my favorites!
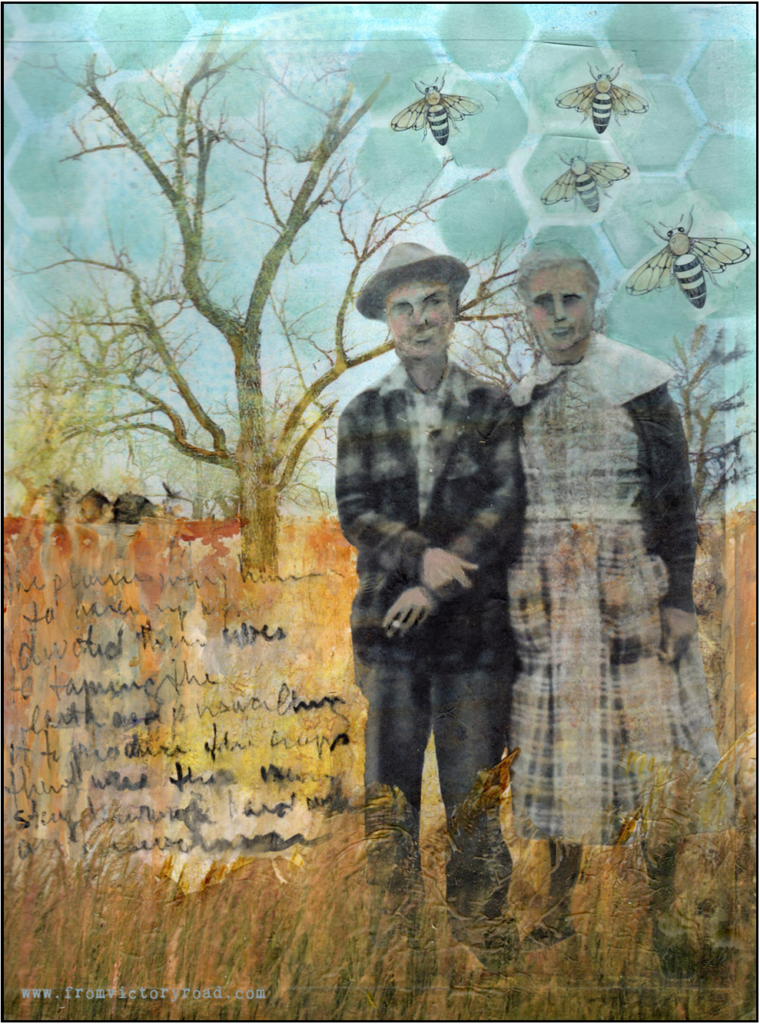
Many of the transfers show up nicer on a pre painted surface. It is a way to add some color and interesting background. So go ahead and paint up some of the plain surfaces. If not painting, then I often coat my background with mat gel medium before I get started transferring.
While you are preparing, go ahead and give some of your transfer images a coat of gel medium on the front side as well… just to give you more options later!
Set those aside to dry, and we will jump into techniques!
TECHNIQUES
SPECIALTY MATERIALS:
1. *LAZERTRAN
· Print on Lazertran paper with inkjet printer, click off the high speed option to reduce amount of ink.
· Lay face down in tray of warm water
· Leave until transfer sheets release from backing
· Blot with paper towel
· Apply turpentine to background (use foam brush)
· Slide image onto background
· Brush over the top of image with turpentine
· Once dry, apply oil based varnish
2. *INKJET TRANSPARENCY FILM
· Print image onto inkjet transparency film
· Coat background with a layer of gel medium
· Place image printed side down onto wet medium
· Use brayer to firmly press
· Peel up a corner to check after 30 seconds or so
· When image has begun to transfer, peel away the film
· IMAGE WILL BE REVERSED
If it fails, then just glue the film and all onto the page!
3. T-SHIRT IRON ON SHEET
· Print onto transfer sheet. Make sure to use a product appropriate for your printer
· Place image facedown onto your background. Works on not only fabric, but aluminum foil, on top of watercolors, on wood,….
· Use a paper towel to cover the image
· Iron on according to directions
· Peel a corner of the backing to check, iron more if needed.
· IMAGE WILL BE REVERSED
4. *SILK FABRIC SHEETS or EXTRAVORGANZA
· Print image with inkjet printer on this special paper backed fabric
· Peel fabric from paper and give plenty of time for ink to dry (24 hours)
· Adhere to background with matte or gloss medium
6. *WINTERGREEN OIL
· Works best on a painted background
· Using a laser printed image, tape face down to background
· Soak a cotton ball or pad with wintergreen oil
· Apply to the back of the image by blotting rather than rubbing. Be careful to not get too much! The paper will become translucent so you can see the image
· Burnish with a spoon until the transfer is complete
· IMAGE WILL BE REVERSED
8. *BLENDER MARKER
· Place magazine or laser printed image face down onto rice or hanshi paper
· Tape in place
· Apply blender marker on the back, then burnish. Do small areas at a time so the blender solution doesn’t dry too fast.
· Rice paper with transferred image can be glued onto a background.
· IMAGE WILL BE REVERSED
9. *CRYSTAL CLEAR
· Spray on front of laser or magazine image
· Toner will rise on front of image
· Image will begin to show through on the back
· Place toner side down on background
· Burnish with spoon
· Works best with high contrast
· IMAGE WILL BE REVERSED
10. *CITRA SOLV
· Print image with laser printer
· Holding paper off of surface, spray back of image with Citra Solv concentrated cleaner
· Blot off excess with paper towel
· Lay image printed side down onto background, or fabric, and burnish, being careful to not move the image
· Lift off paper and let dry
· Image can be reused a couple of times
· IMAGE WILL BE REVERSED
· Easiest to keep from smudging on a matte surface.
11. *PACKING TAPE or CLEAR CONTACT PAPER
· Cover copies and/or magazine images with the tape or contact paper.
· Burnish with spoon
· Spray back with water OR soak in tray of water
· Rub off paper backing OR slide off paper leaving only ink on tape.
· Apply gel medium to back and adhere to background
IMAGE IS NOT REVERSED
WORKS GREAT FOR DETAILS

12. *GEL MEDIUM – my personal favorite!
· Print ink jet image onto regular copy paper
· Cut around image closely
· Coat background with gel medium (can also use with gesso and with paint!)
· While wet lay image ink side down
· Brayer until smooth
· Let dry
· Spray paper with water, then rub off
· IMAGE WILL BE REVERSED
13. *GEL SKIN
· Coat inkjet image with 2 to 3 coats of gel medium, letting dry in between
· Trim around edges
· Lay image on freezer paper, wax paper, or other non stick surface
· Spray back with water
· Rub off paper backing, leaving a “skin” with the image
· Can be adhered to background either direction
· Easier to work with as small elements
14. *DOUBLE TACK MOUNTING FILM
· Using either laser or ink jet images
· Cut film to size
· Lay image face down onto sticky surface
· Peel off backing and stick to background
· IMAGE IS NOT REVERSED
Which ones have you tried? What will you try next? I would love to hear about your results!
Kim
These are just incredible! I love them and am amazed at your talent!
Kayann Ausherman
Thank you Kim!