
Going green can mean so much more than just dropping something in the recycling bin. It is an attitude of using what you have in new and creative ways, bringing the concept and responsibility of reusing and recycling home as a fun and doable reality. Here are DIY instructions for upcycling your own thrift store frame with a variety of inexpensive embellishments. Make one as a Valentine gift for that special someone!
Materials:
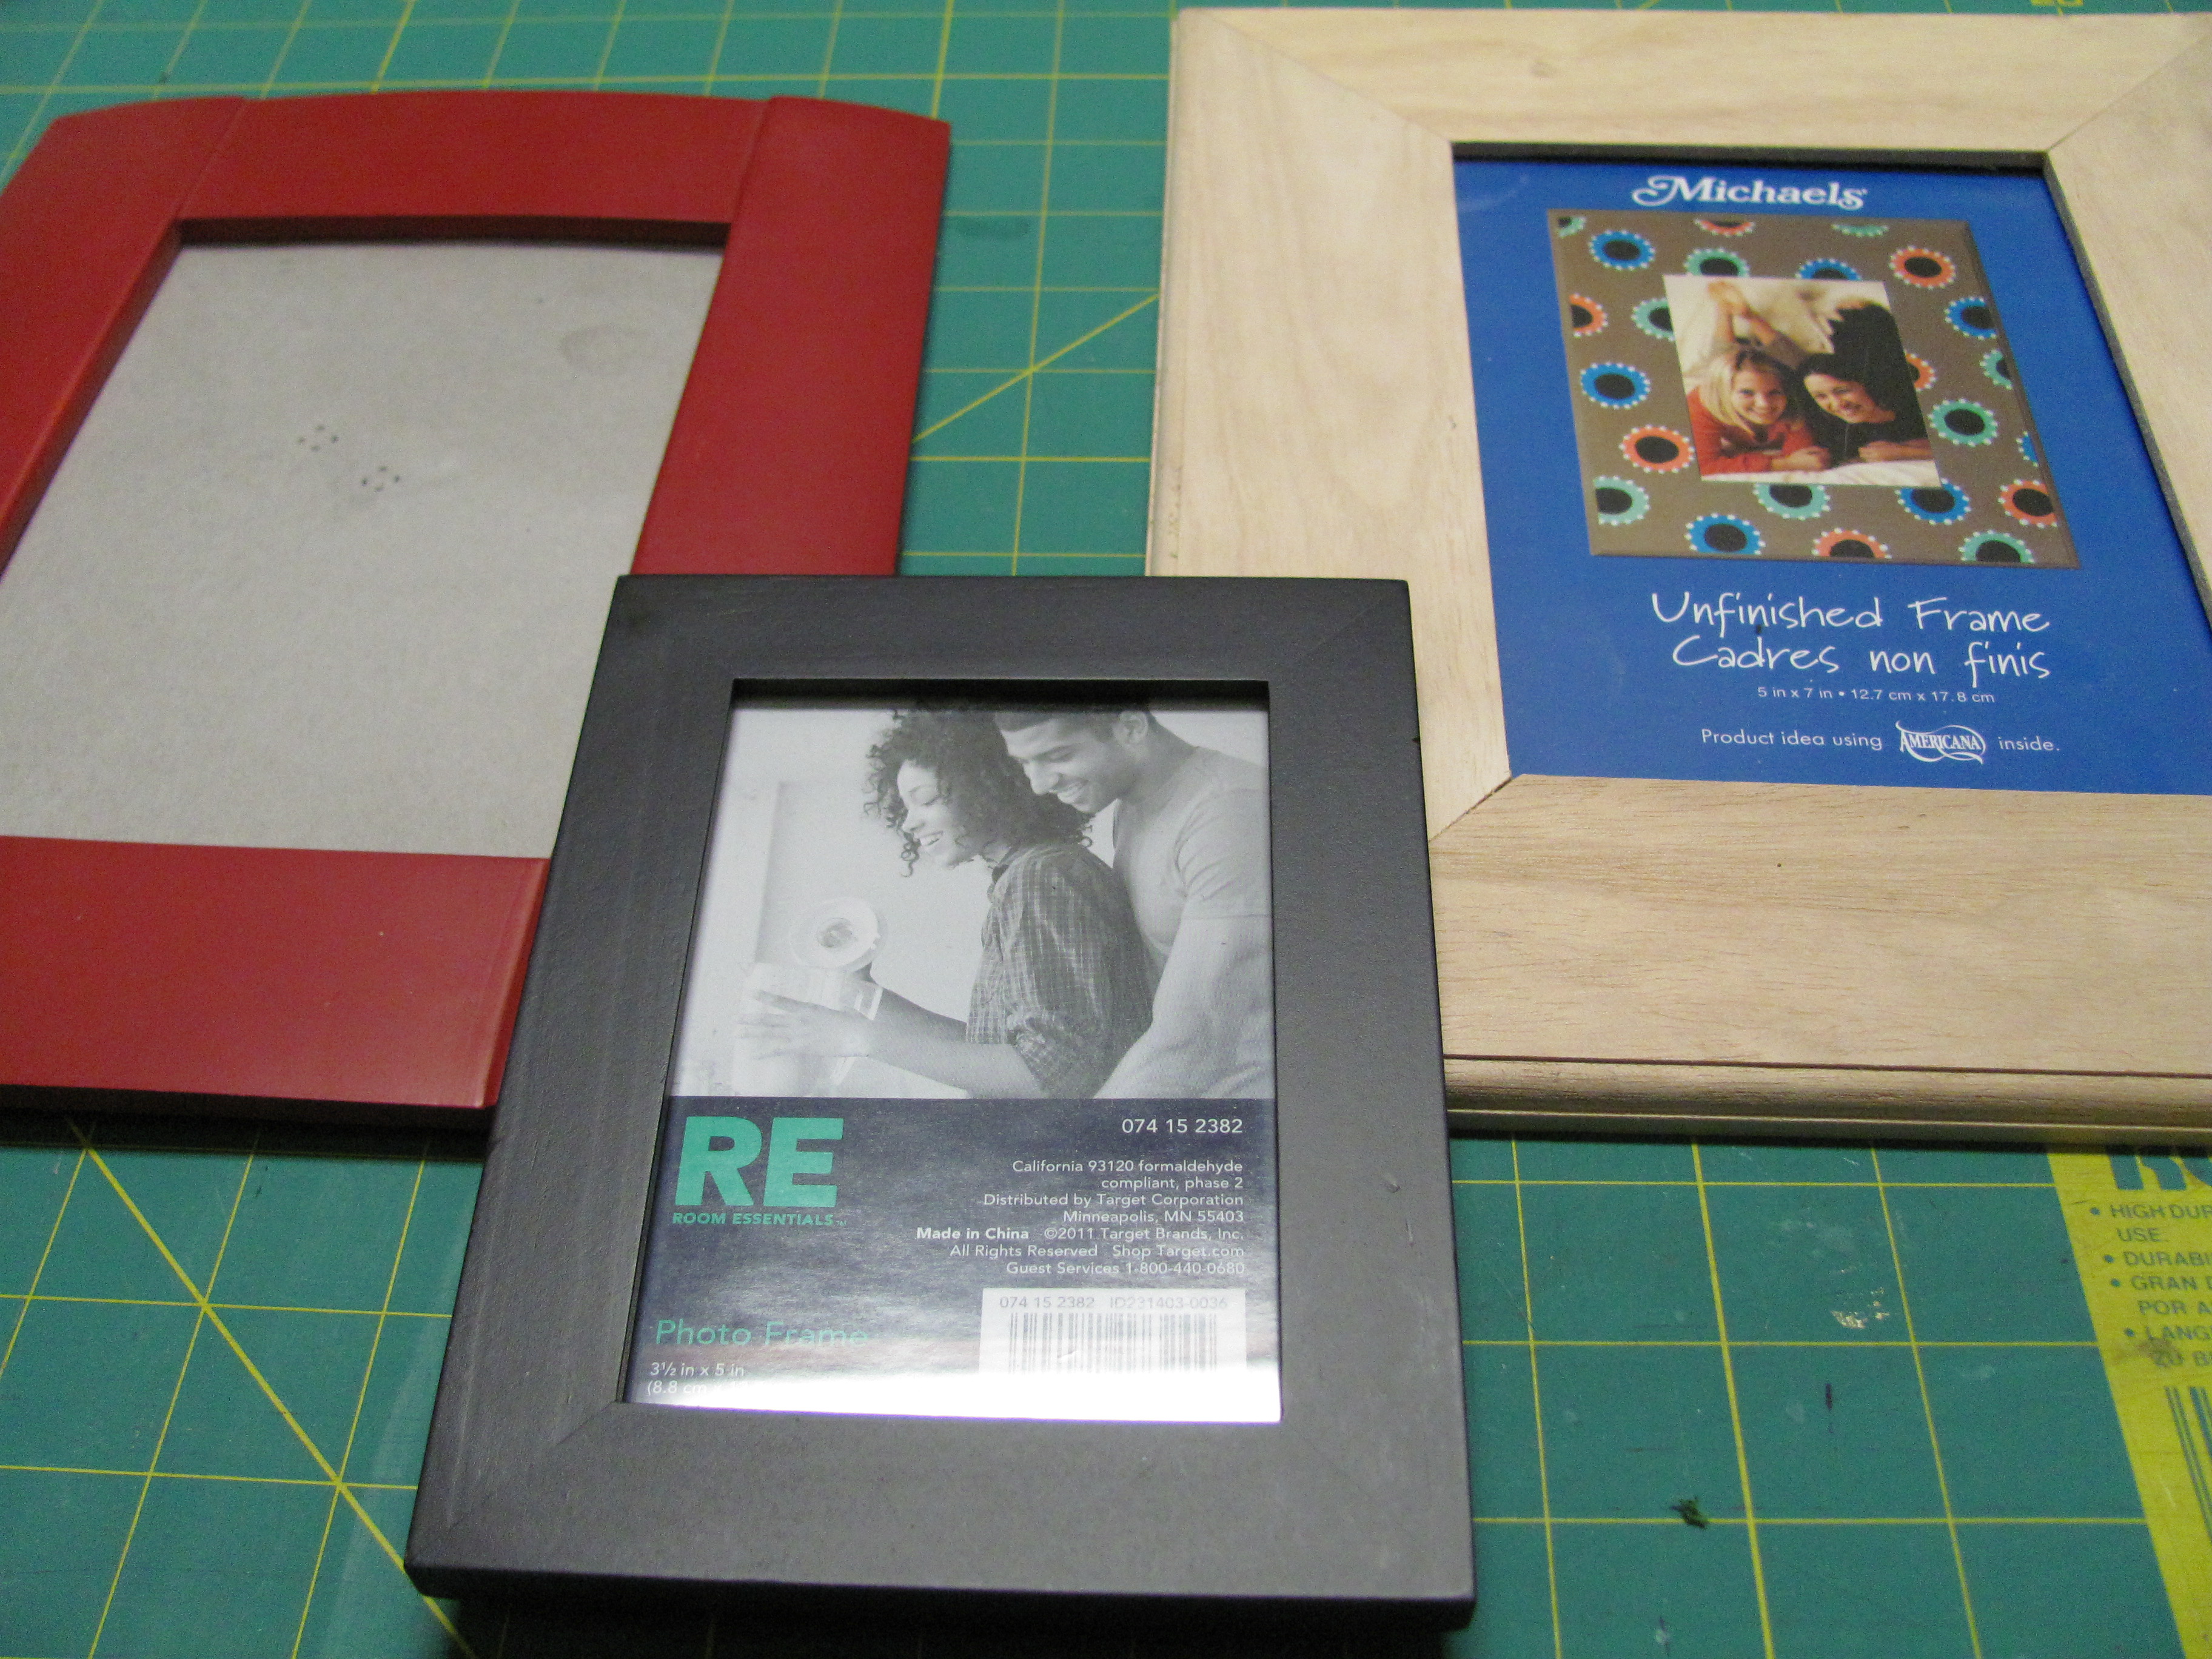
- Frame, a flat front will be easier to work with
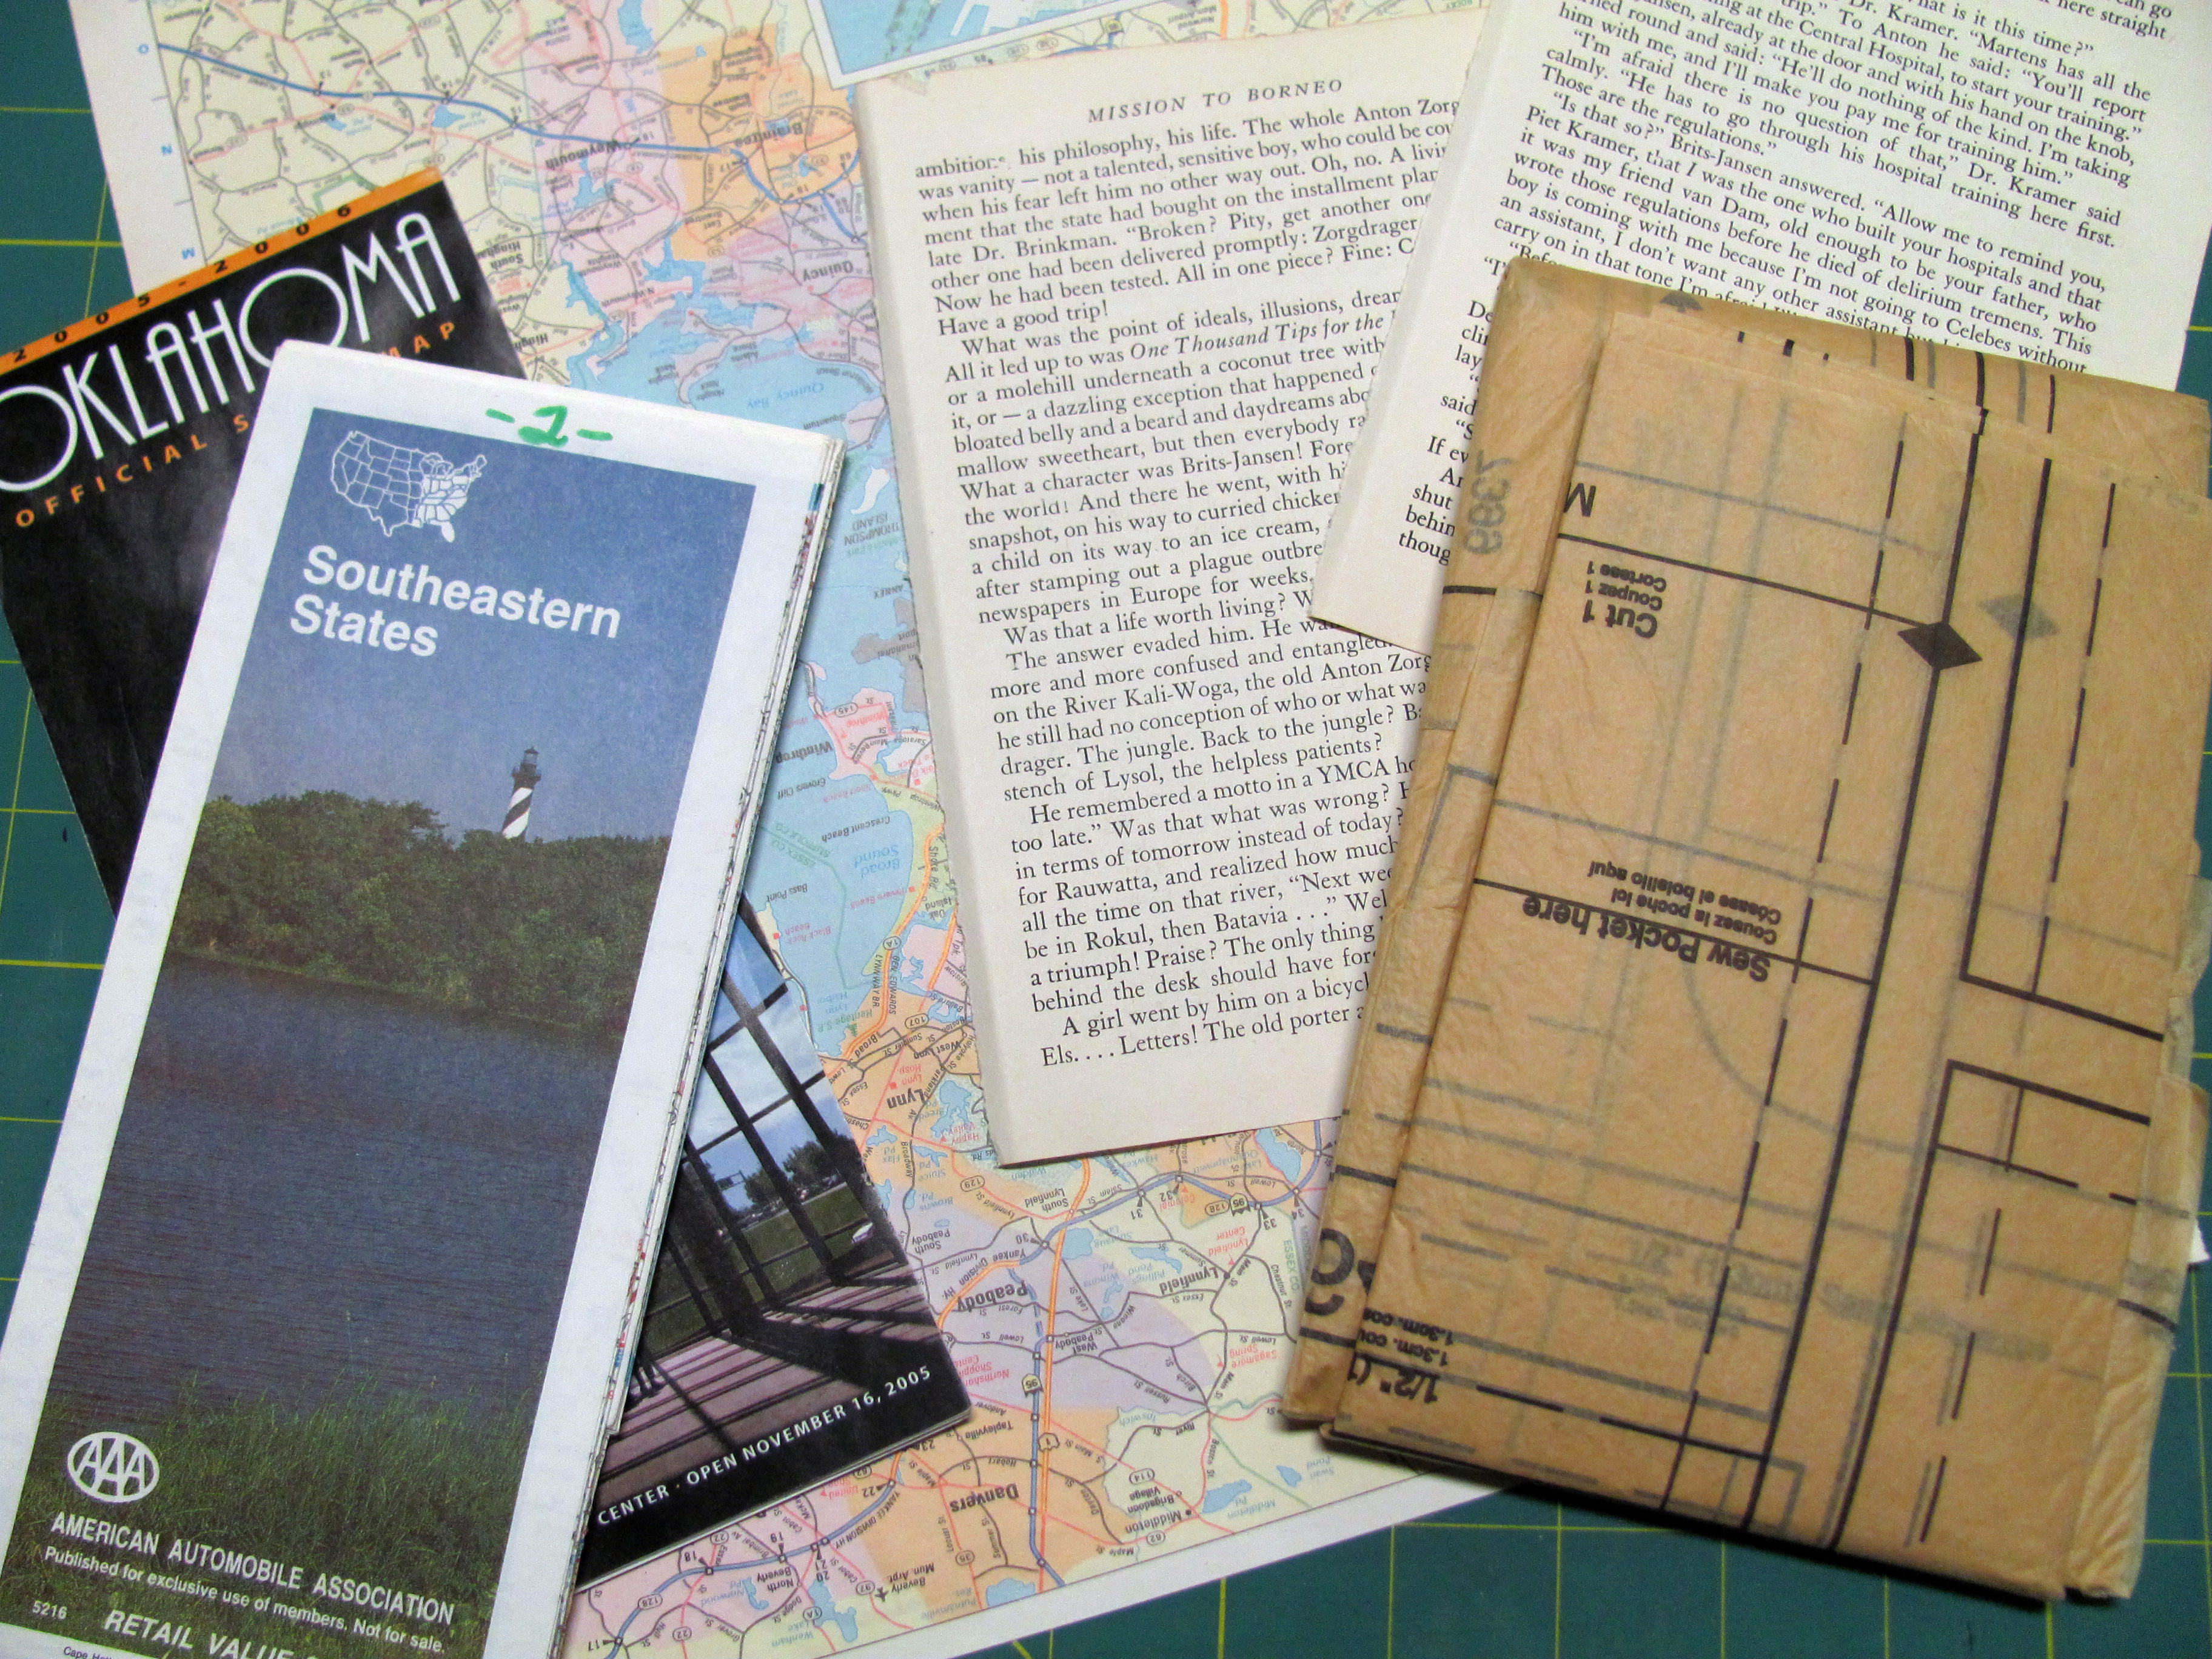
- Papers of your choice, book pages, maps, pattern tissue, etc.
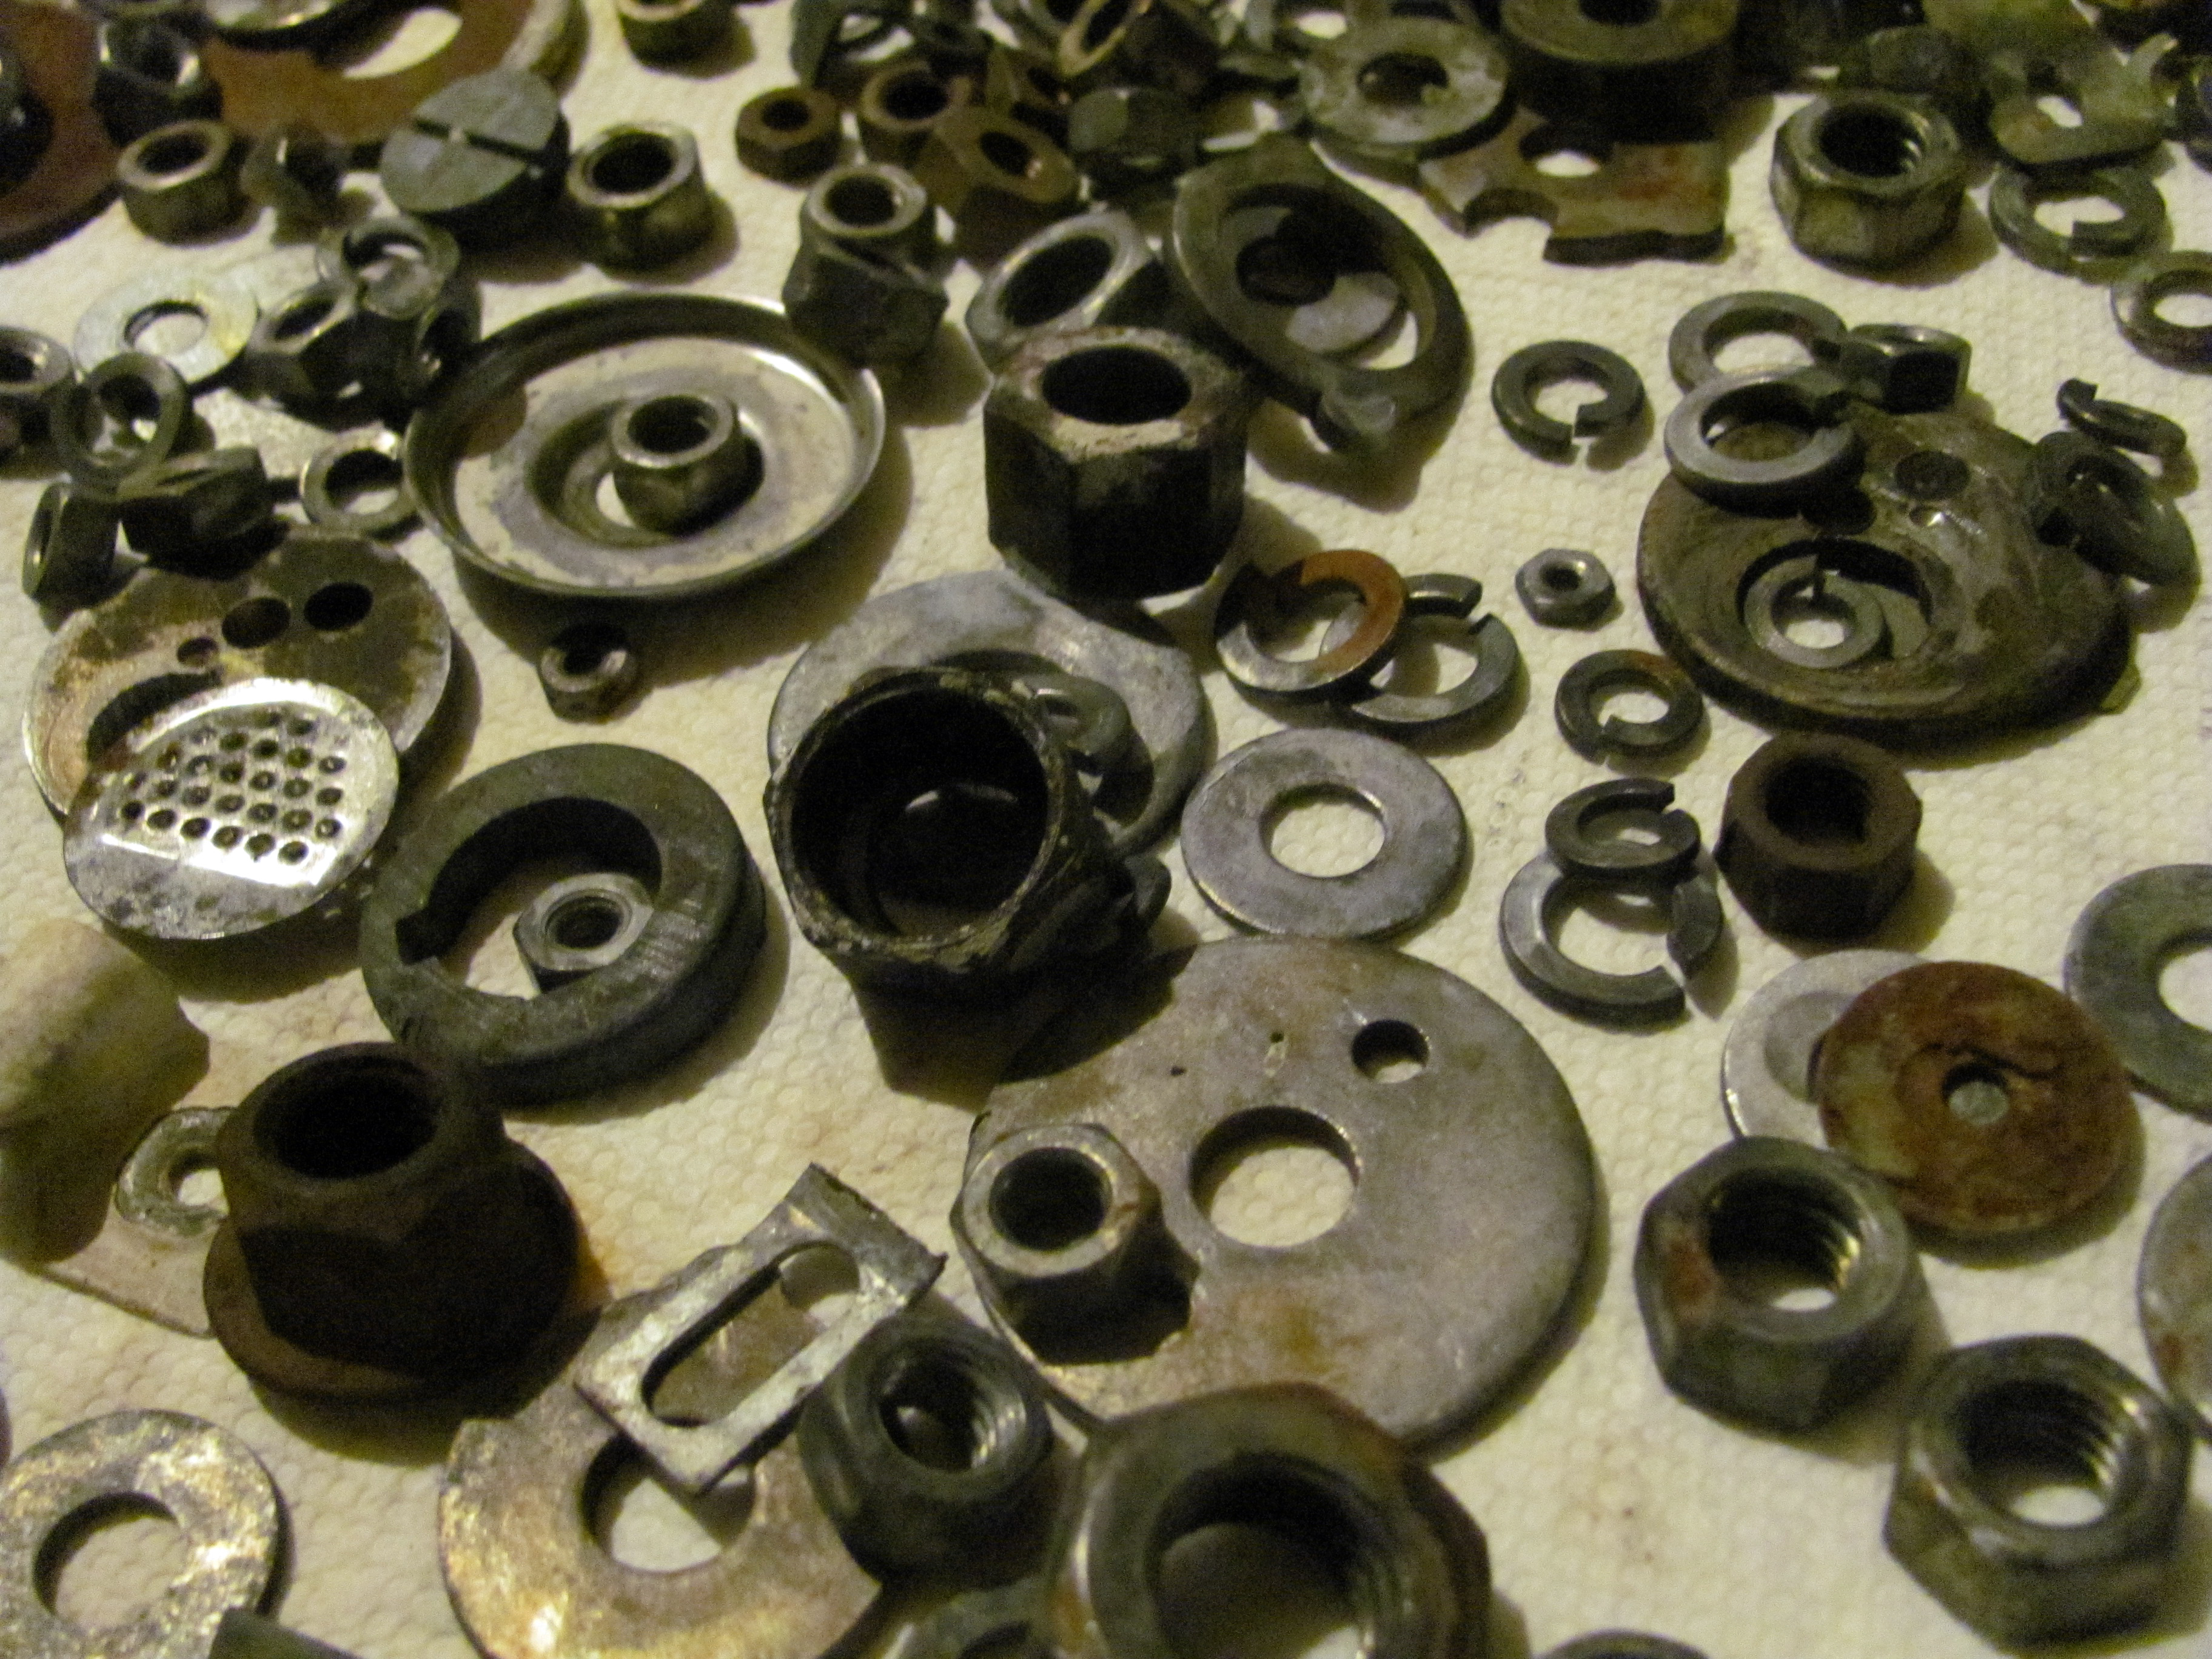
- An assortment of found “junk” – bottlecaps, rusty nuts and washers, coins, keys… a good time to clean out your junk drawer, or a neighborhood parking lot!
- Mod Podge, or your own mix for decoupage (more on this later!)
- Sponge brush, scissors
- Optional—stencils and spray inks
- Glue, all purpose adhesive, and super glue
Process:
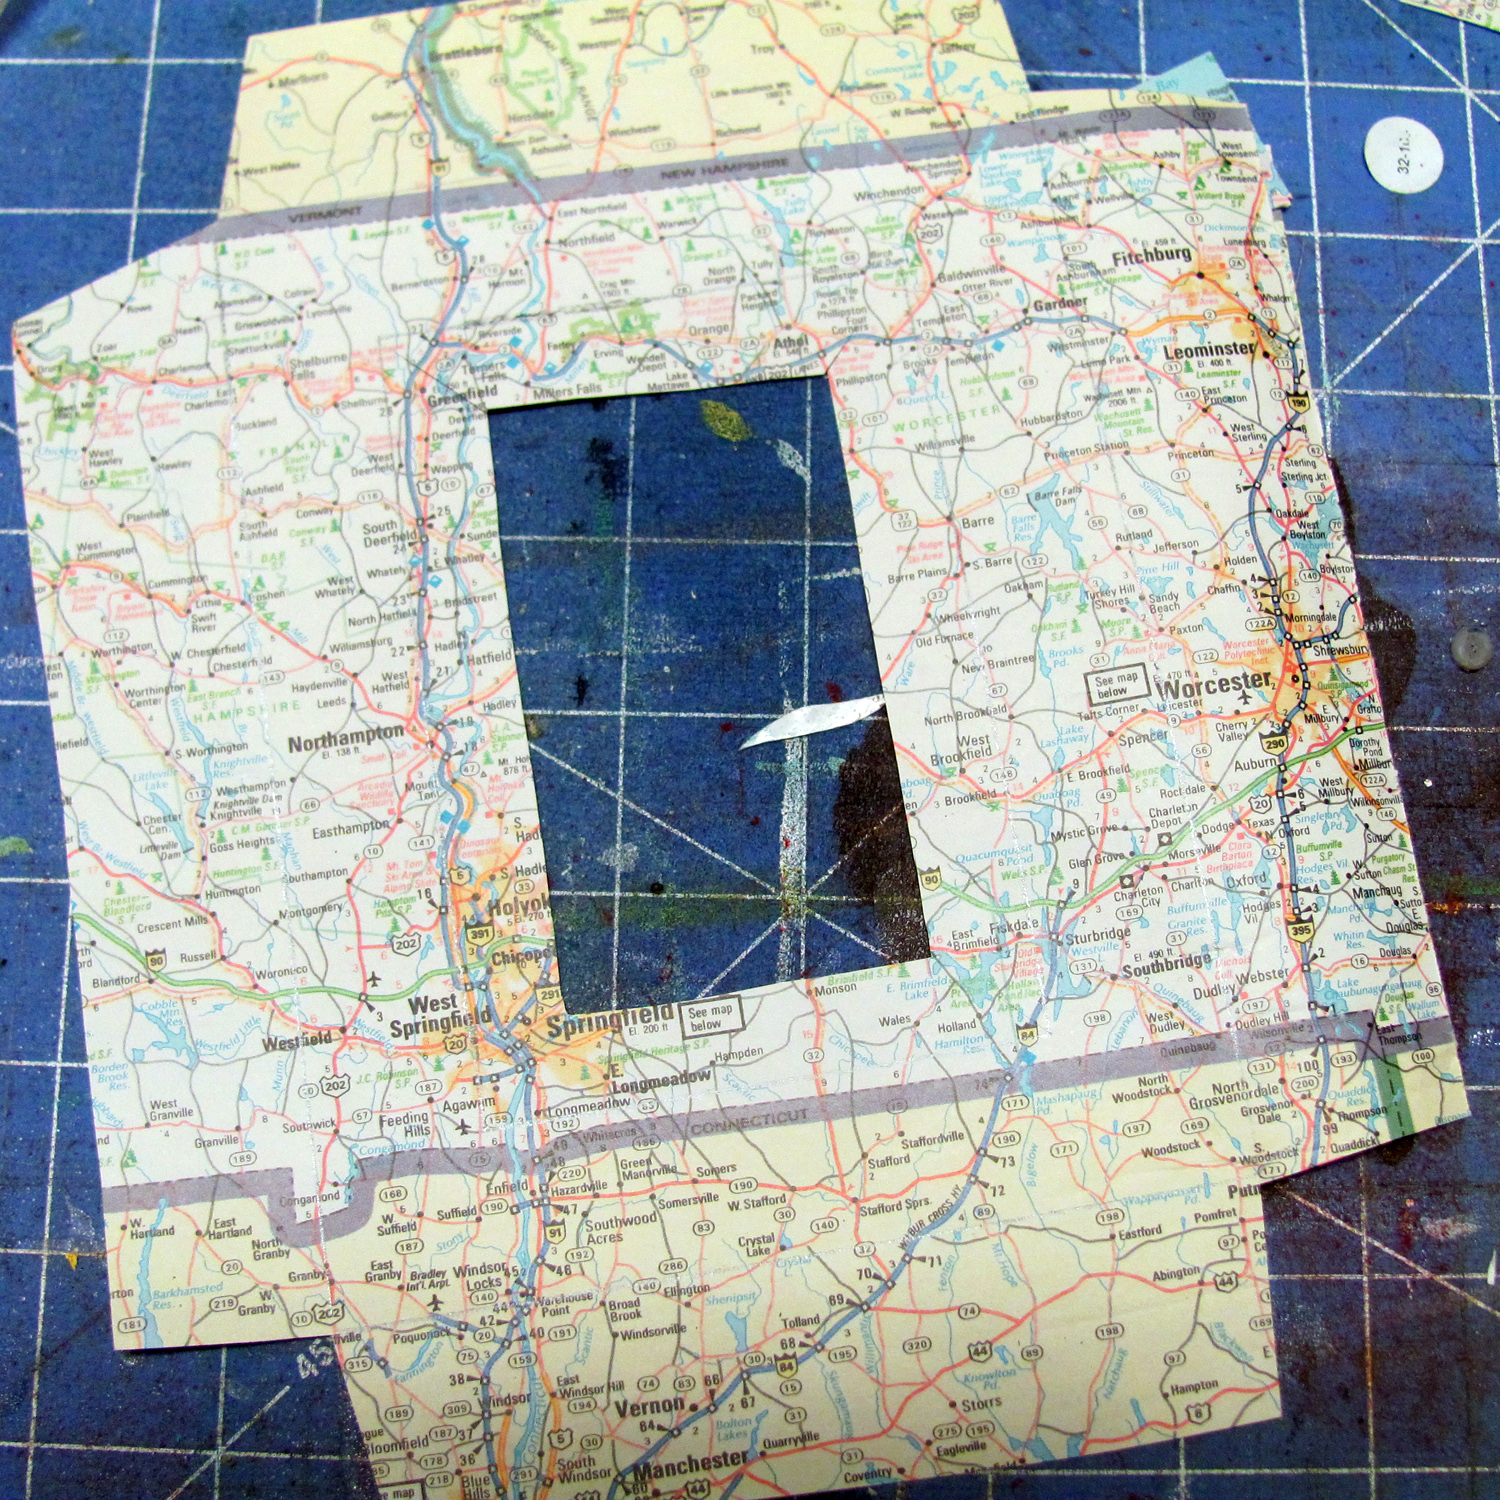
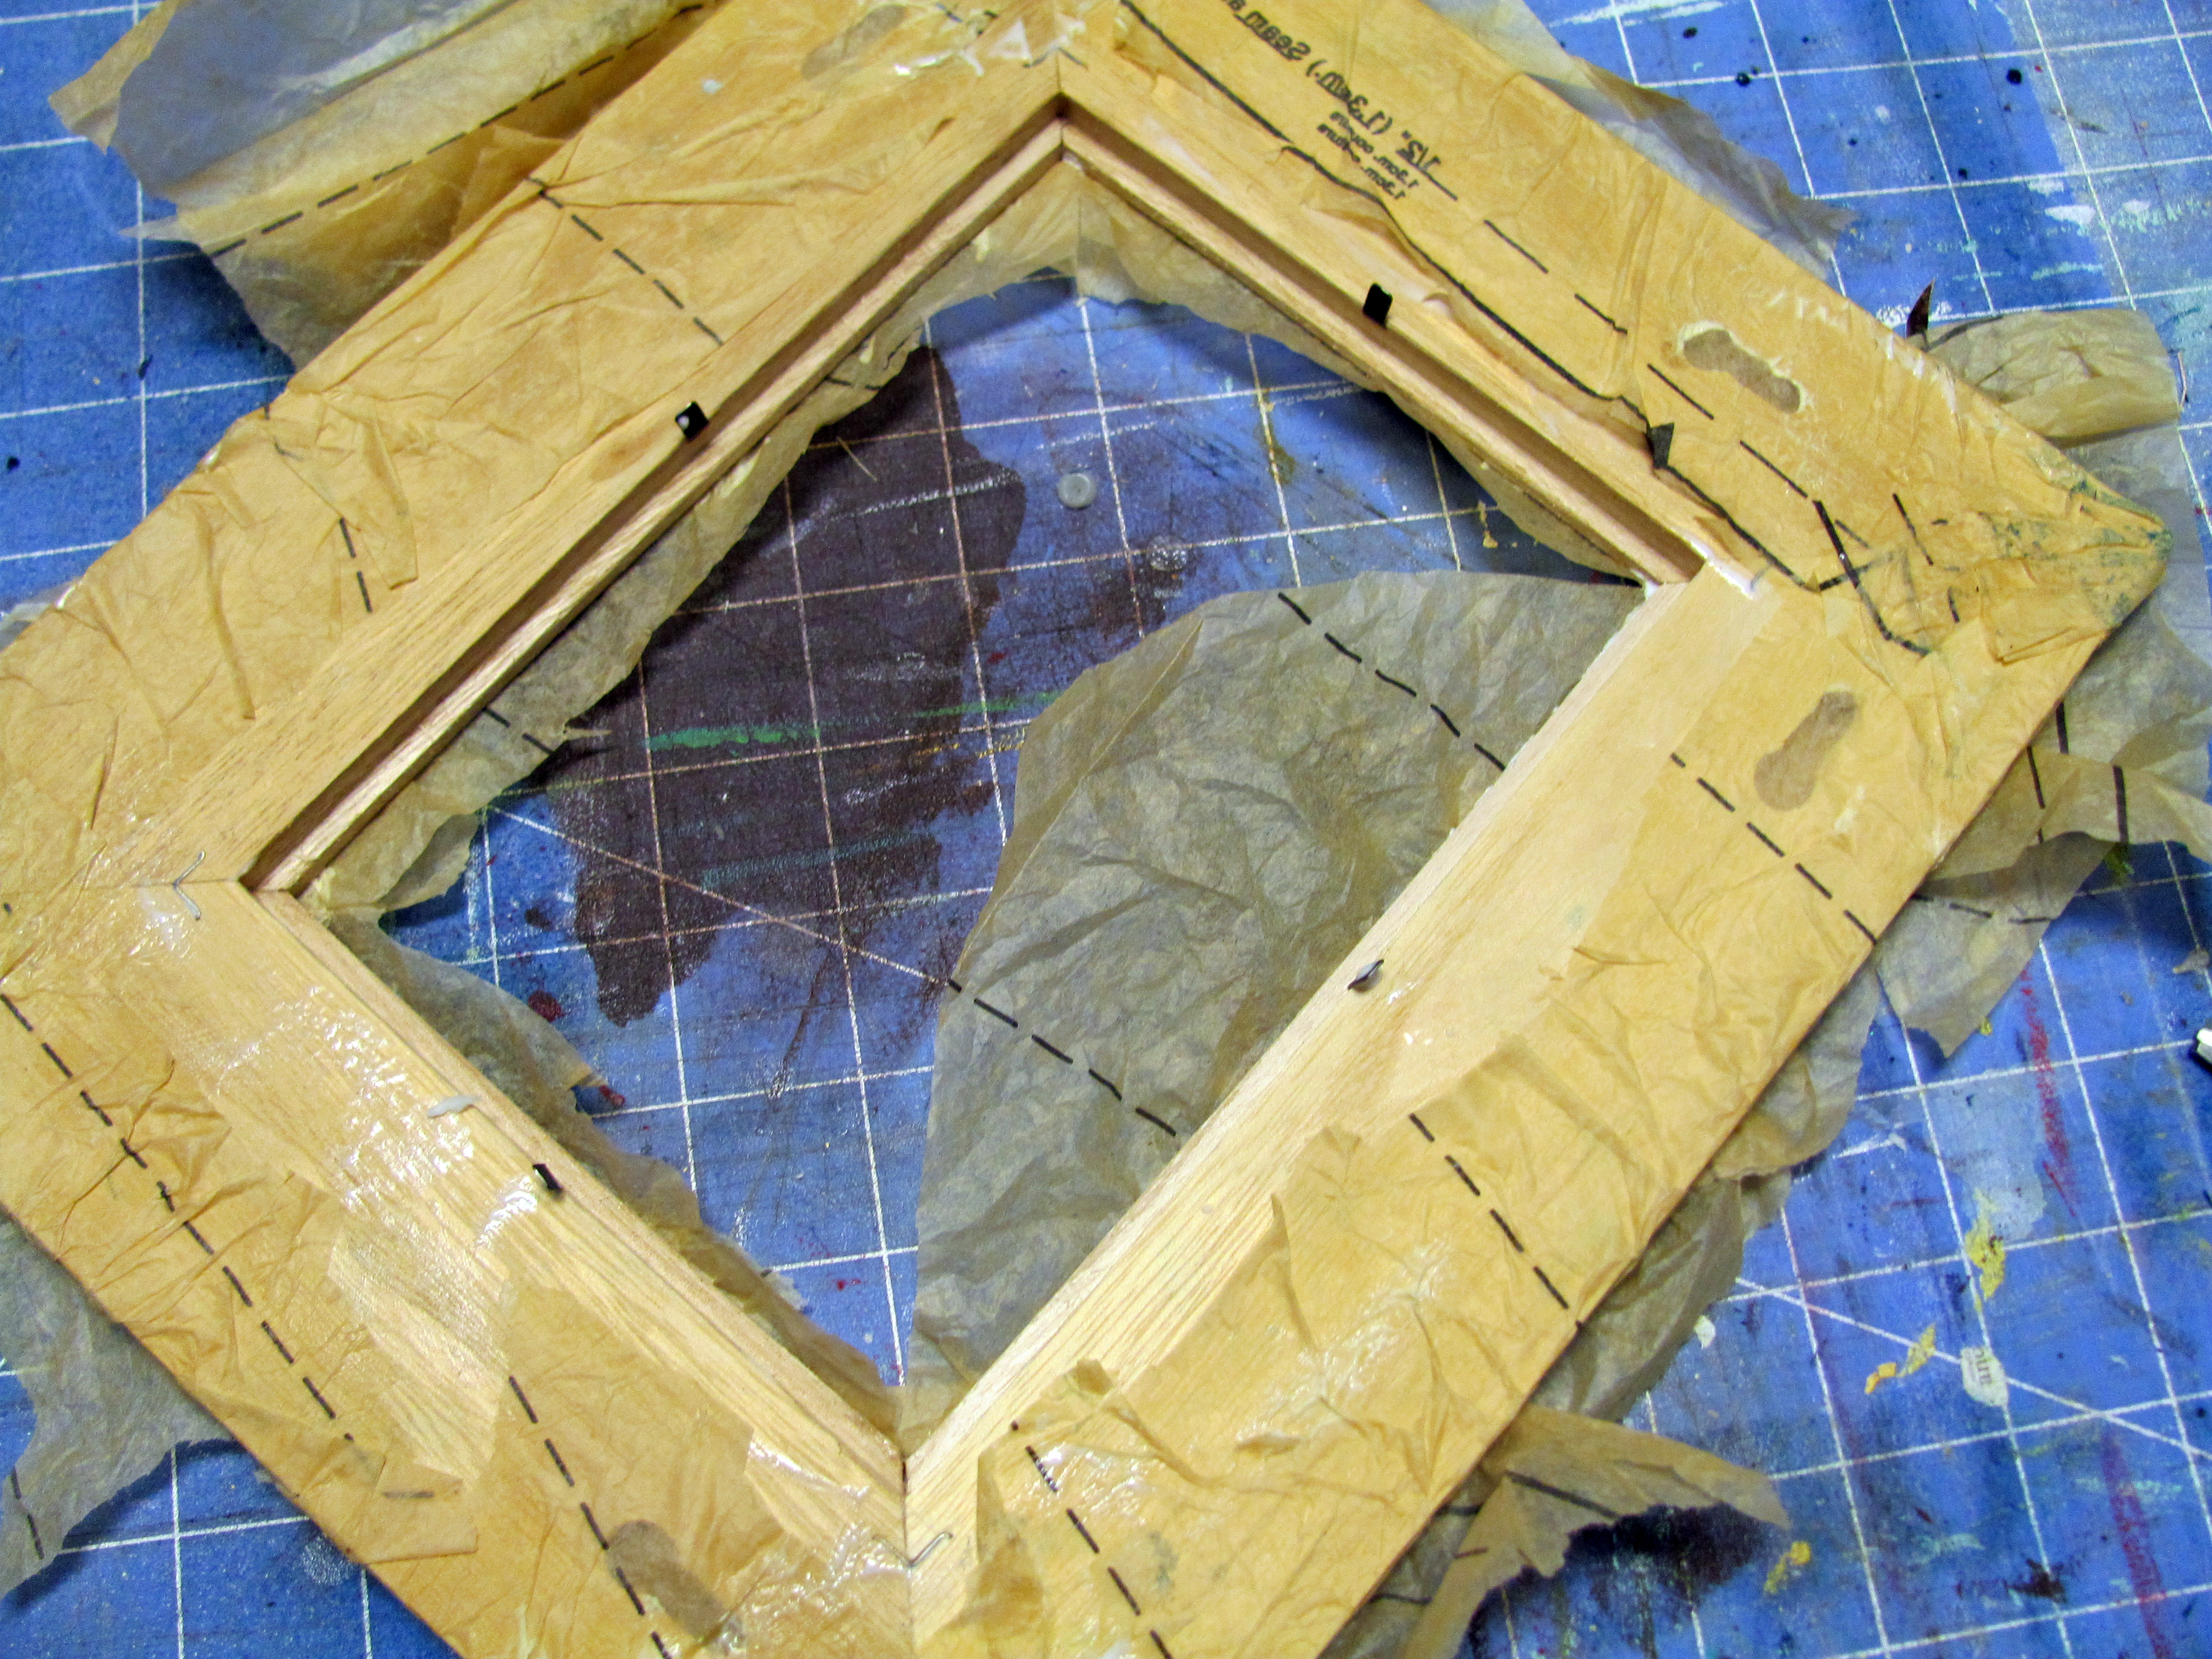
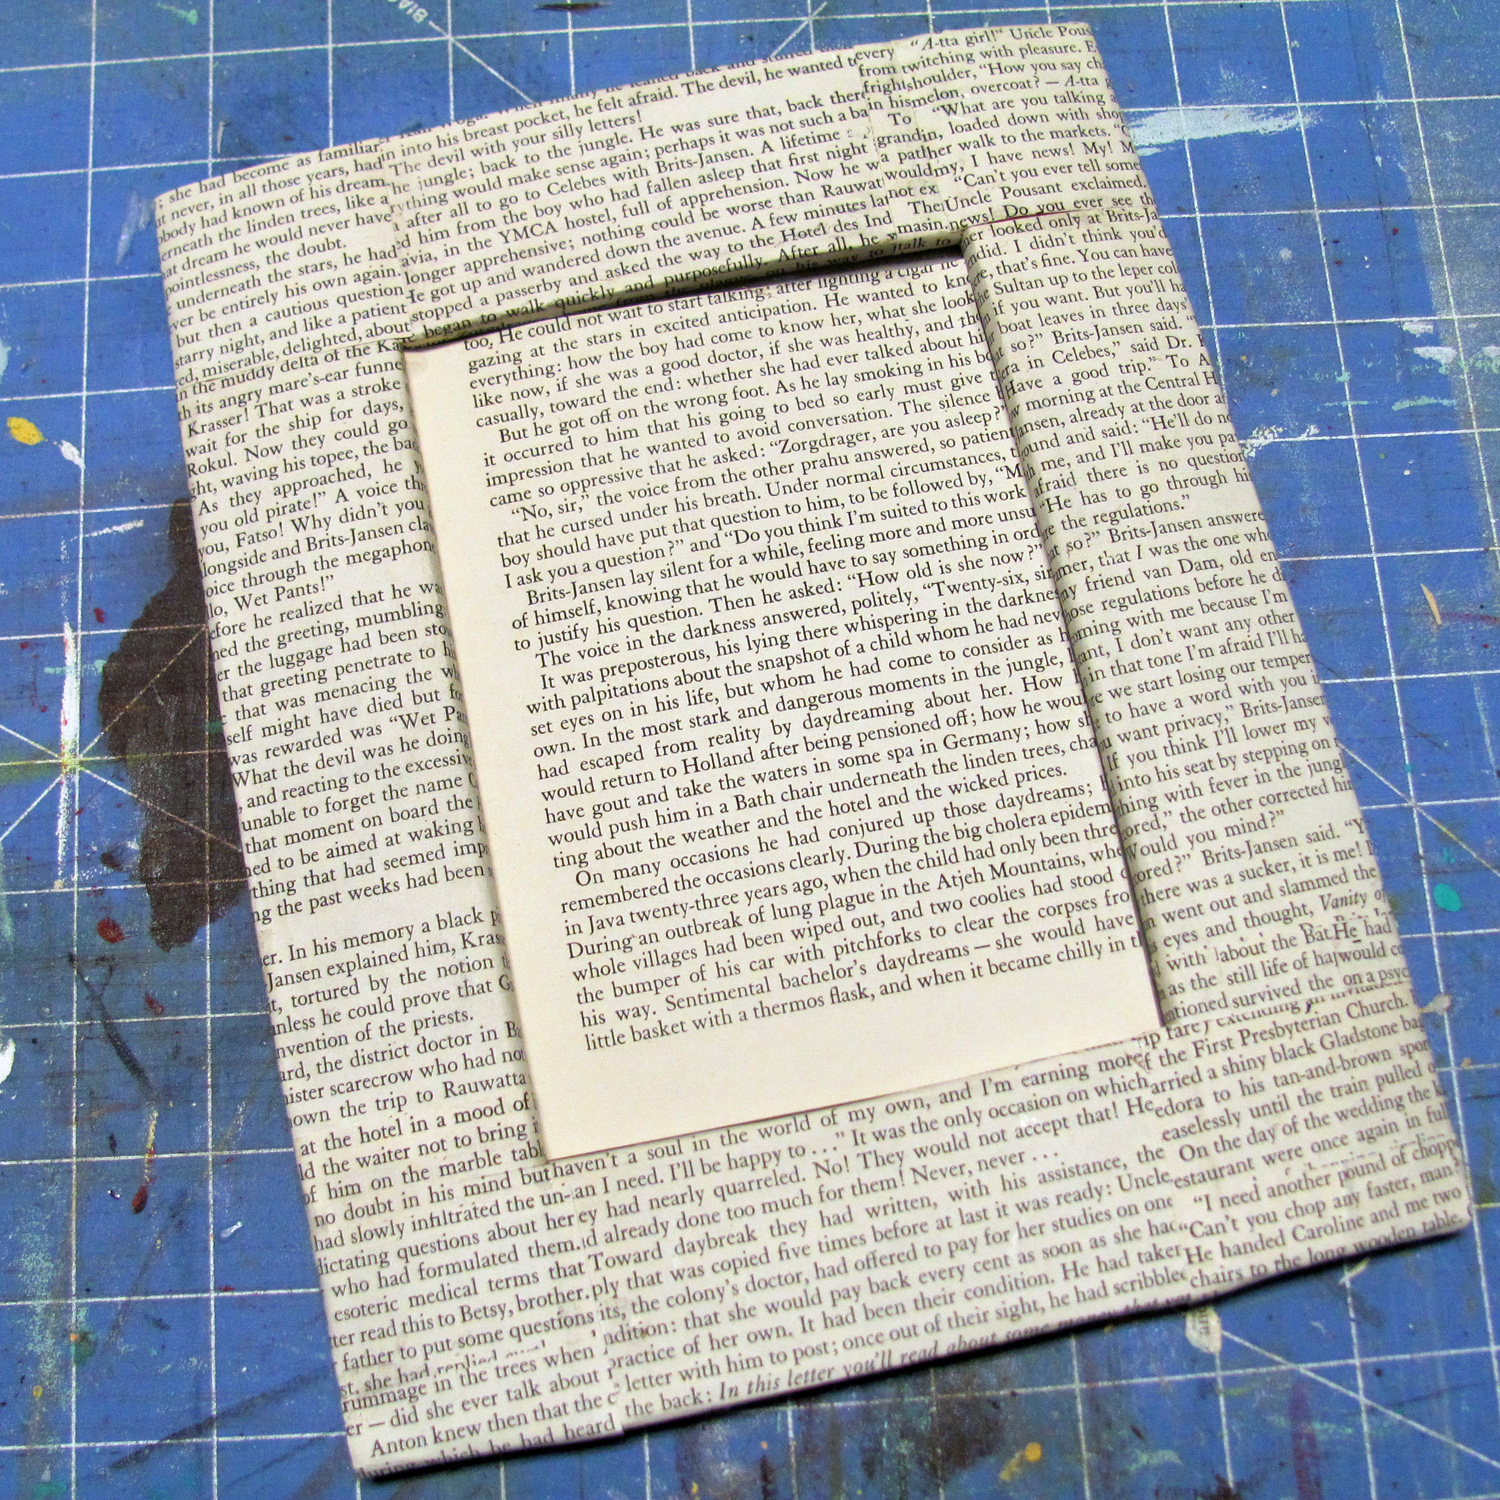
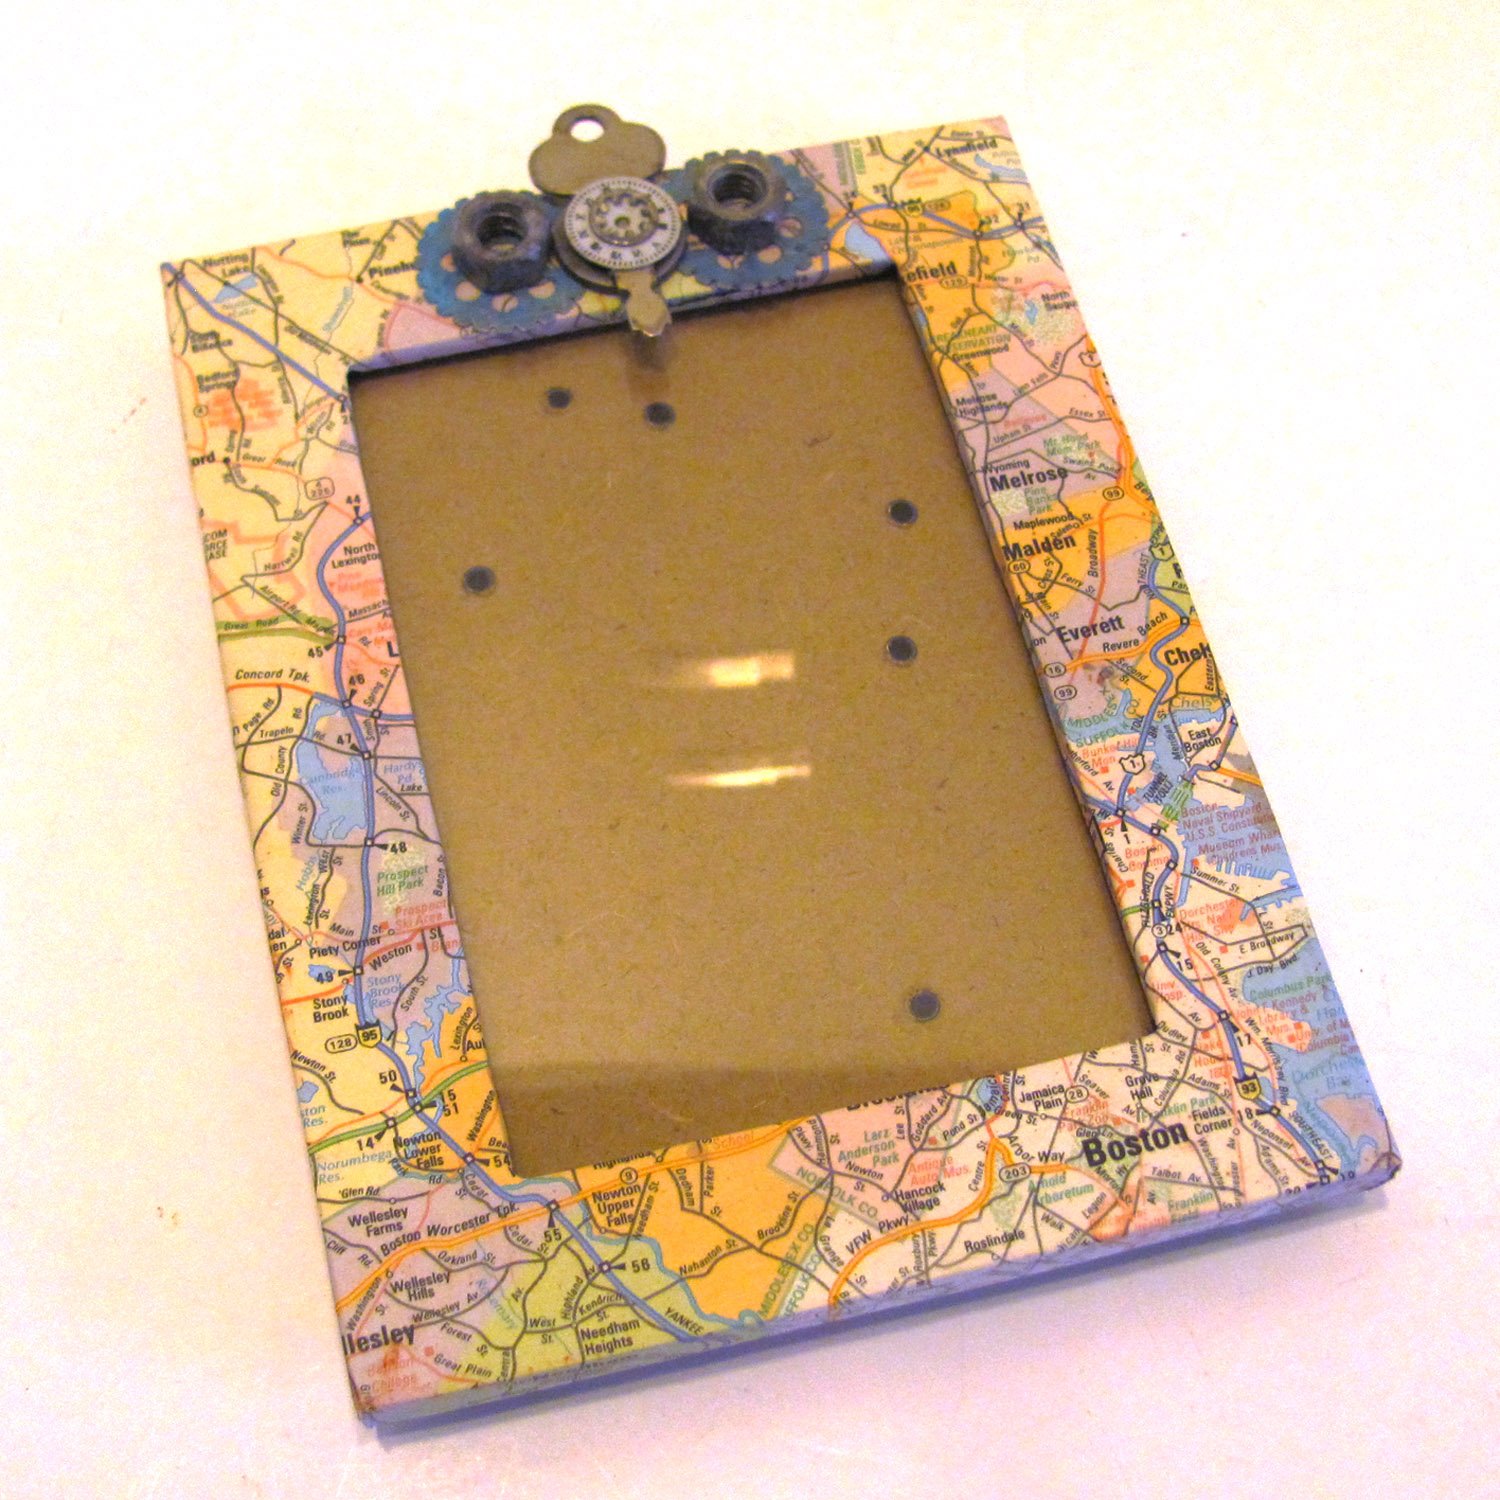
1. The first step will be to cover your frame with the papers of your choice. I used book pages, road maps, and pattern tissue. Other ideas: phone book pages, magazine pages, junk mail, newspaper…..This will require cutting and piecing, then using your Mod Podge, homemade or otherwise, to both adhere the paper to the frame, and to coat on top of the paper.
TIP:
Make your own inexpensive version of matte finish Mod Podge by simply mixing a white glue (like Elmer’s) in equal parts with water. Then, use the pennies you saved to give a patina with vinegar and add to your embellishment stash!
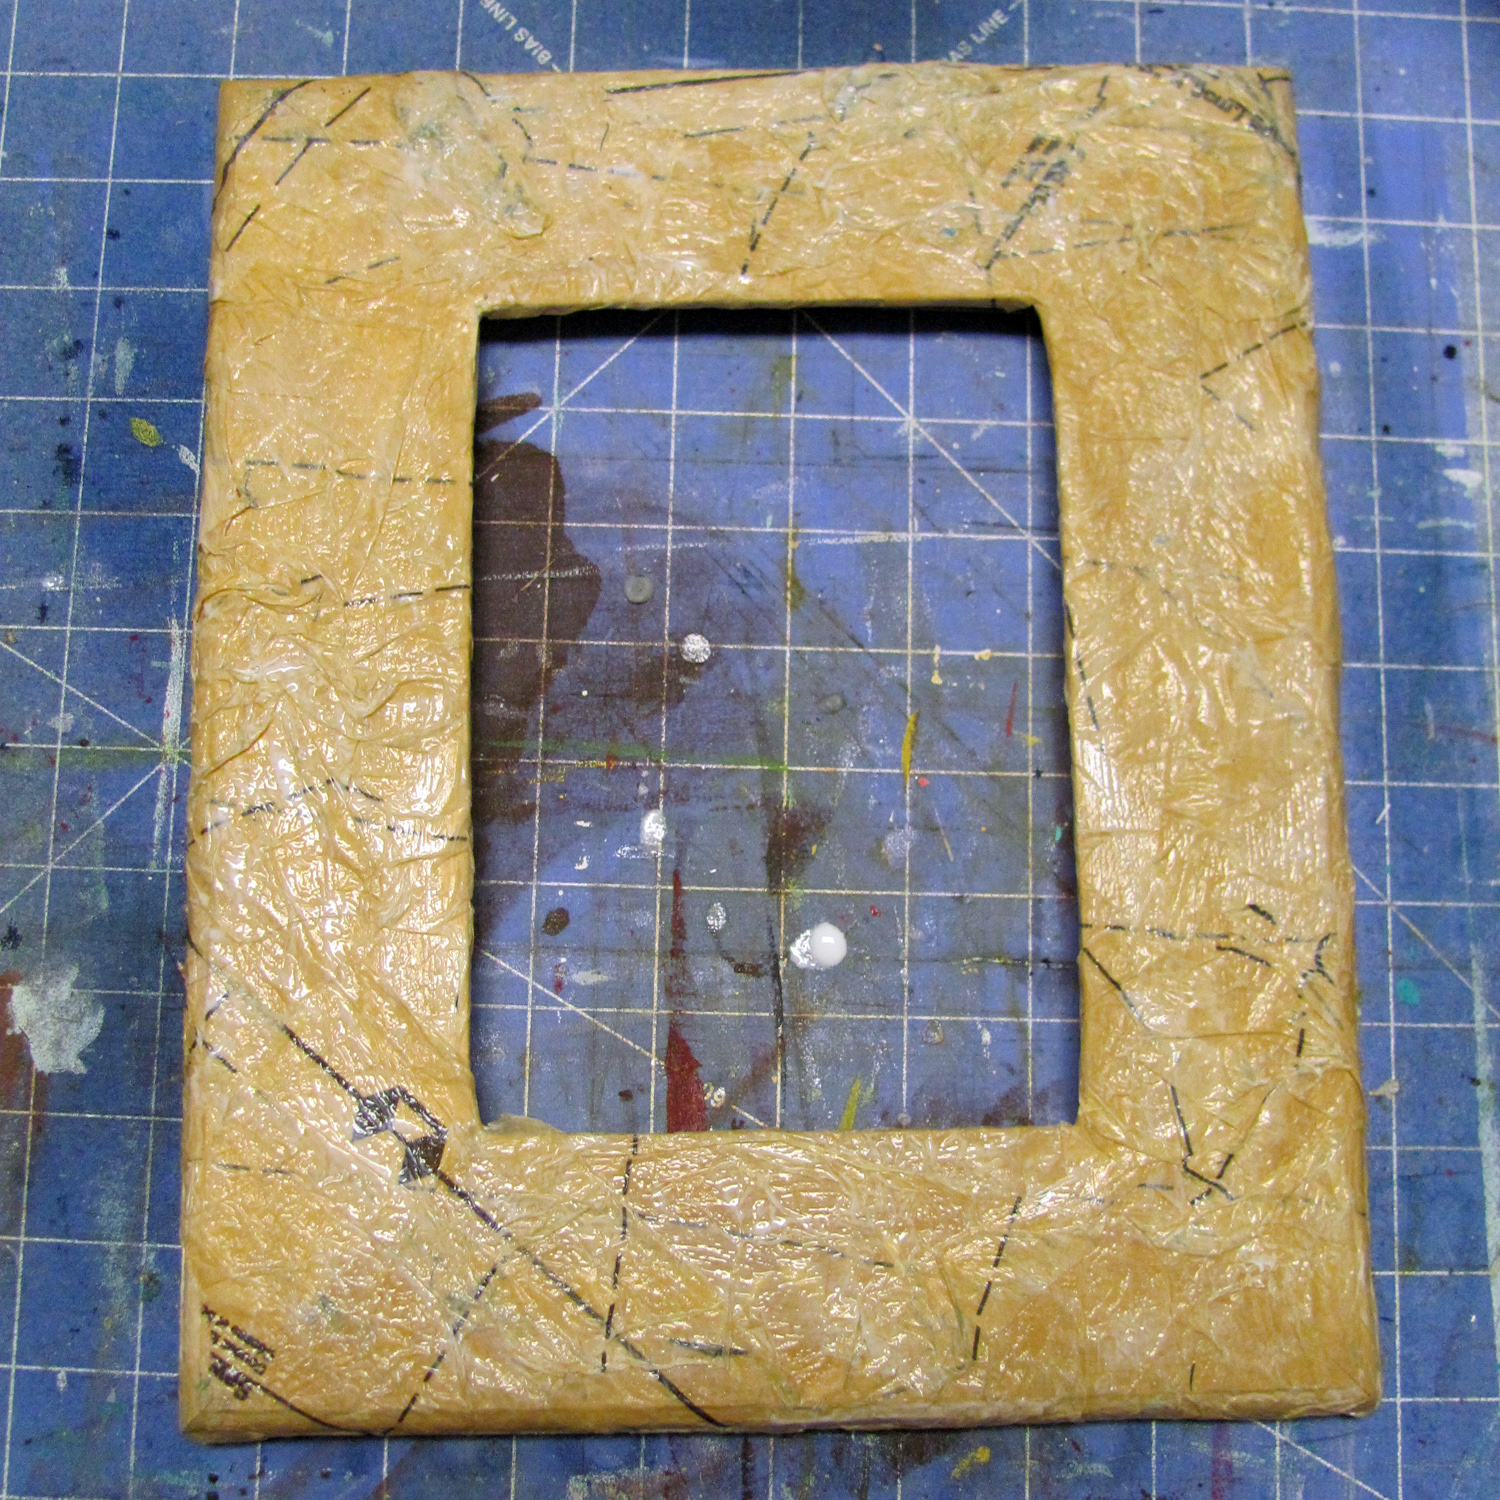
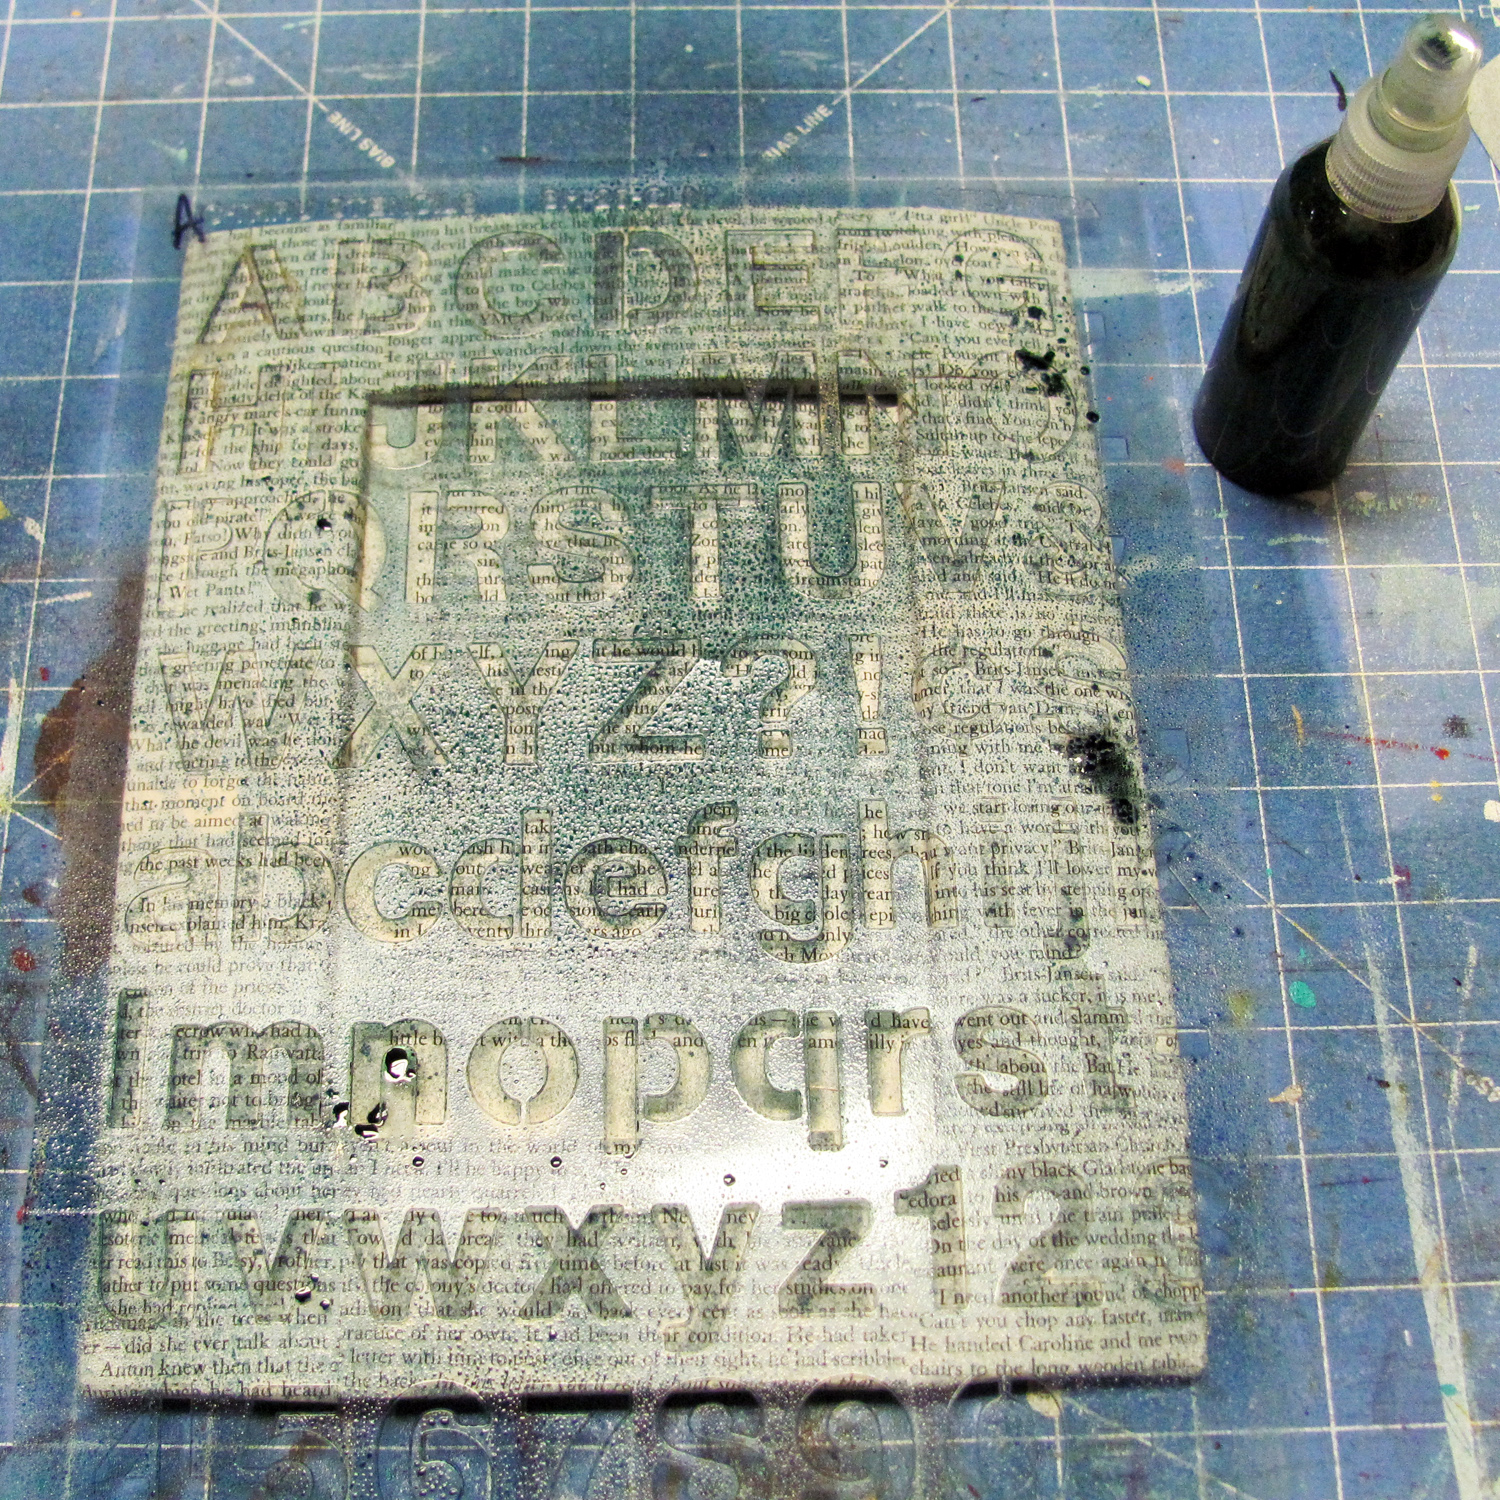
2. The next step is to take your covered frame (don’t worry if its still a little tacky) and add a bit of color if desired with spray on alcohol inks. Splatter spray, or lay a stencil over your frame and mist it—or both!
TIP:
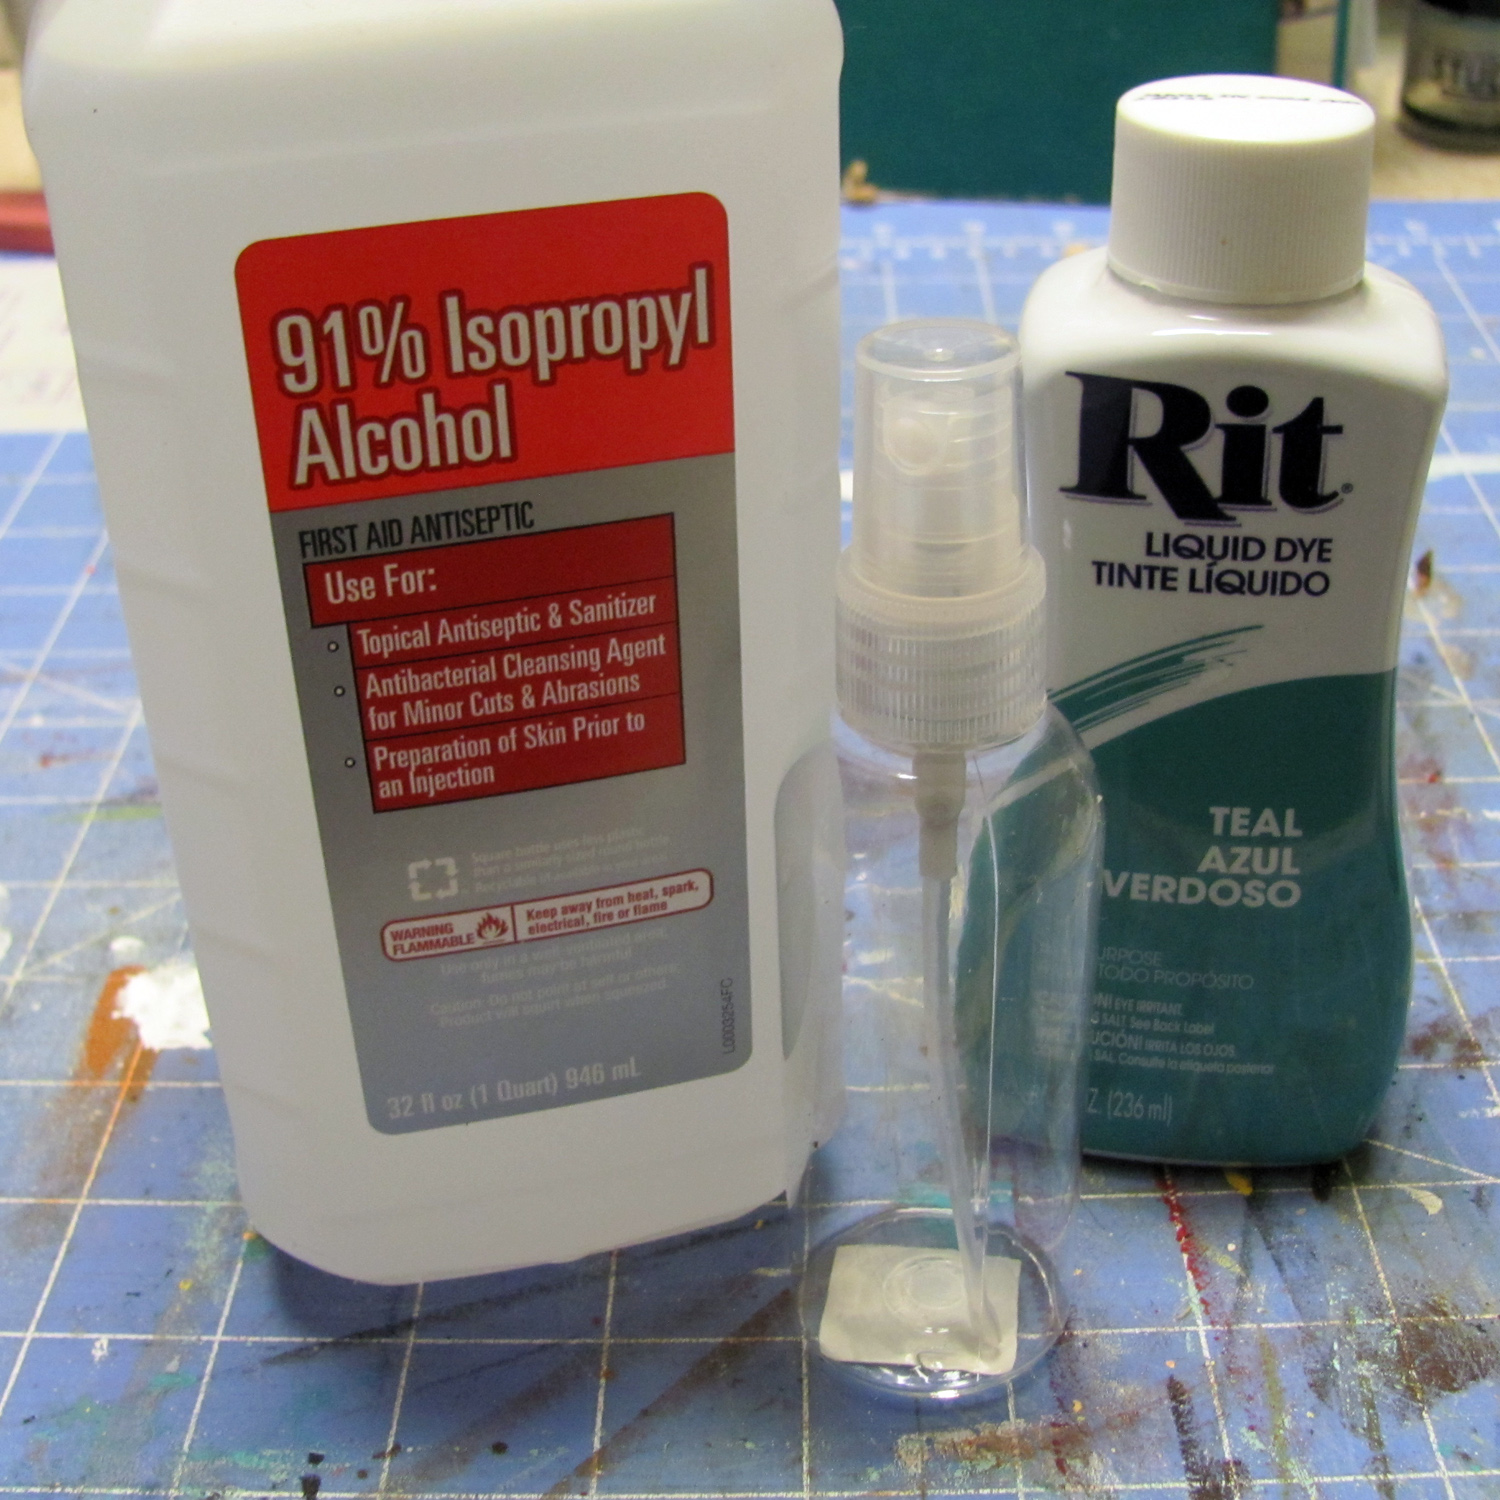
Alcohol inks are really fun, but can be a little pricey. I make my own version by mixing 91% isopropyl alcohol with a little liquid fabric dye in a small spray bottle. For a little over $1, you have a nice size bottle of alcohol ink!
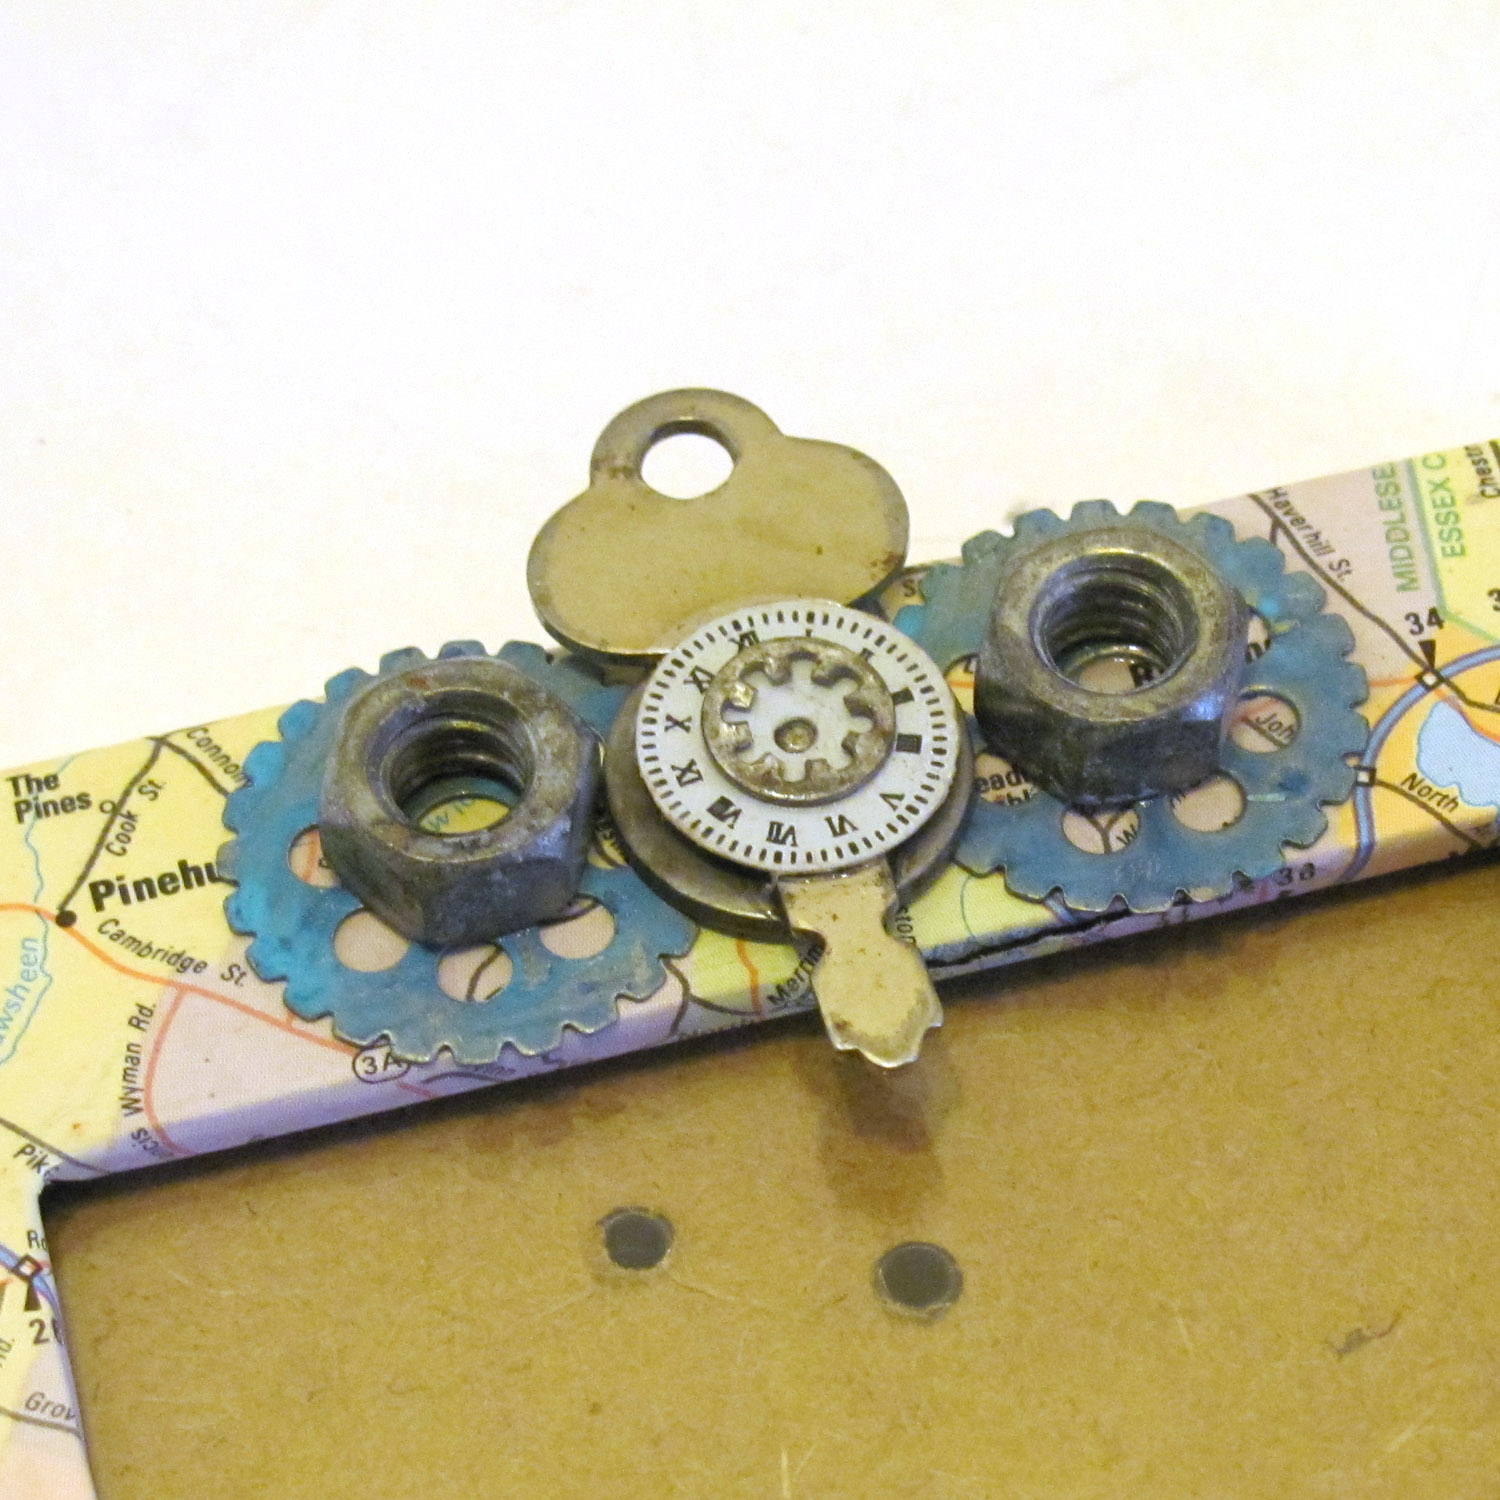
3. Set your frame aside to dry, and start picking out your embellishments. Think about where you will place them on your frame and just start playing with combinations of elements. Use super glue to attach one piece to another.
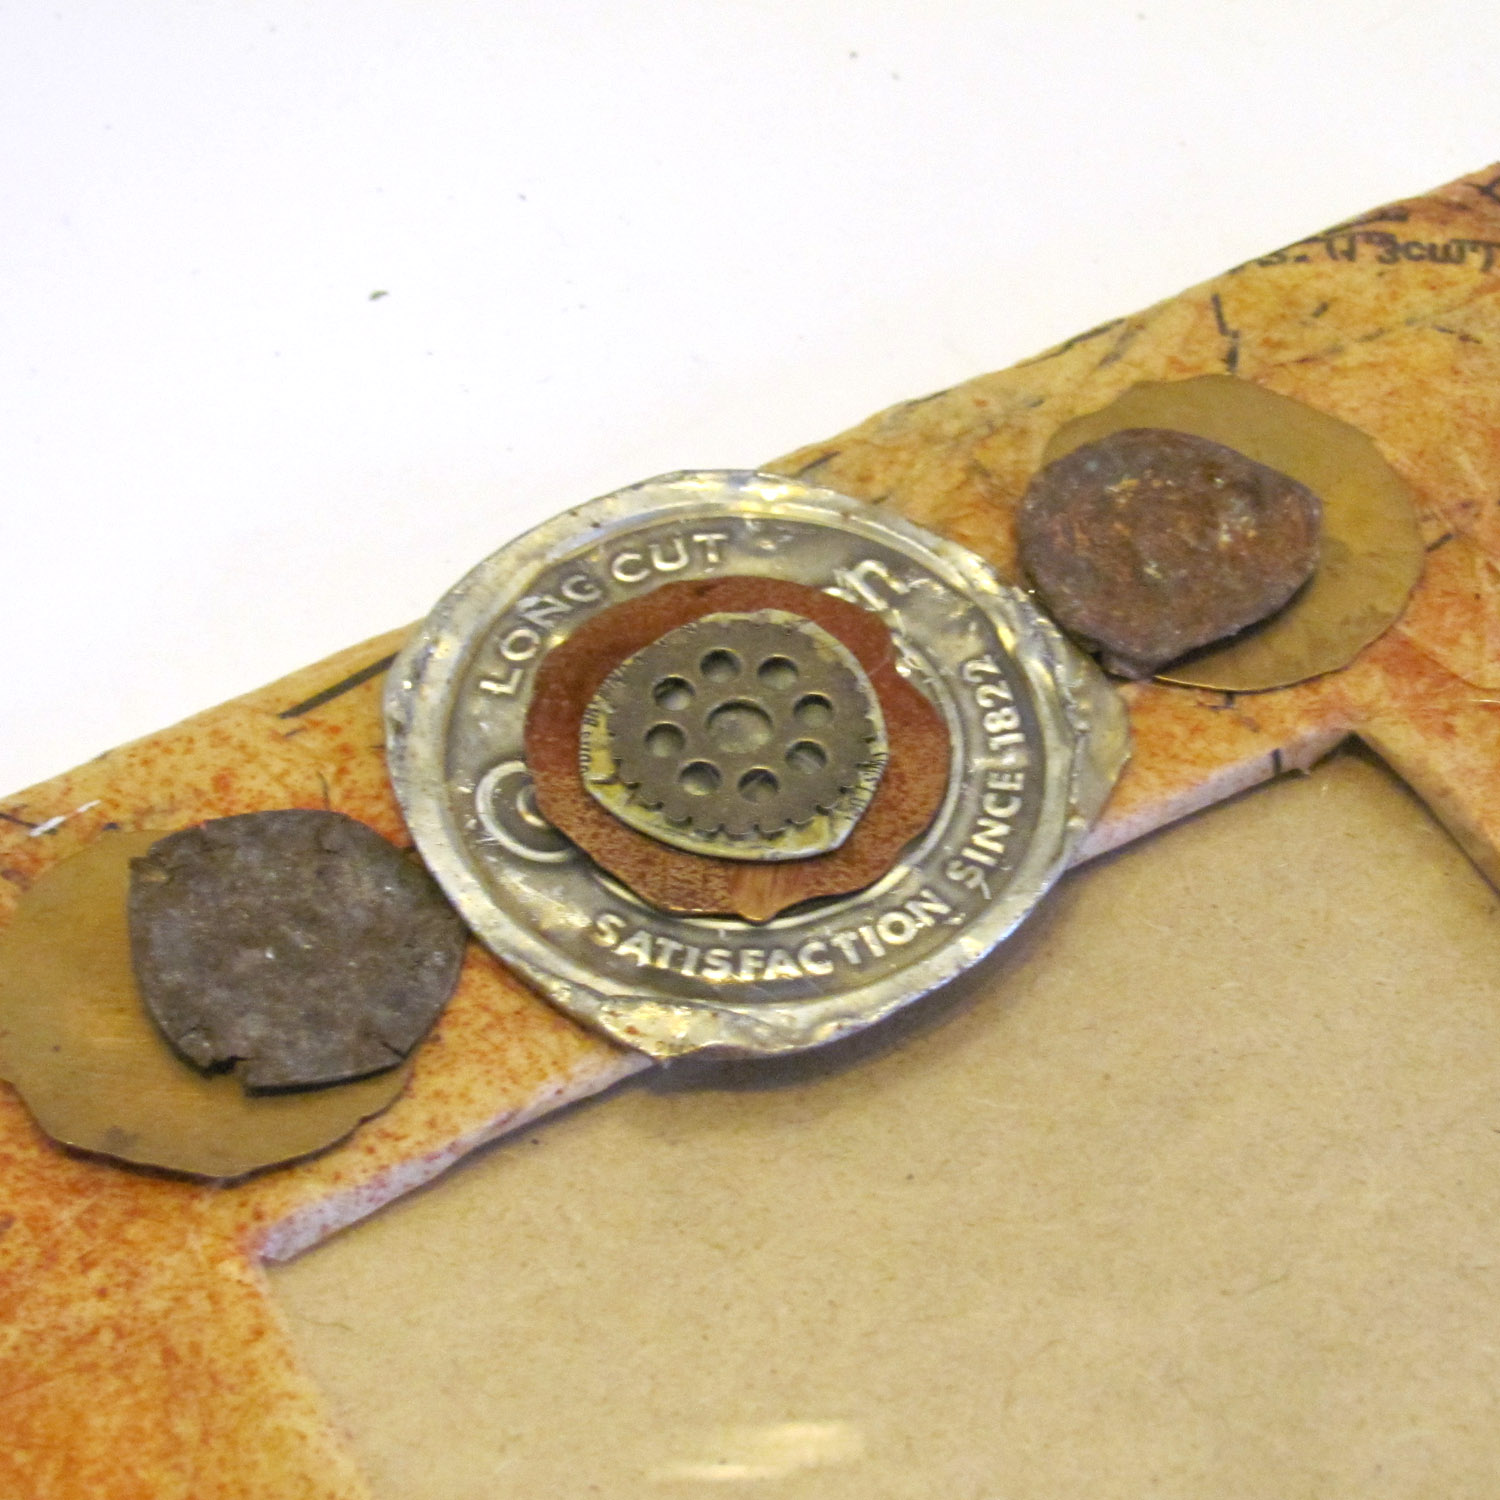
TIP:
If you can’t find enough rusty metal bits and want to rust your own, soak your bottle caps and other ‘rustables’ in a mix of salt and vinegar for some speed aging.
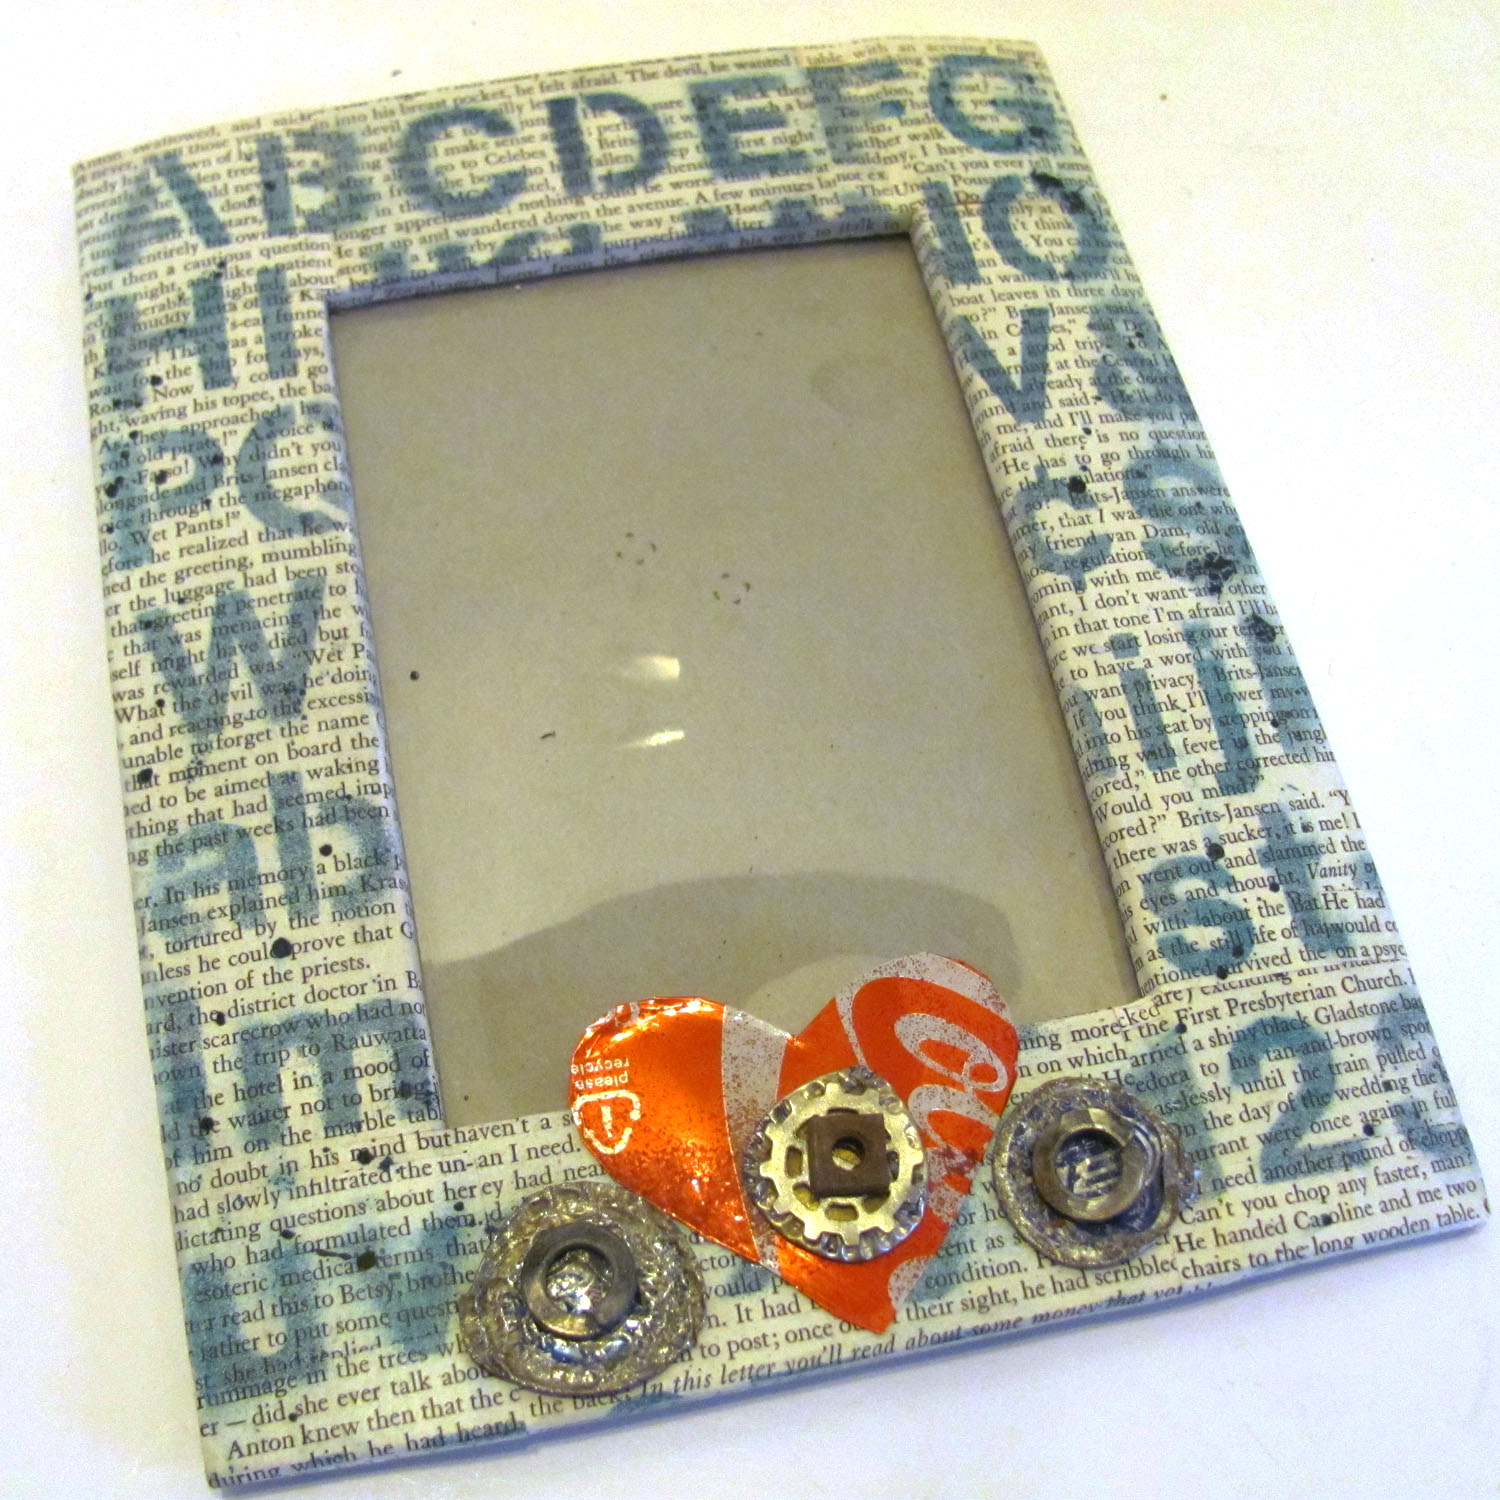
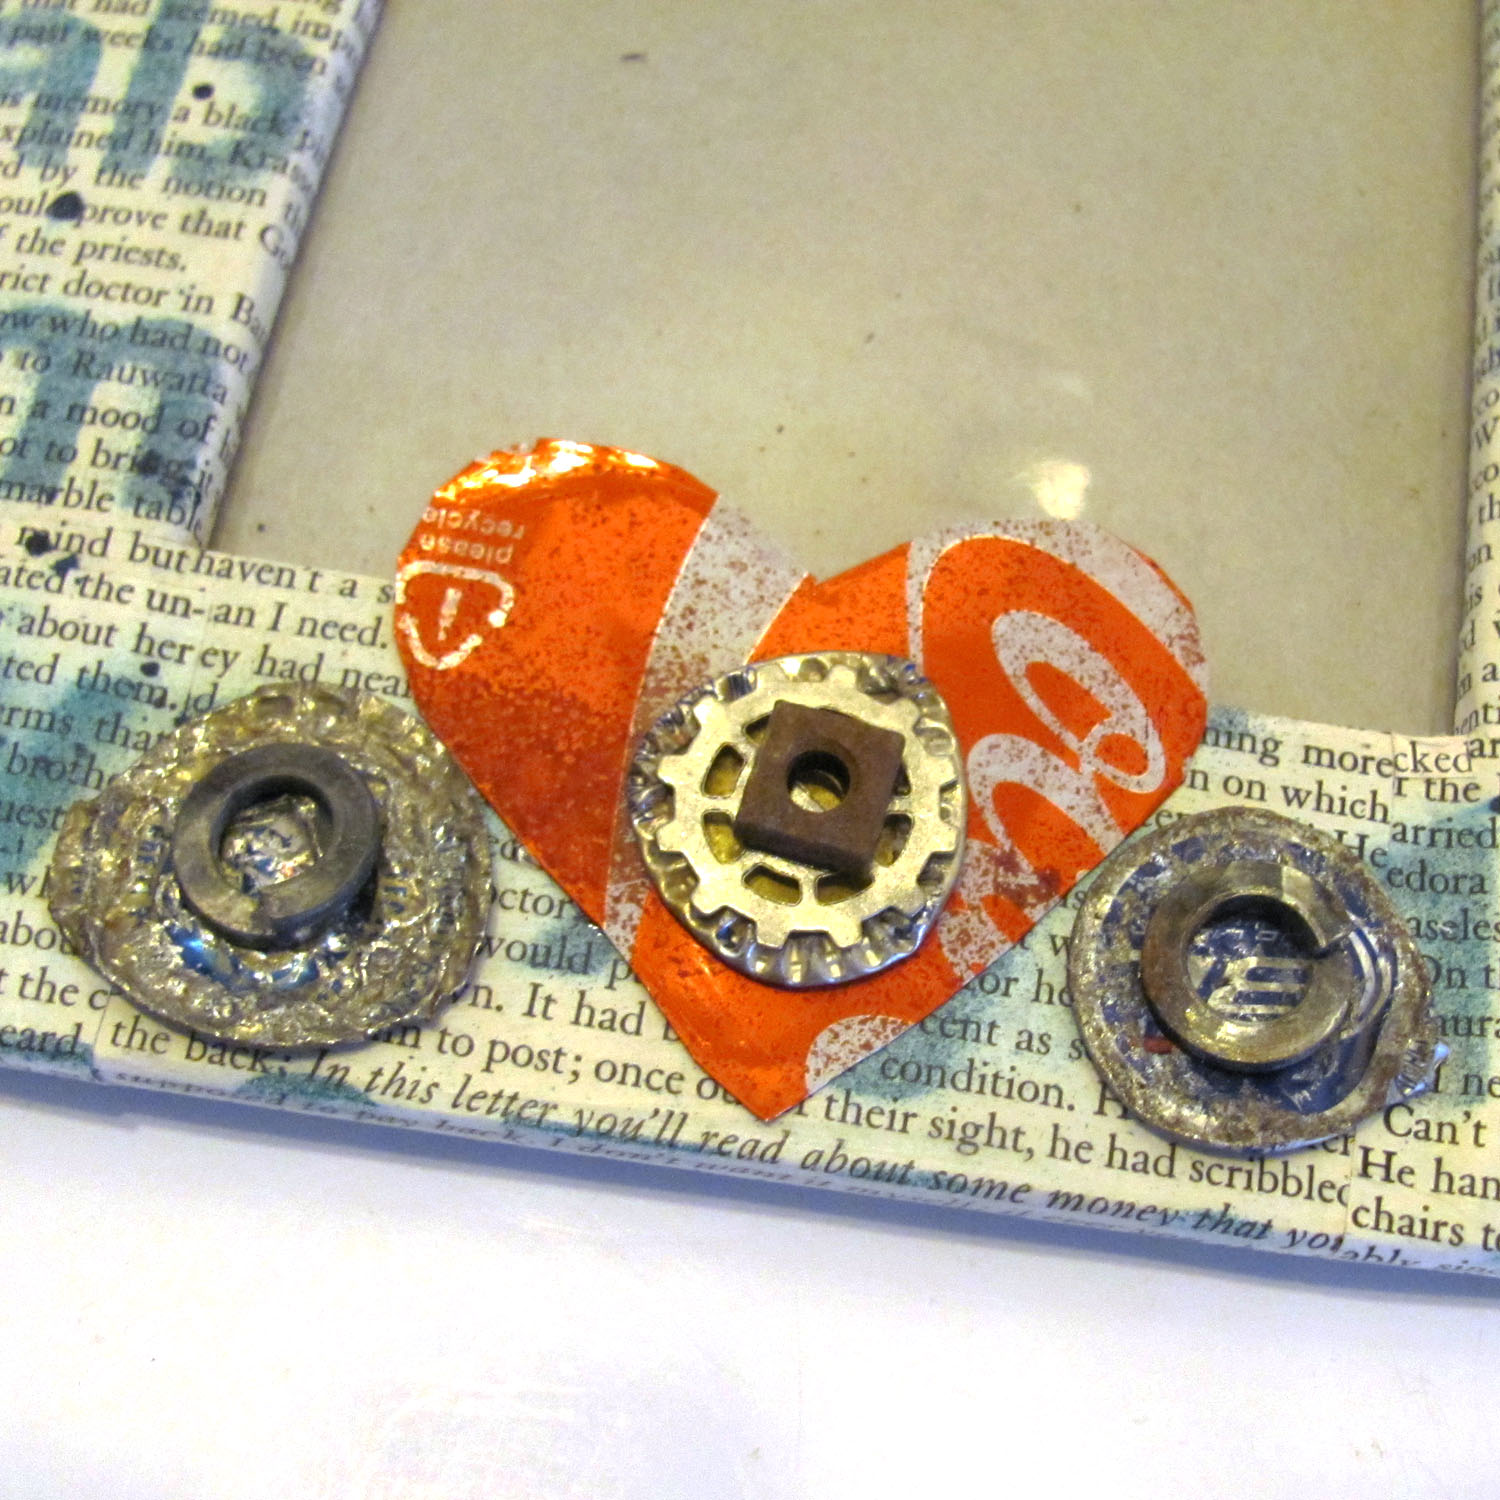
I like to use soda cans in my pieces because they come in a variety of colors and are easy to cut and work with. To add a red heart, I took a Coca-Cola can, cut it to lay flat, and used a ball point pen to draw a heart on the back side. I cut the can about 1/4 inch outside my drawn line, then cut notches so I could fold in the sides to eliminate any sharp edges.
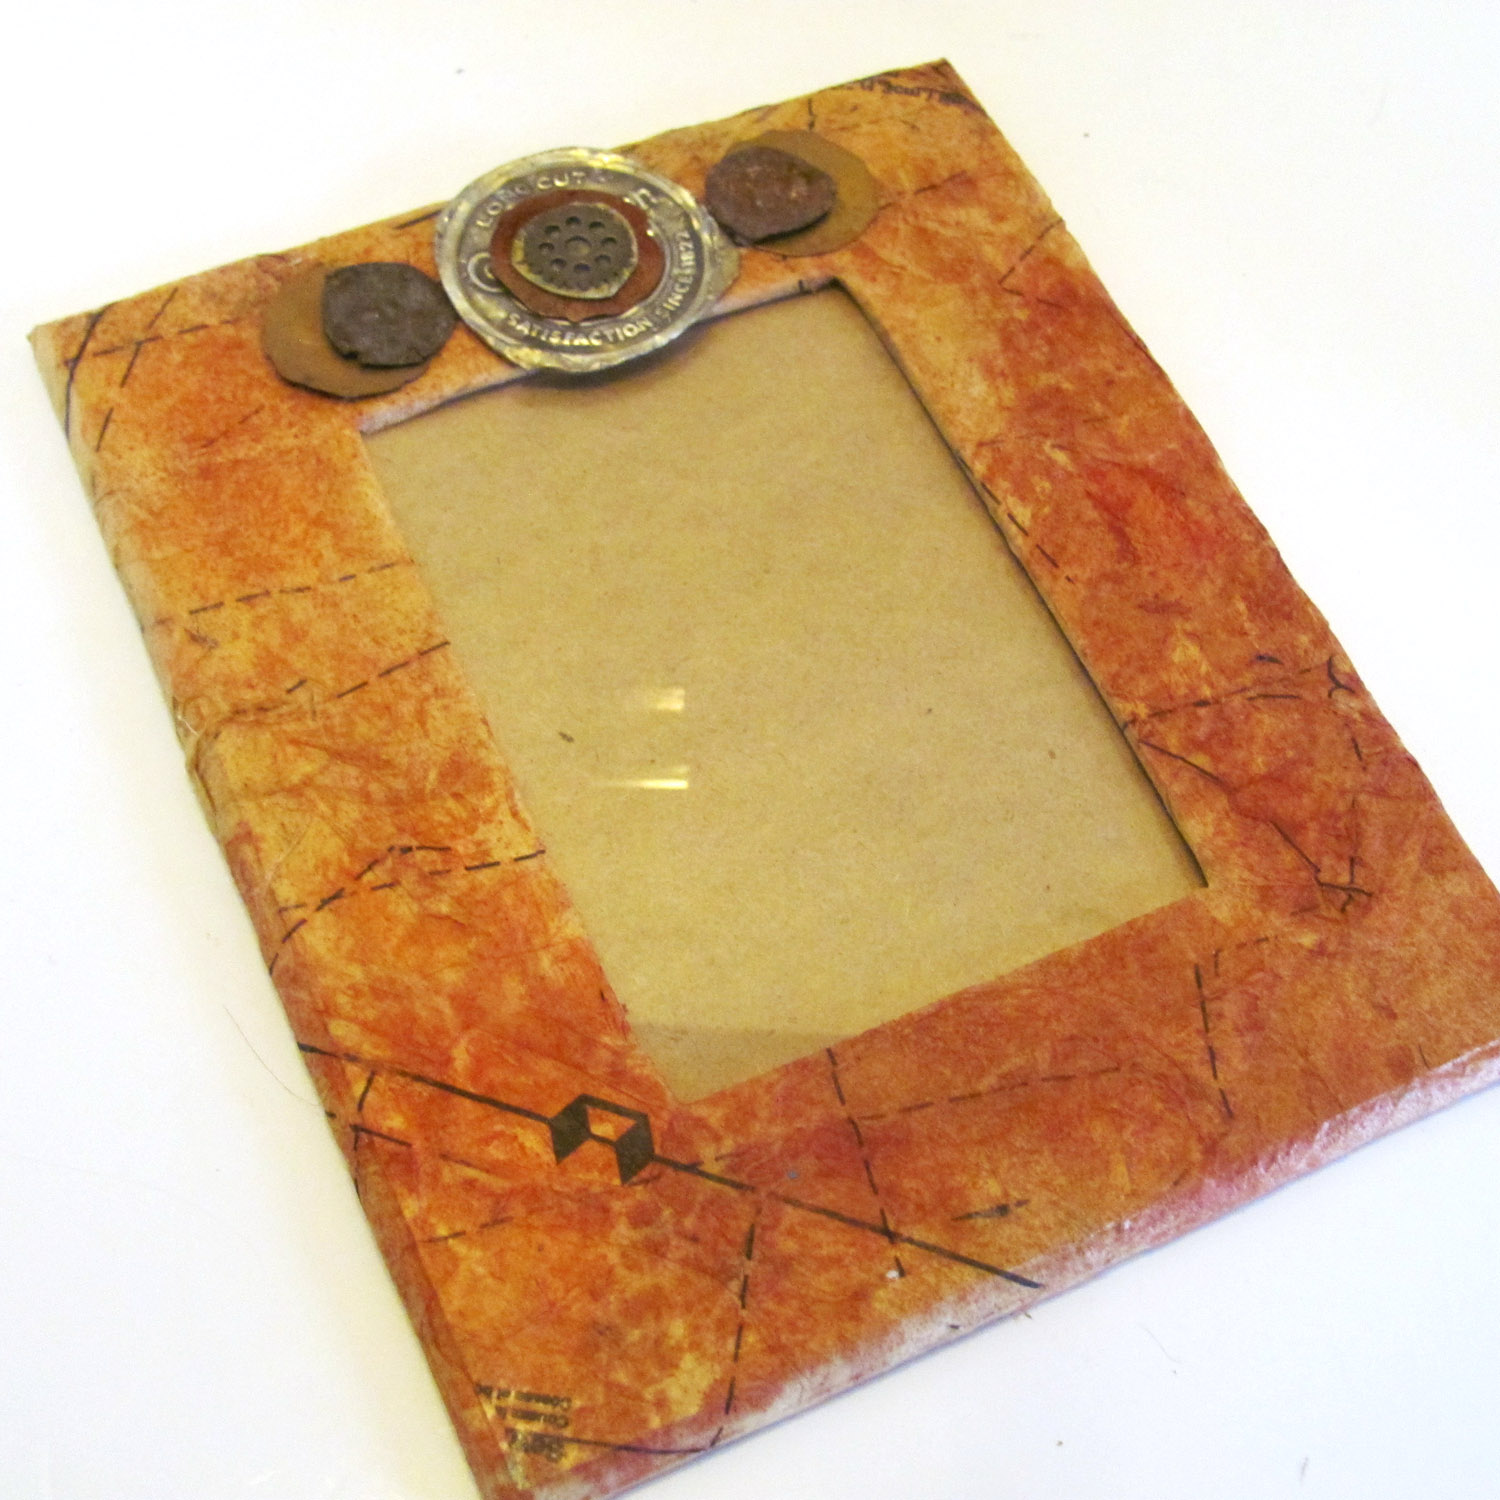
All ready for gifting!
Christine Bissonnette
This is such a great idea! Maybe I’ll try making one myself for my next artist’s date. I haven’t done anything crafty for one yet. Thank you for the idea.
diaryofamadmama
I love it! Thanks for the great tutorial! 🙂