
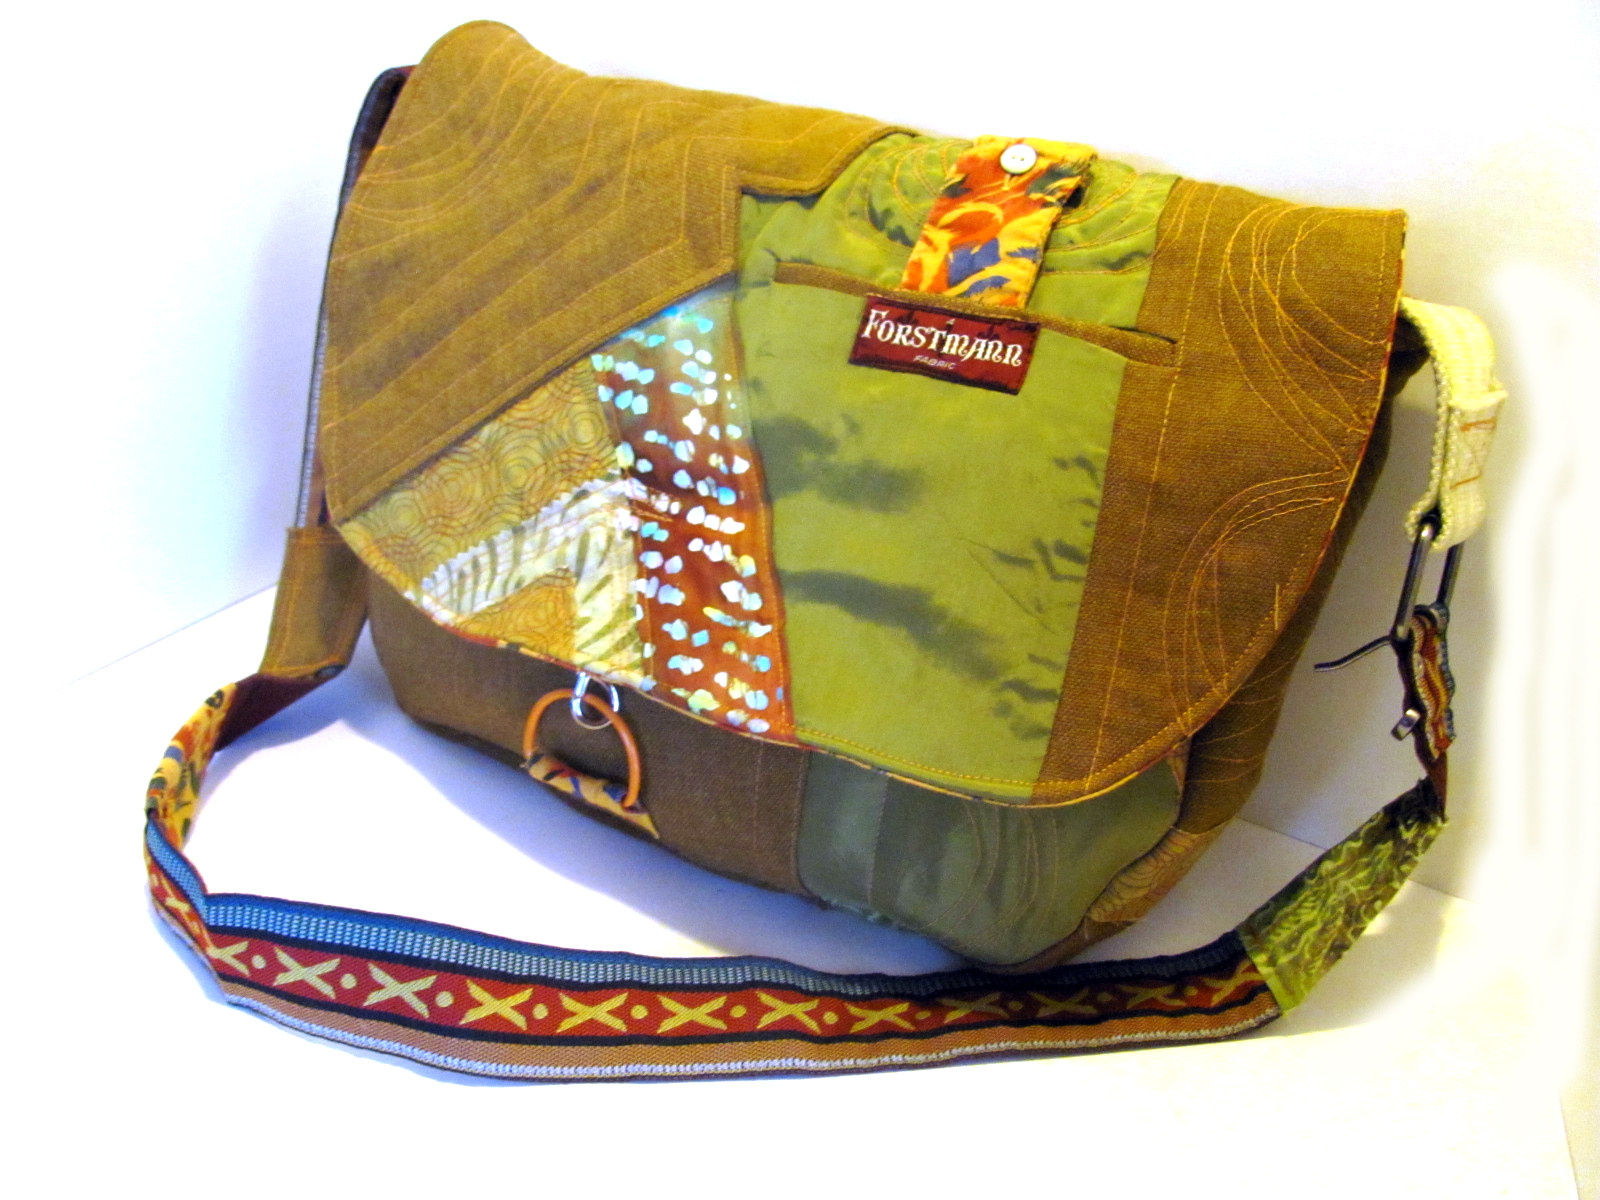
After years of searching for the perfect bag, I finally realized that I was just going to have to make my own. It needed pockets to organize all the little essentials, room and the strength to carry journals, books, a tablet, a waterbottle…whatever the day demanded, and it needed to have its own unique look. Over the next few years I made and sold dozens and dozens of these bags, each unique, each made from upcycled or repurposed materials. Today I am going to share the process with you.
The first step is to gather your materials.
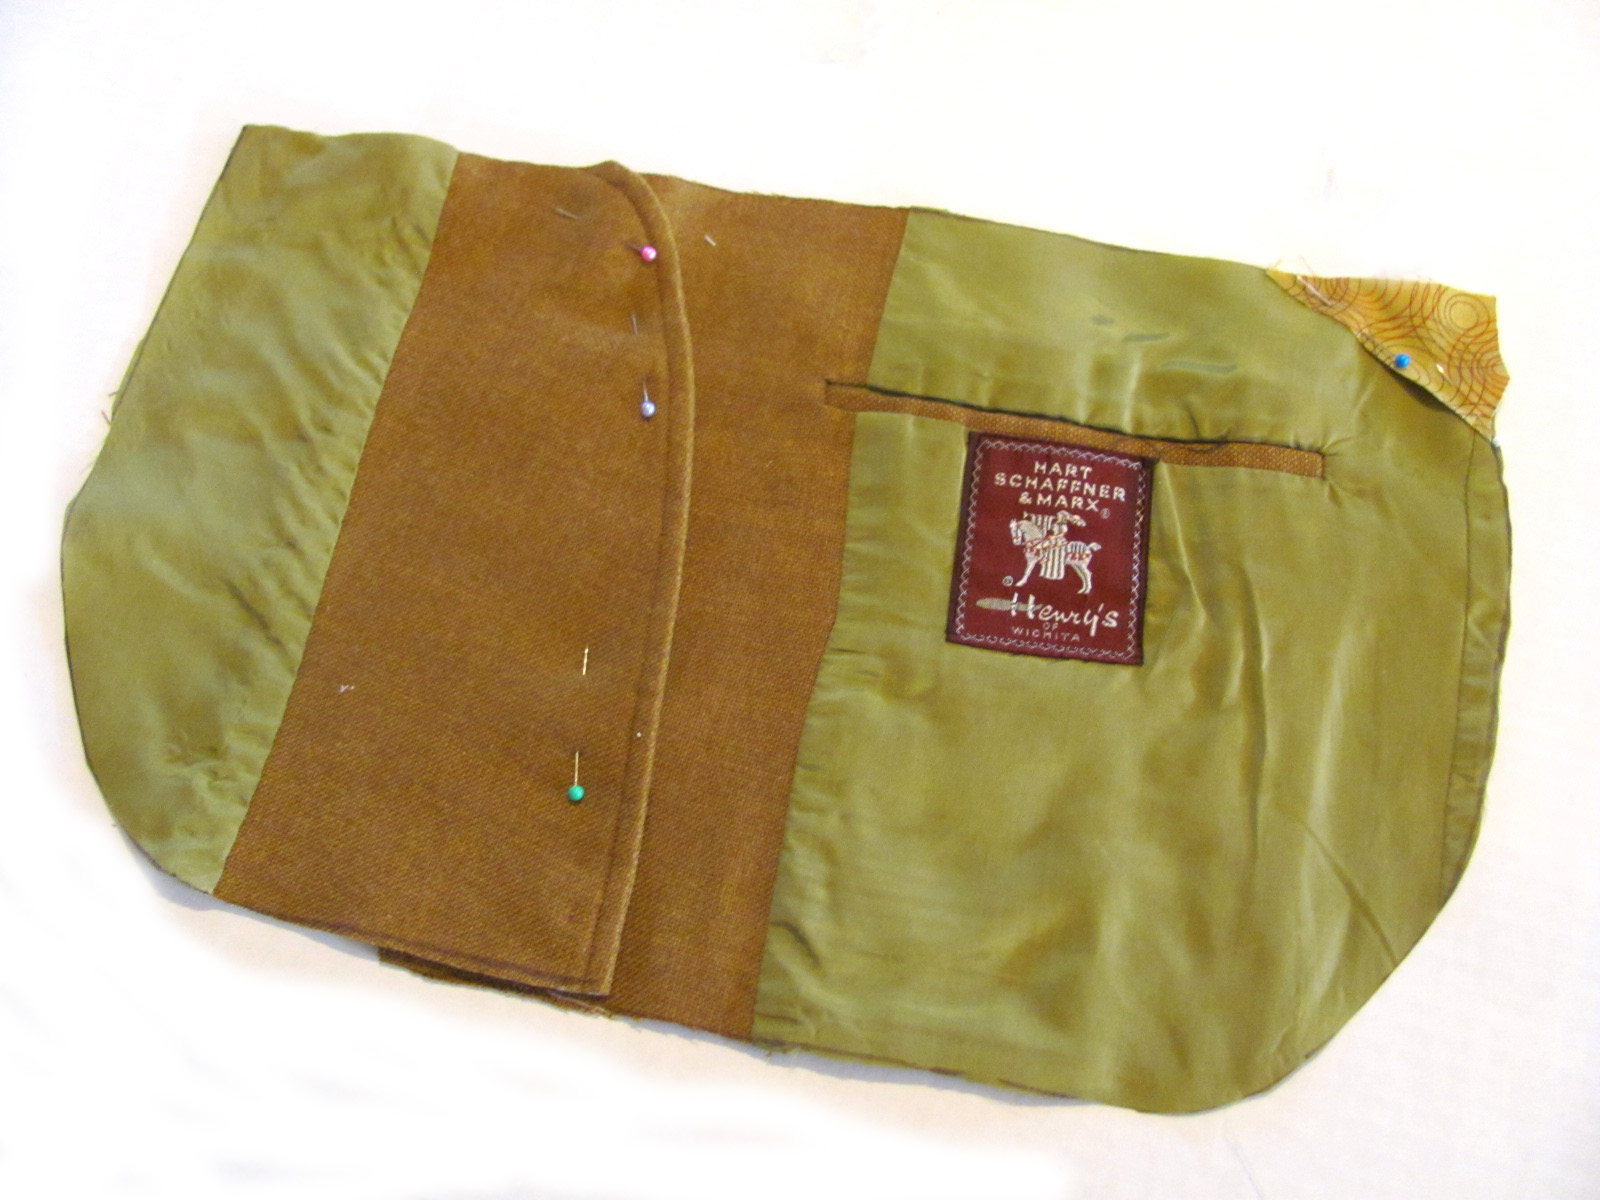
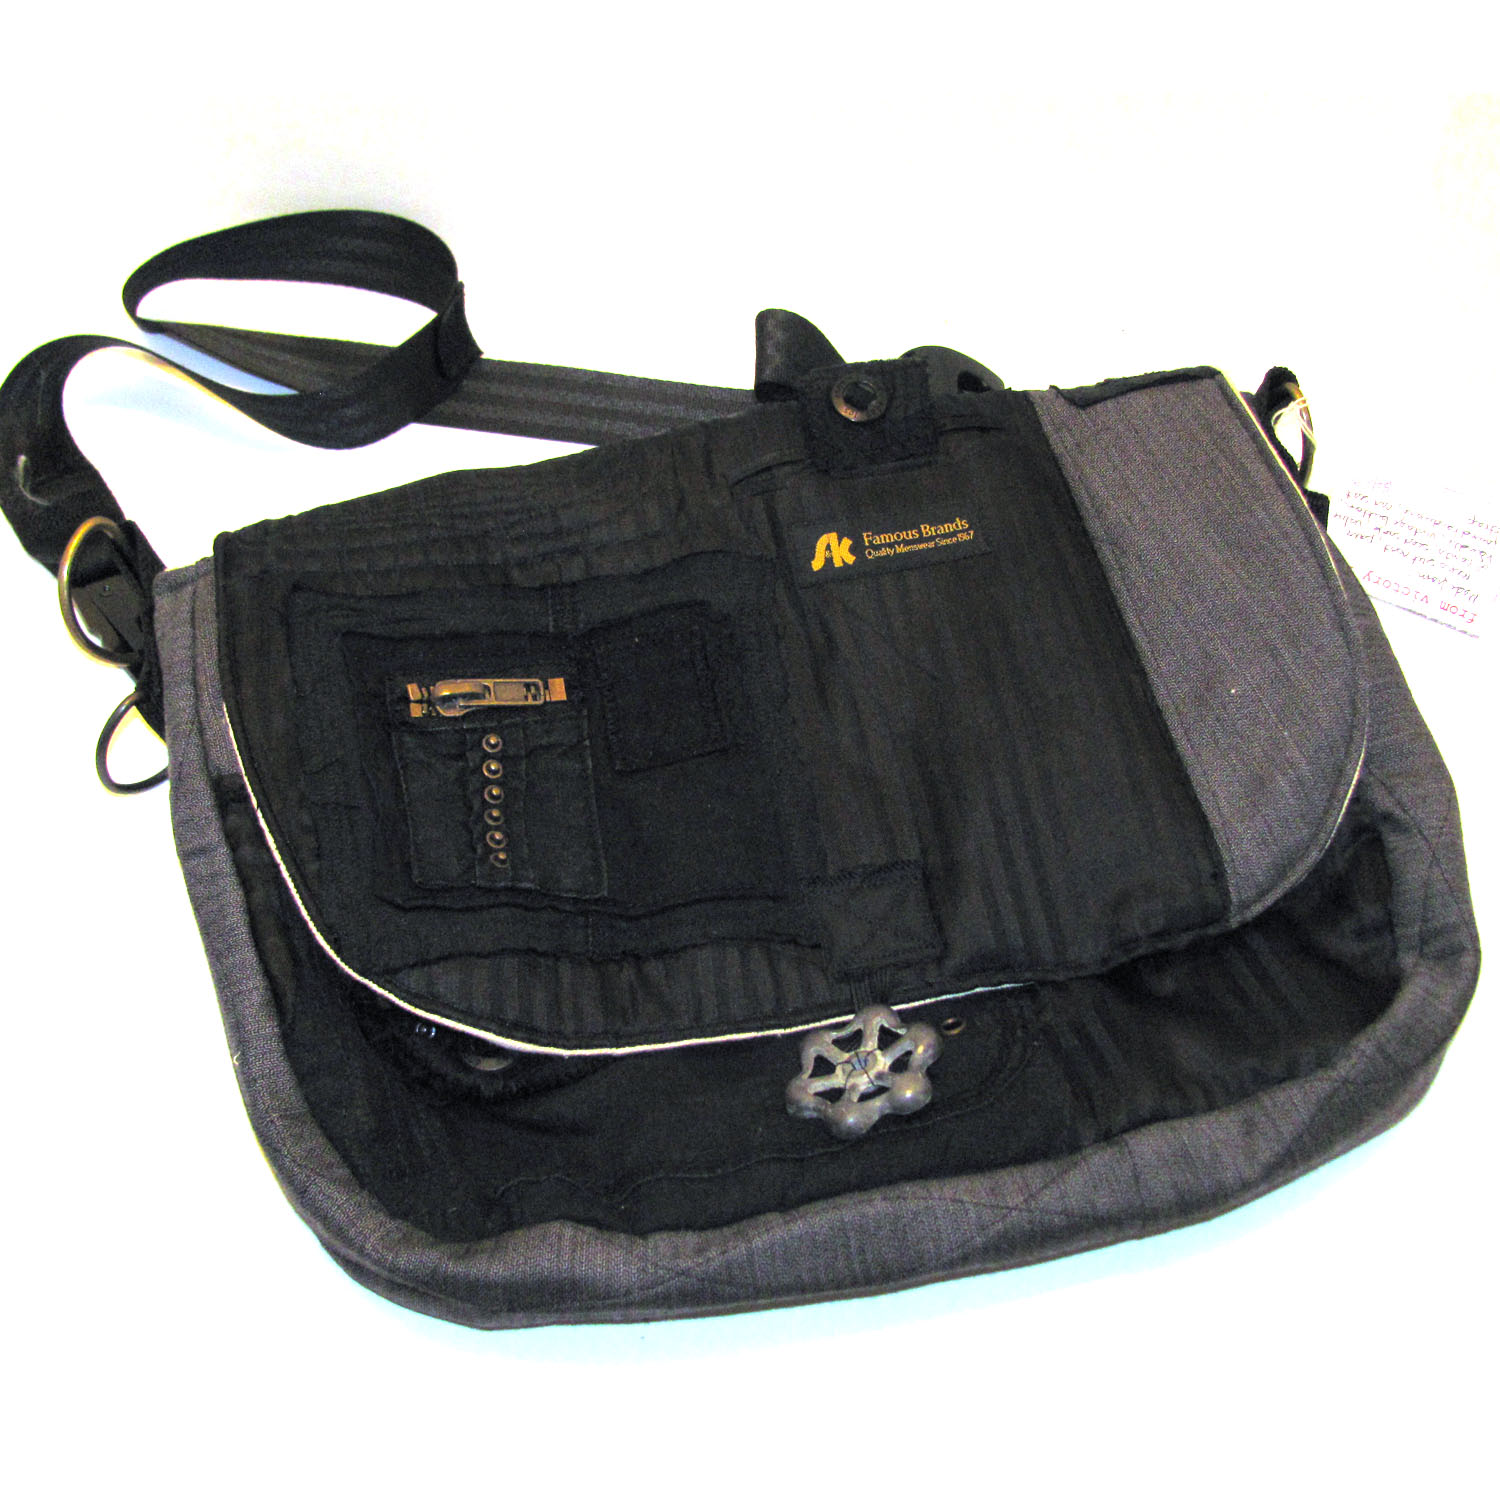
- For this bag, I used a vintage men’s suit coat, one of my favorite materials to use. I have also made them from burlap bags, fused plastic grocery bags, vinyl banners, sports uniforms, upholstery remnants….you get the idea!
- You will also need some sort of strap. Belts are my preference because they are so strong and sturdy and come in a variety of colors. I also use neckties, or the straps off of a discarded bag.
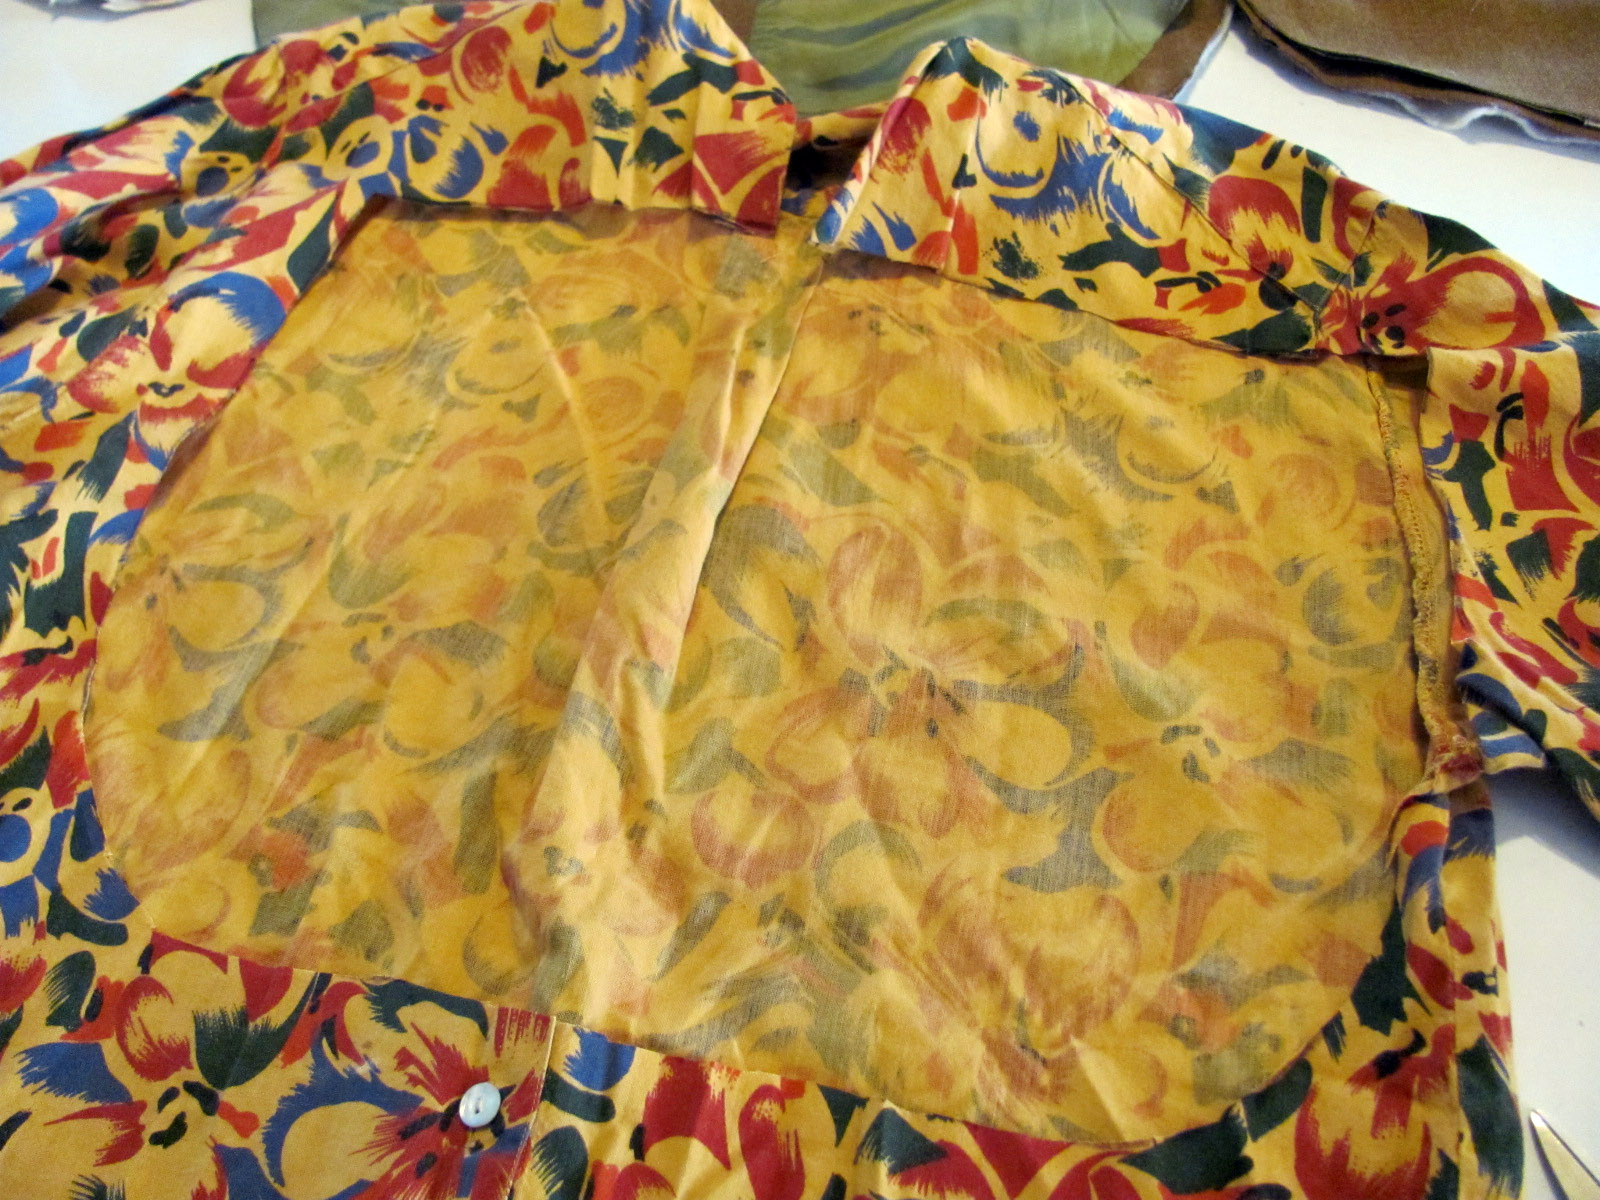
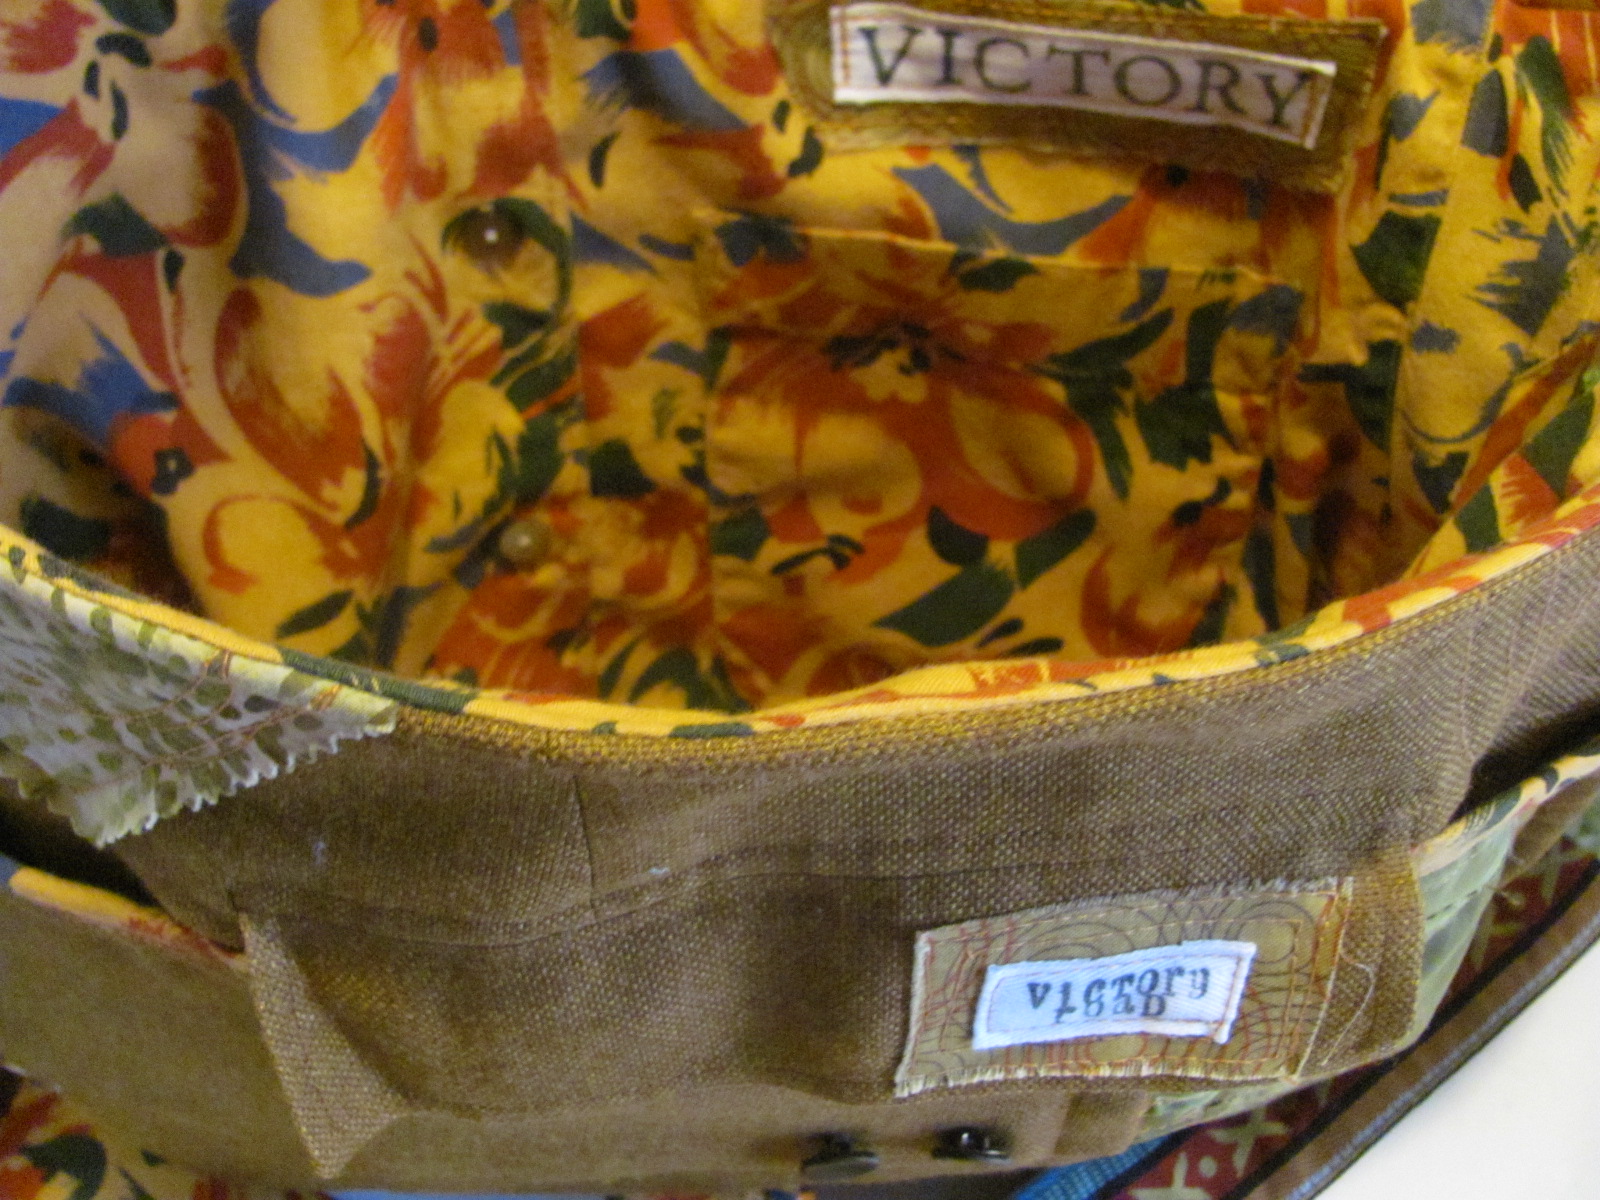
- And, you will also need fabric for the lining. My favorite is a man’s button up shirt because I can use the pockets for more organizing in the bag. I also use: sheets, pillowcases, seed bags, and skirts. I love to use something that will be a fun surprise when the bag is opened.
- The last thing you will need is something that can serve as batting, to add some shape and substance to your bag. I use old blankets, but many things would do: towels, or even some actual batting!
- For some fabrics, like burlap, a t-shirt, or a sports jersey, you may need to add some fusible interfacing for stability.
- Miscellaneous coordinating scraps will come in handy to fill in and add some interest.
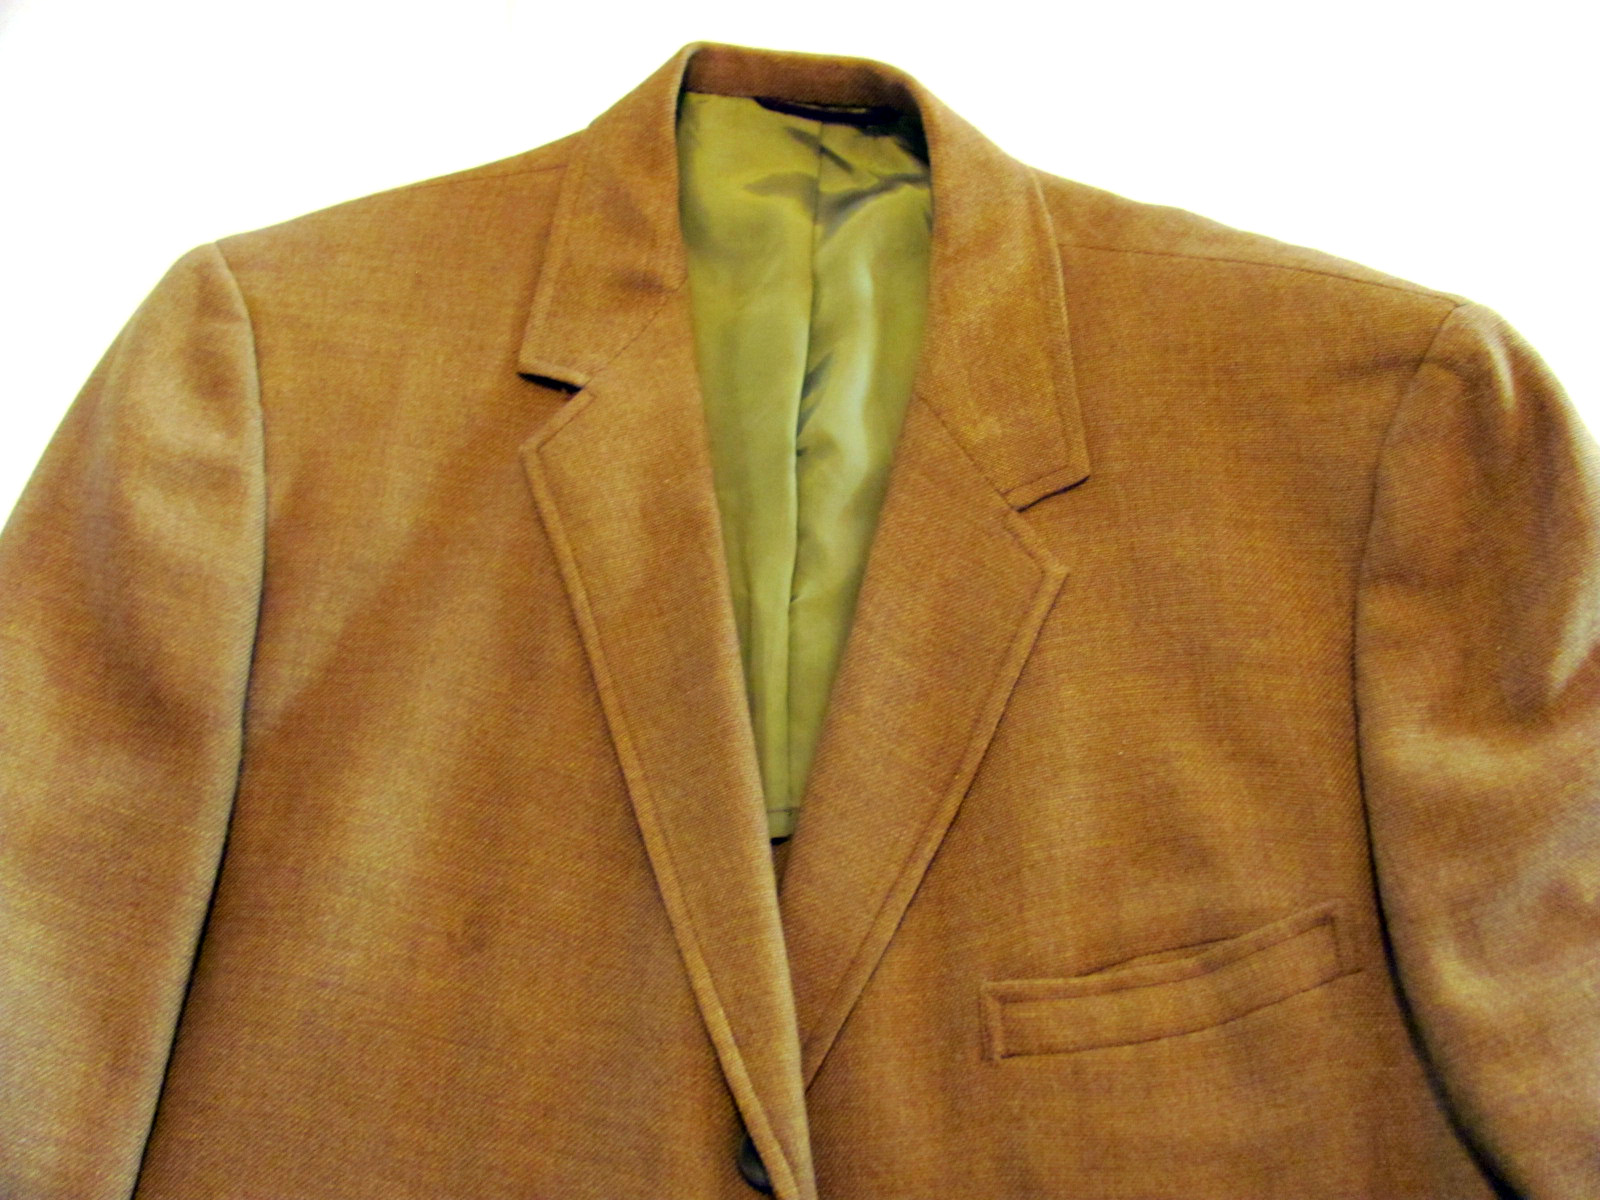
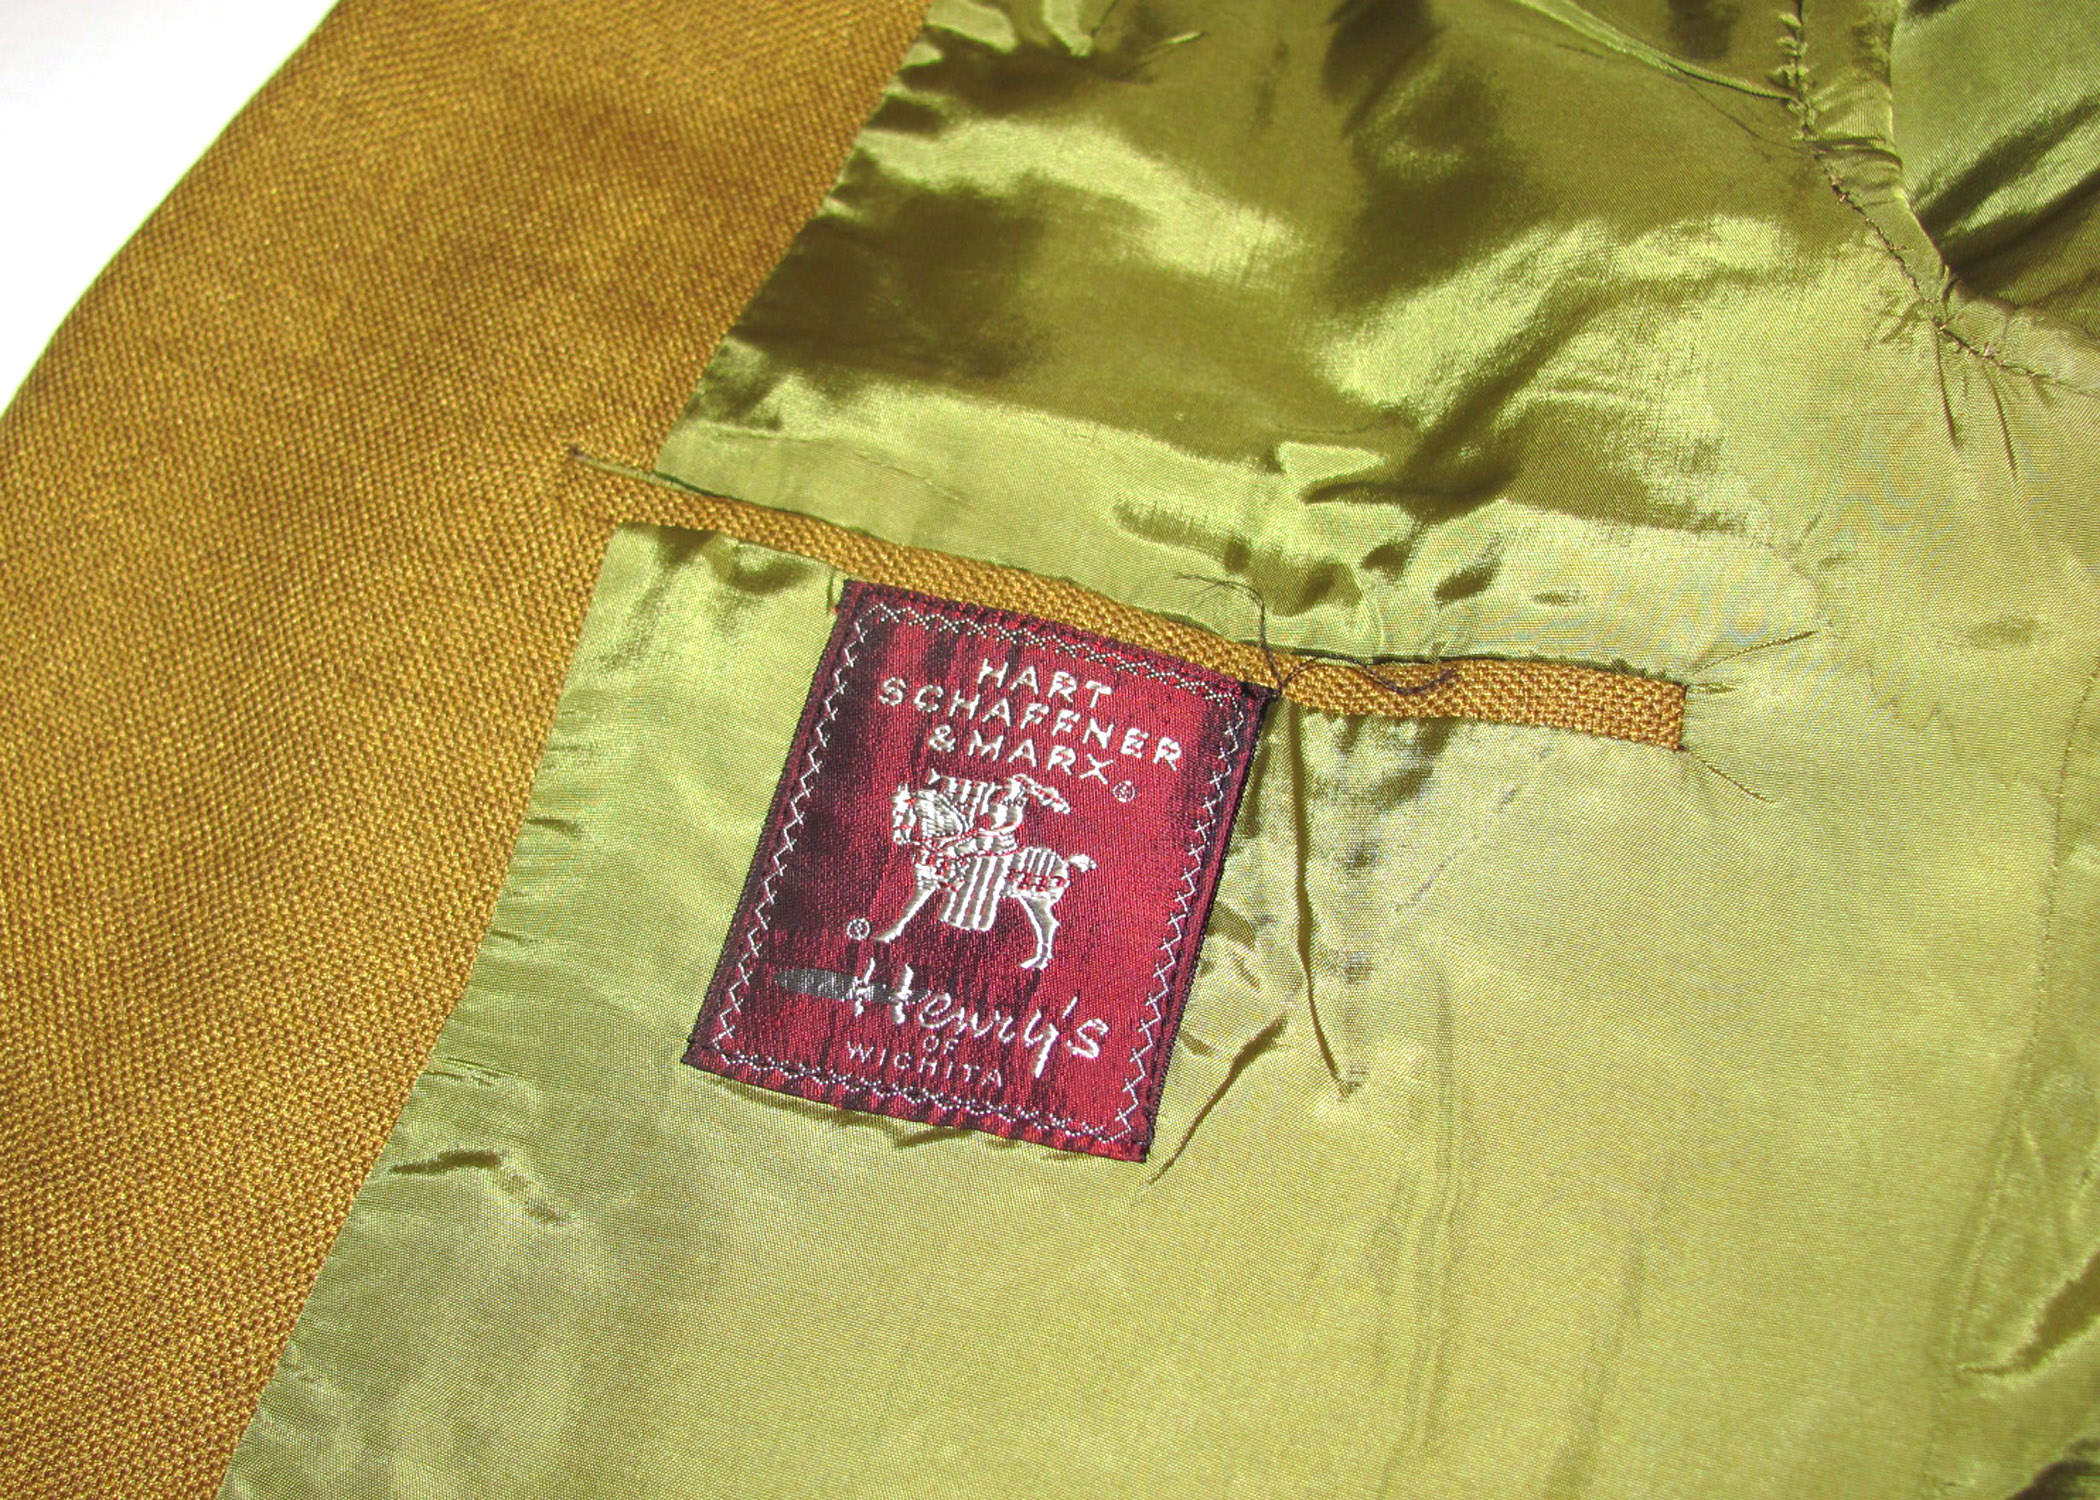
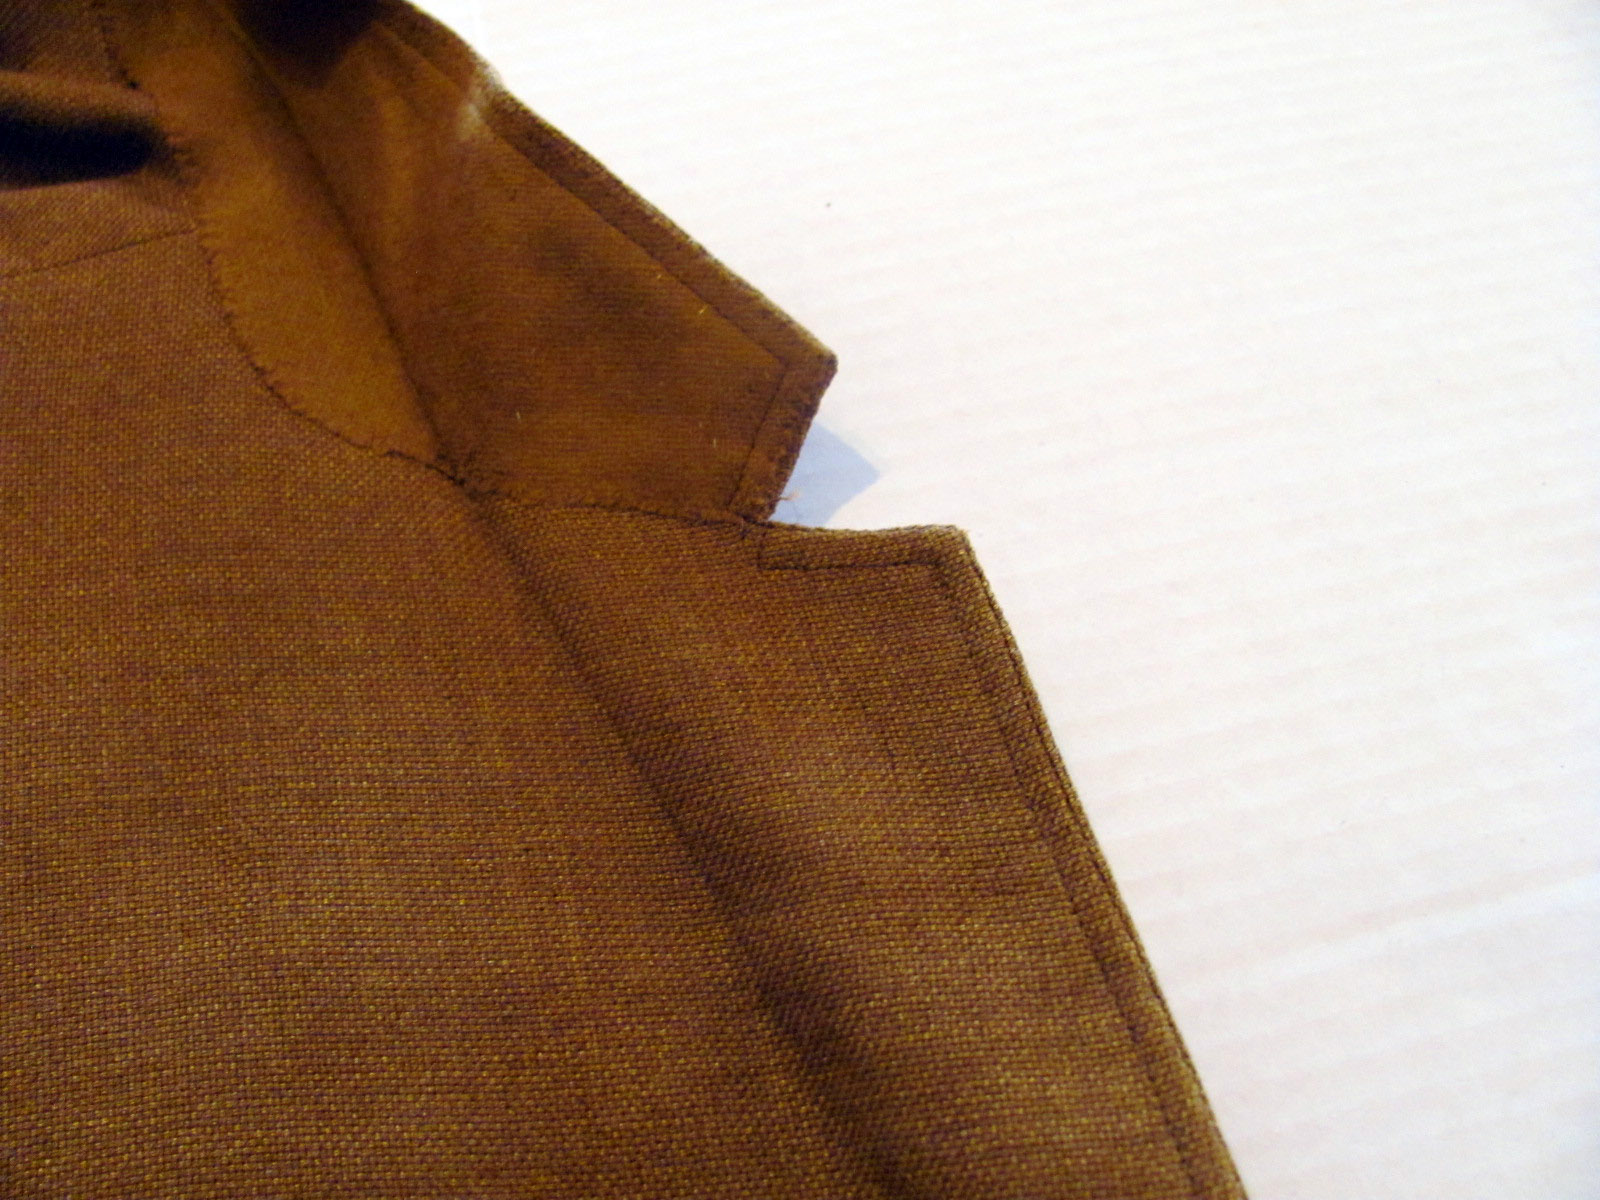
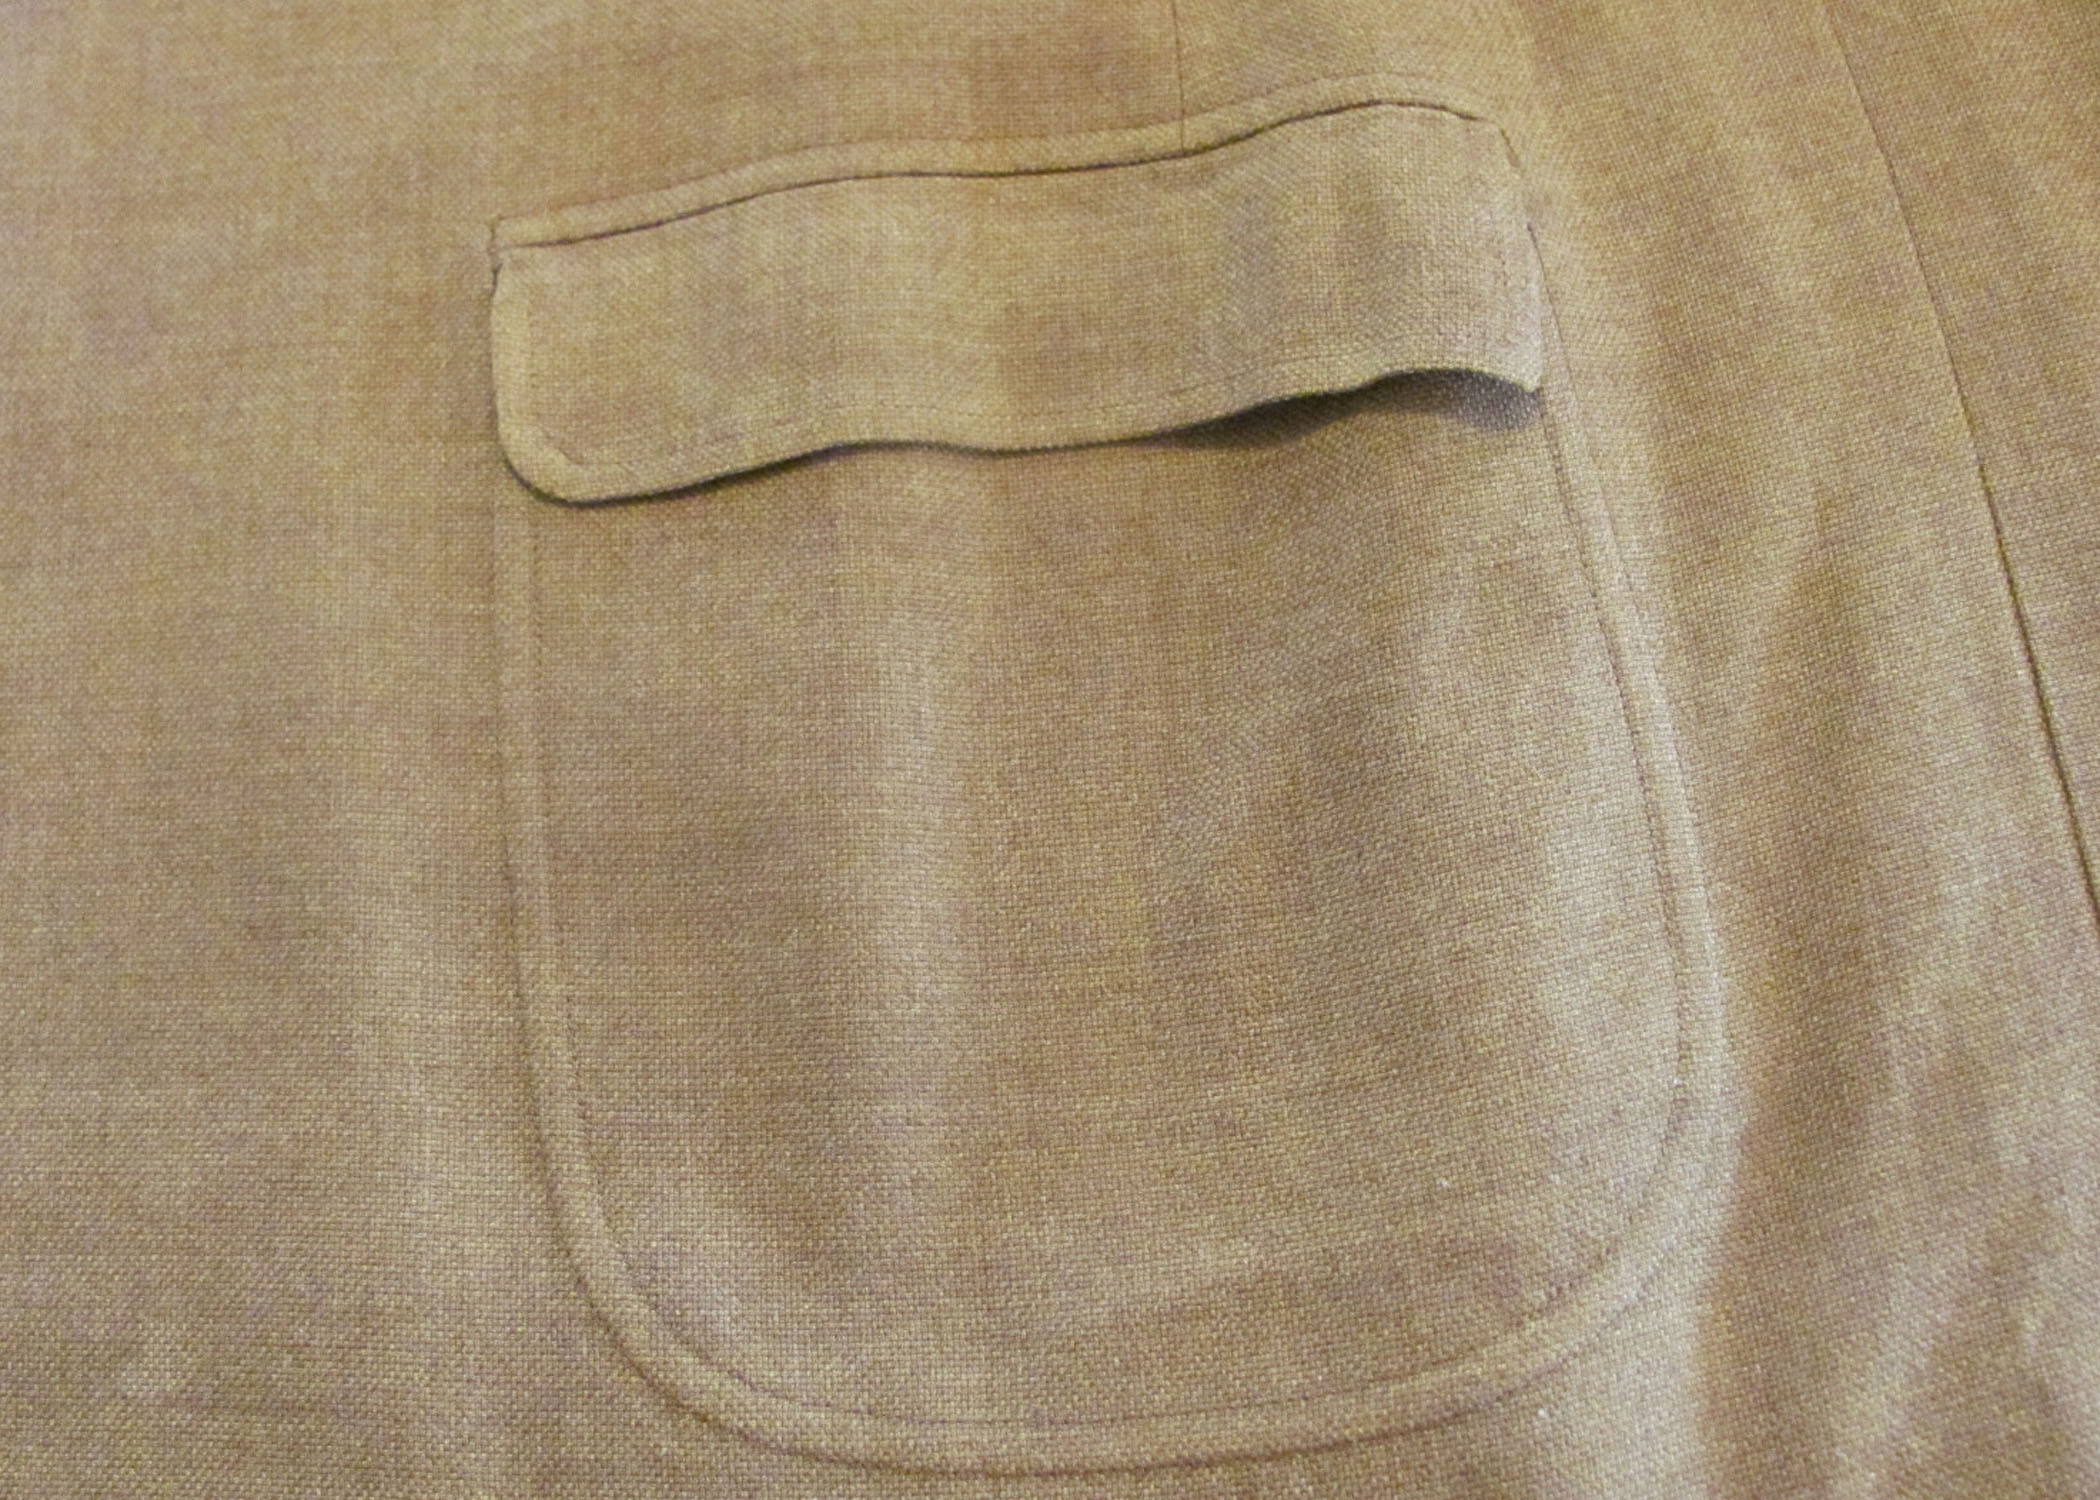
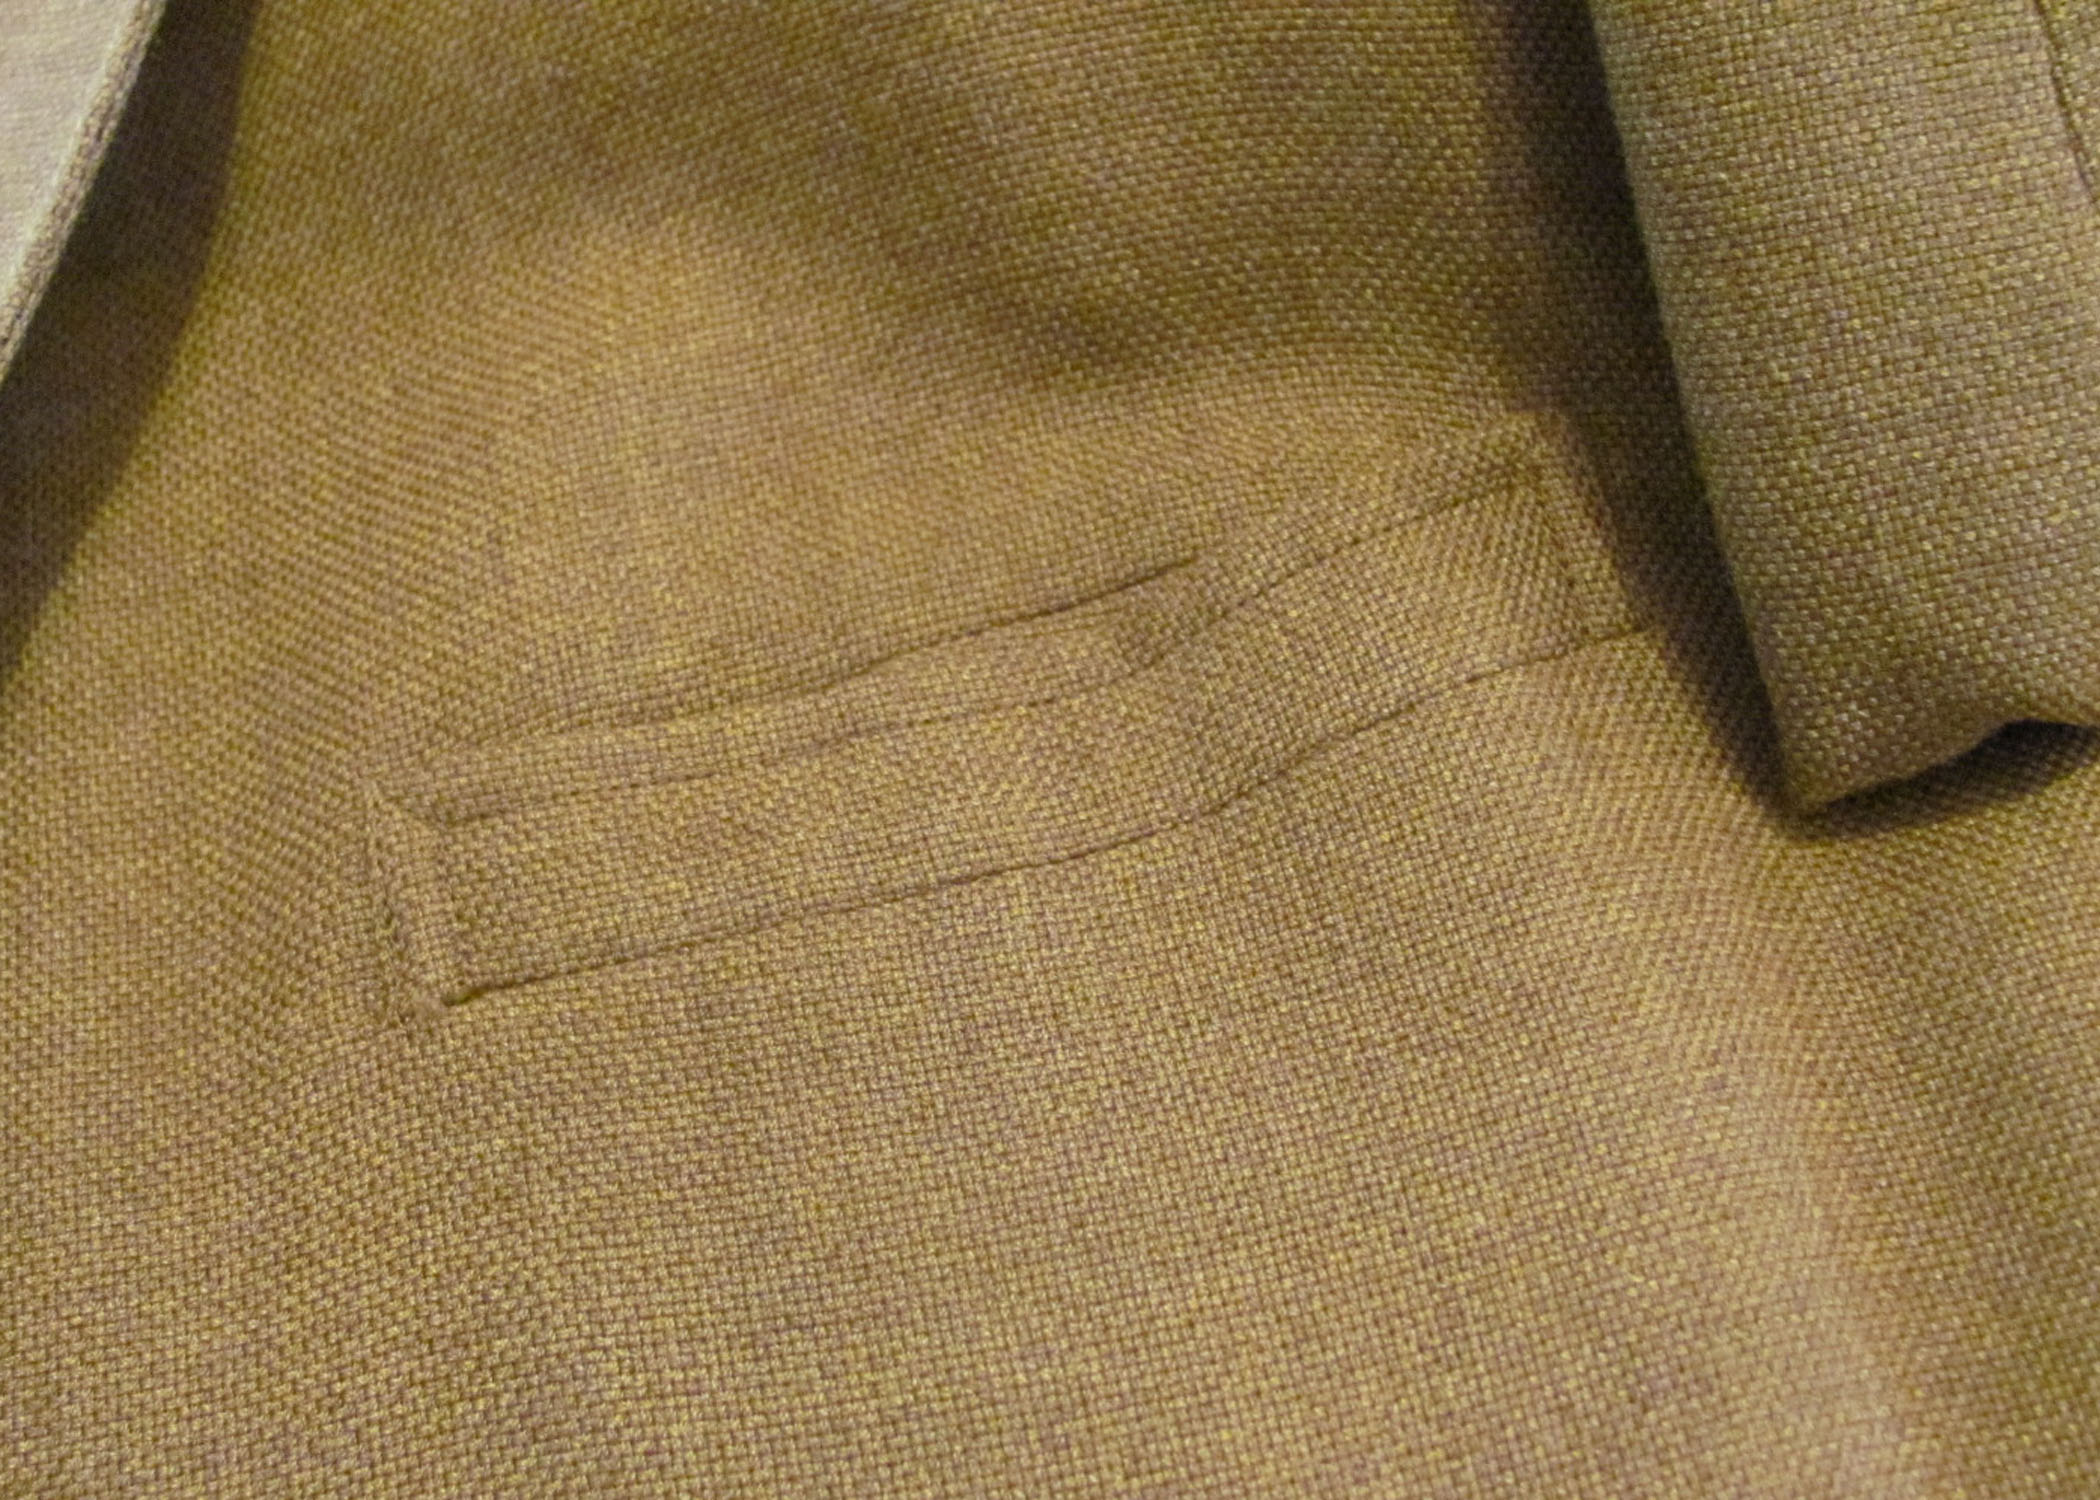
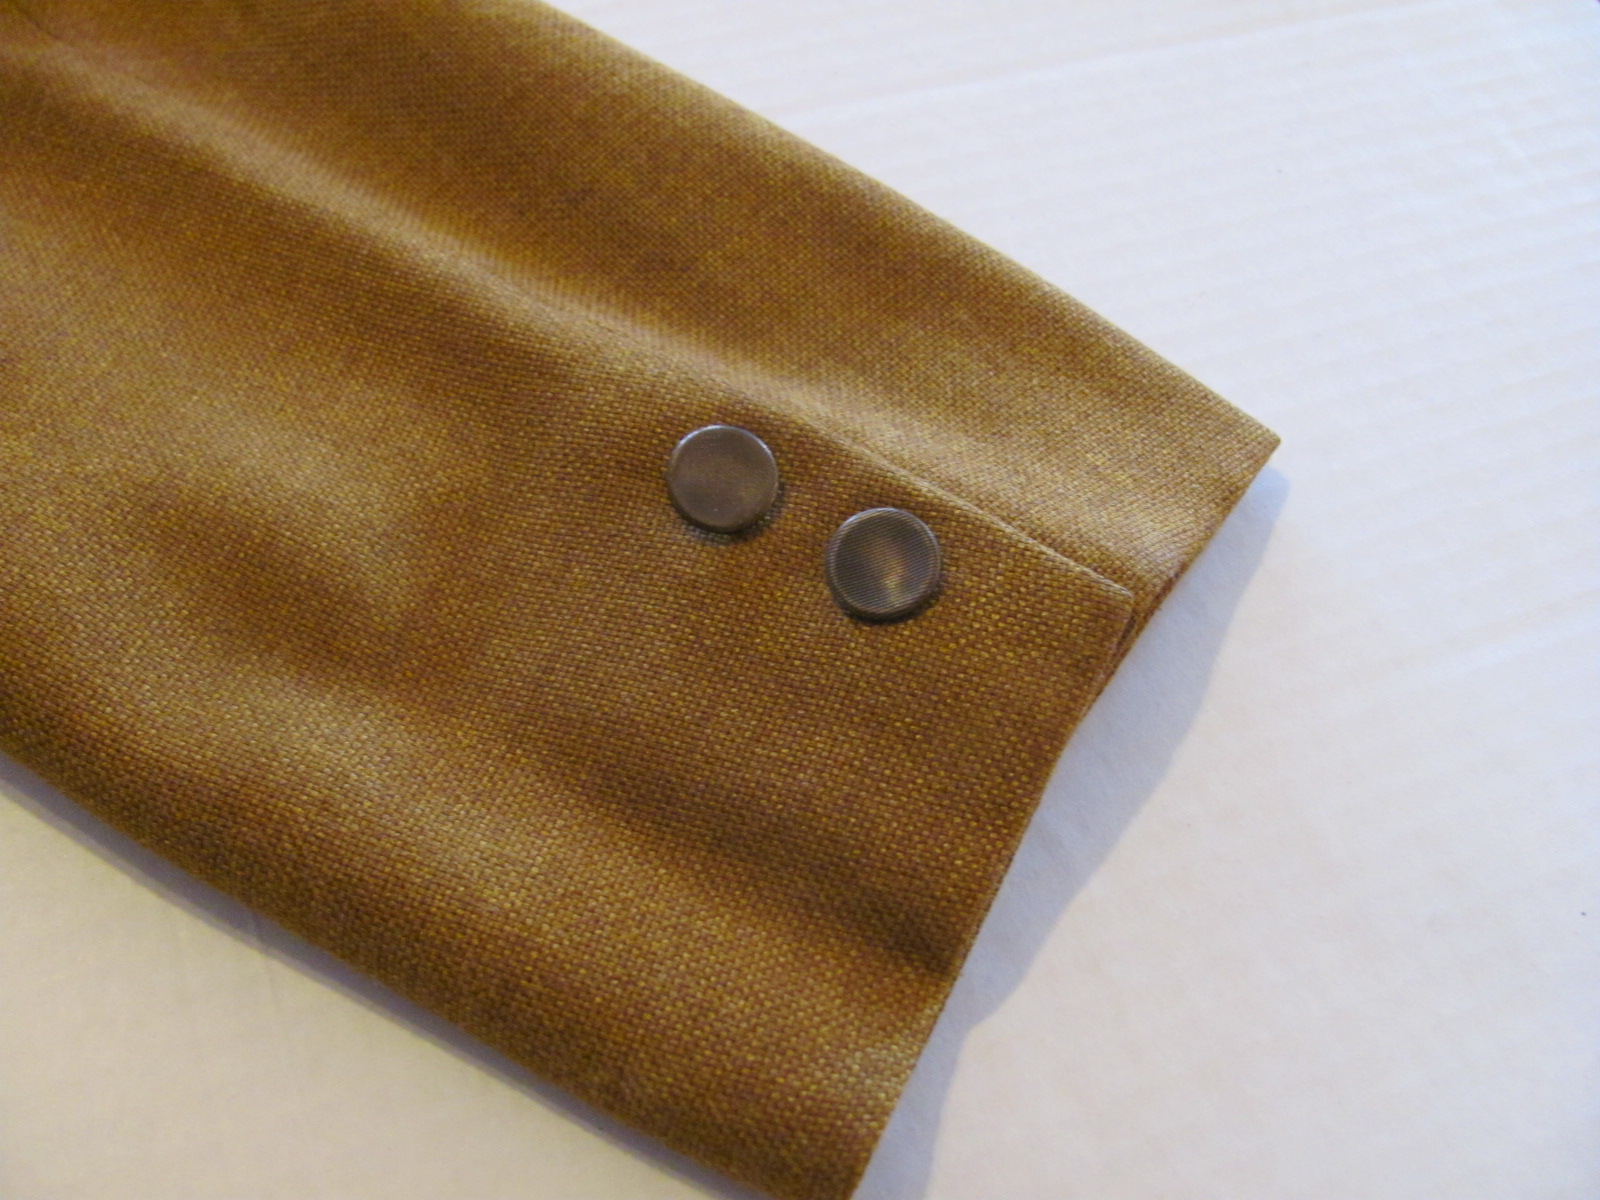
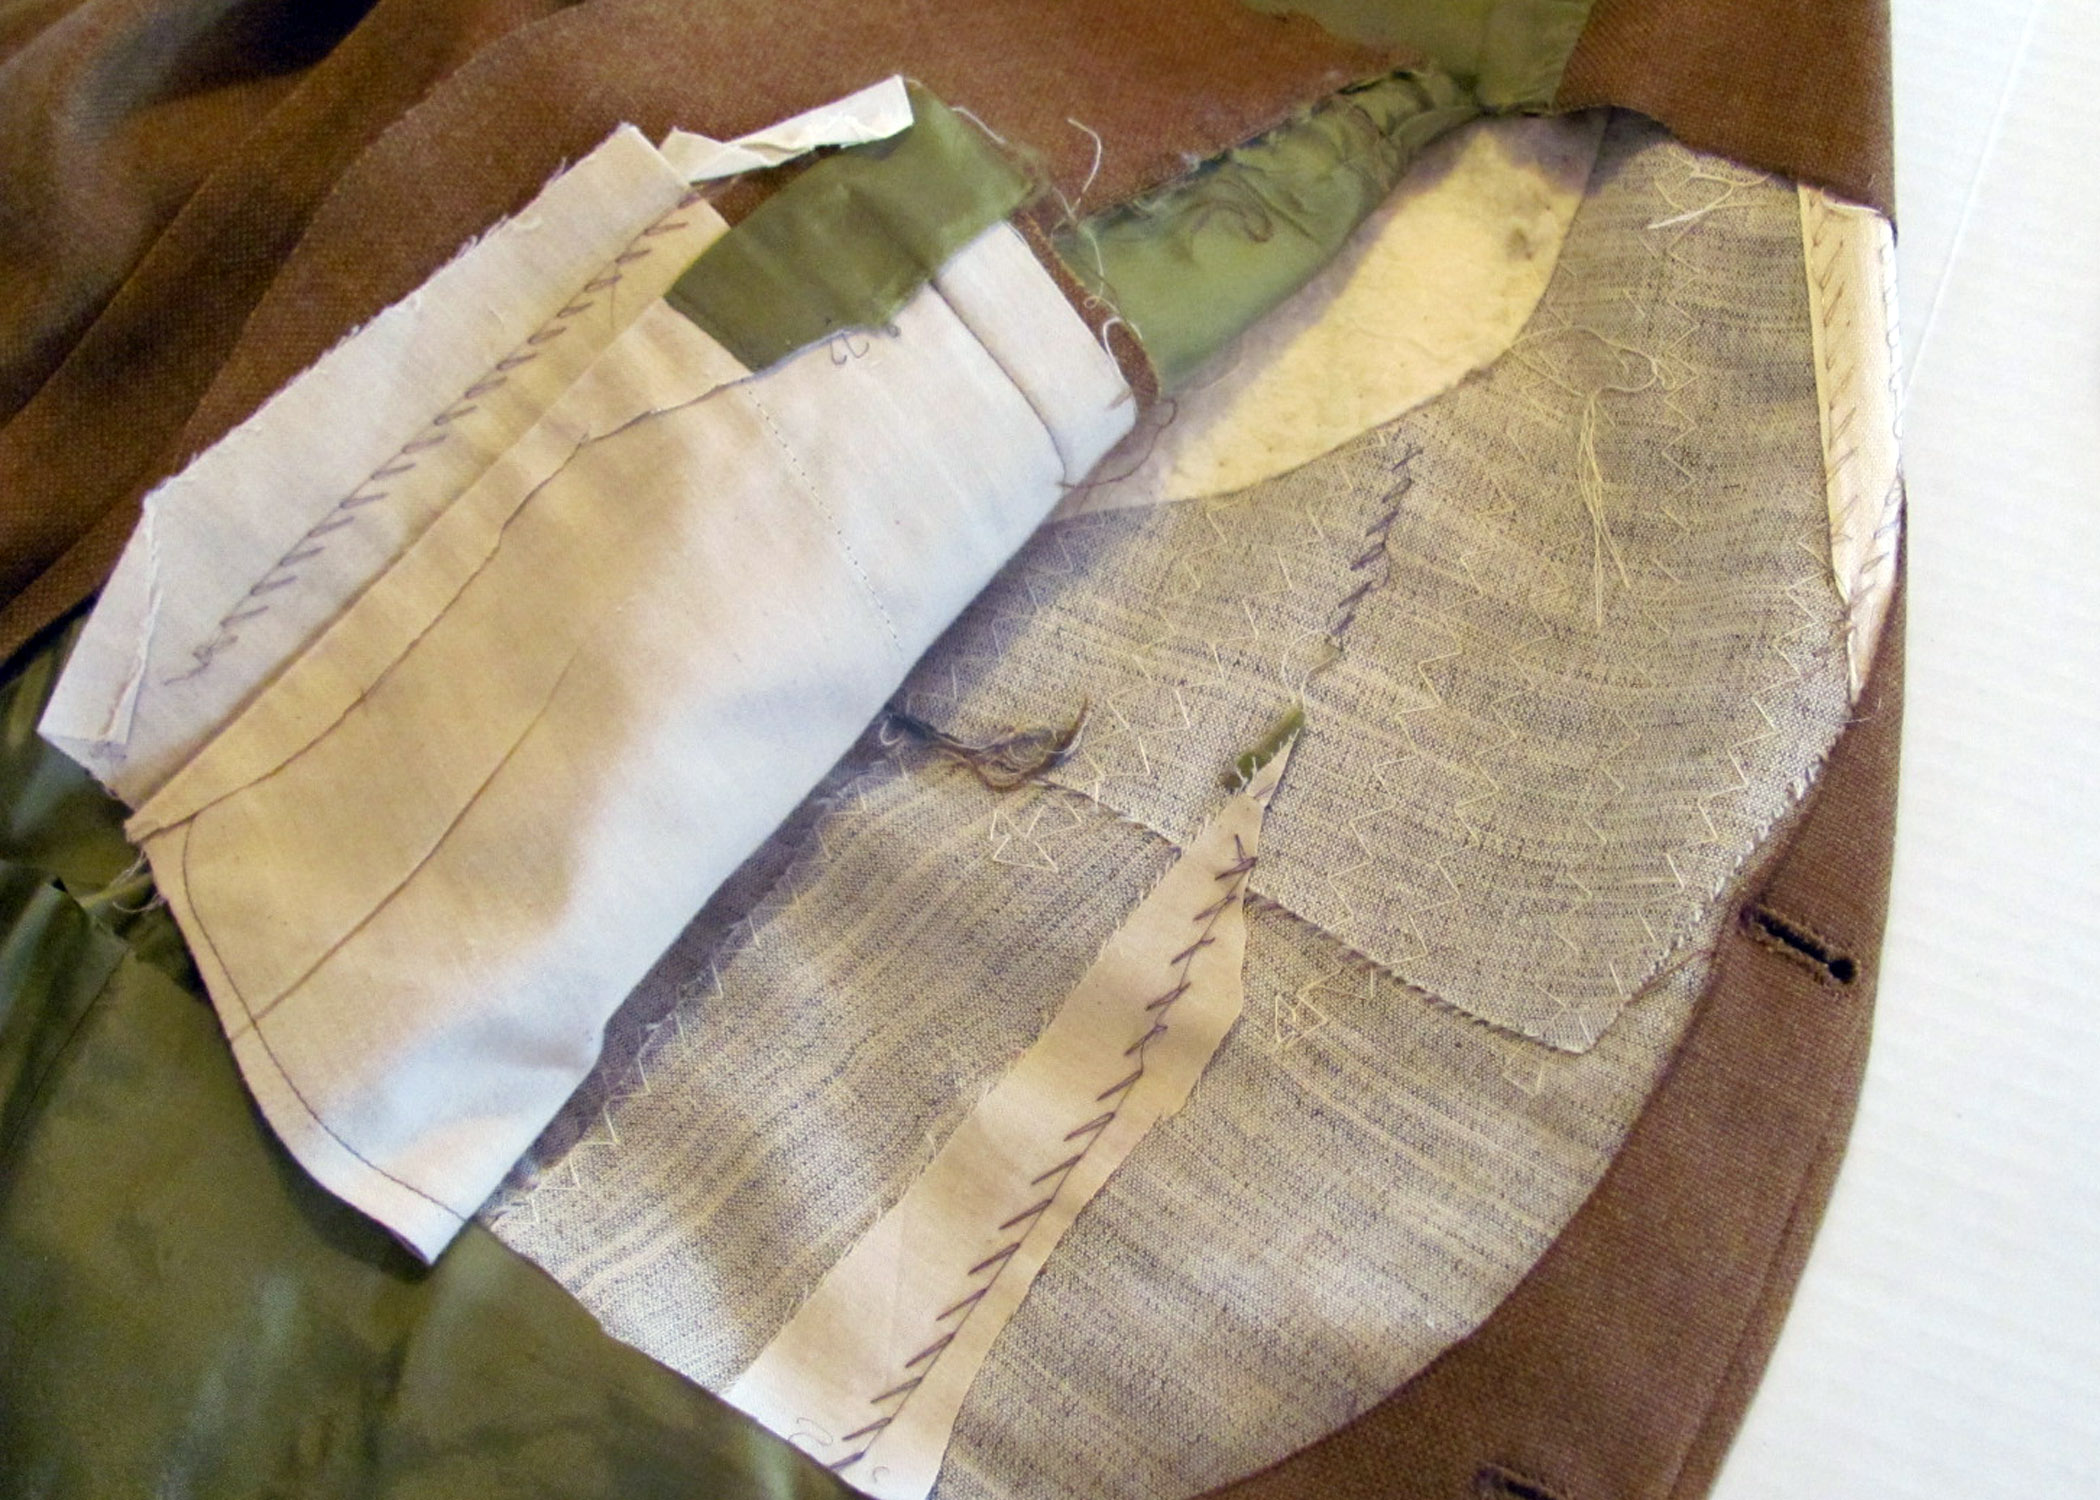
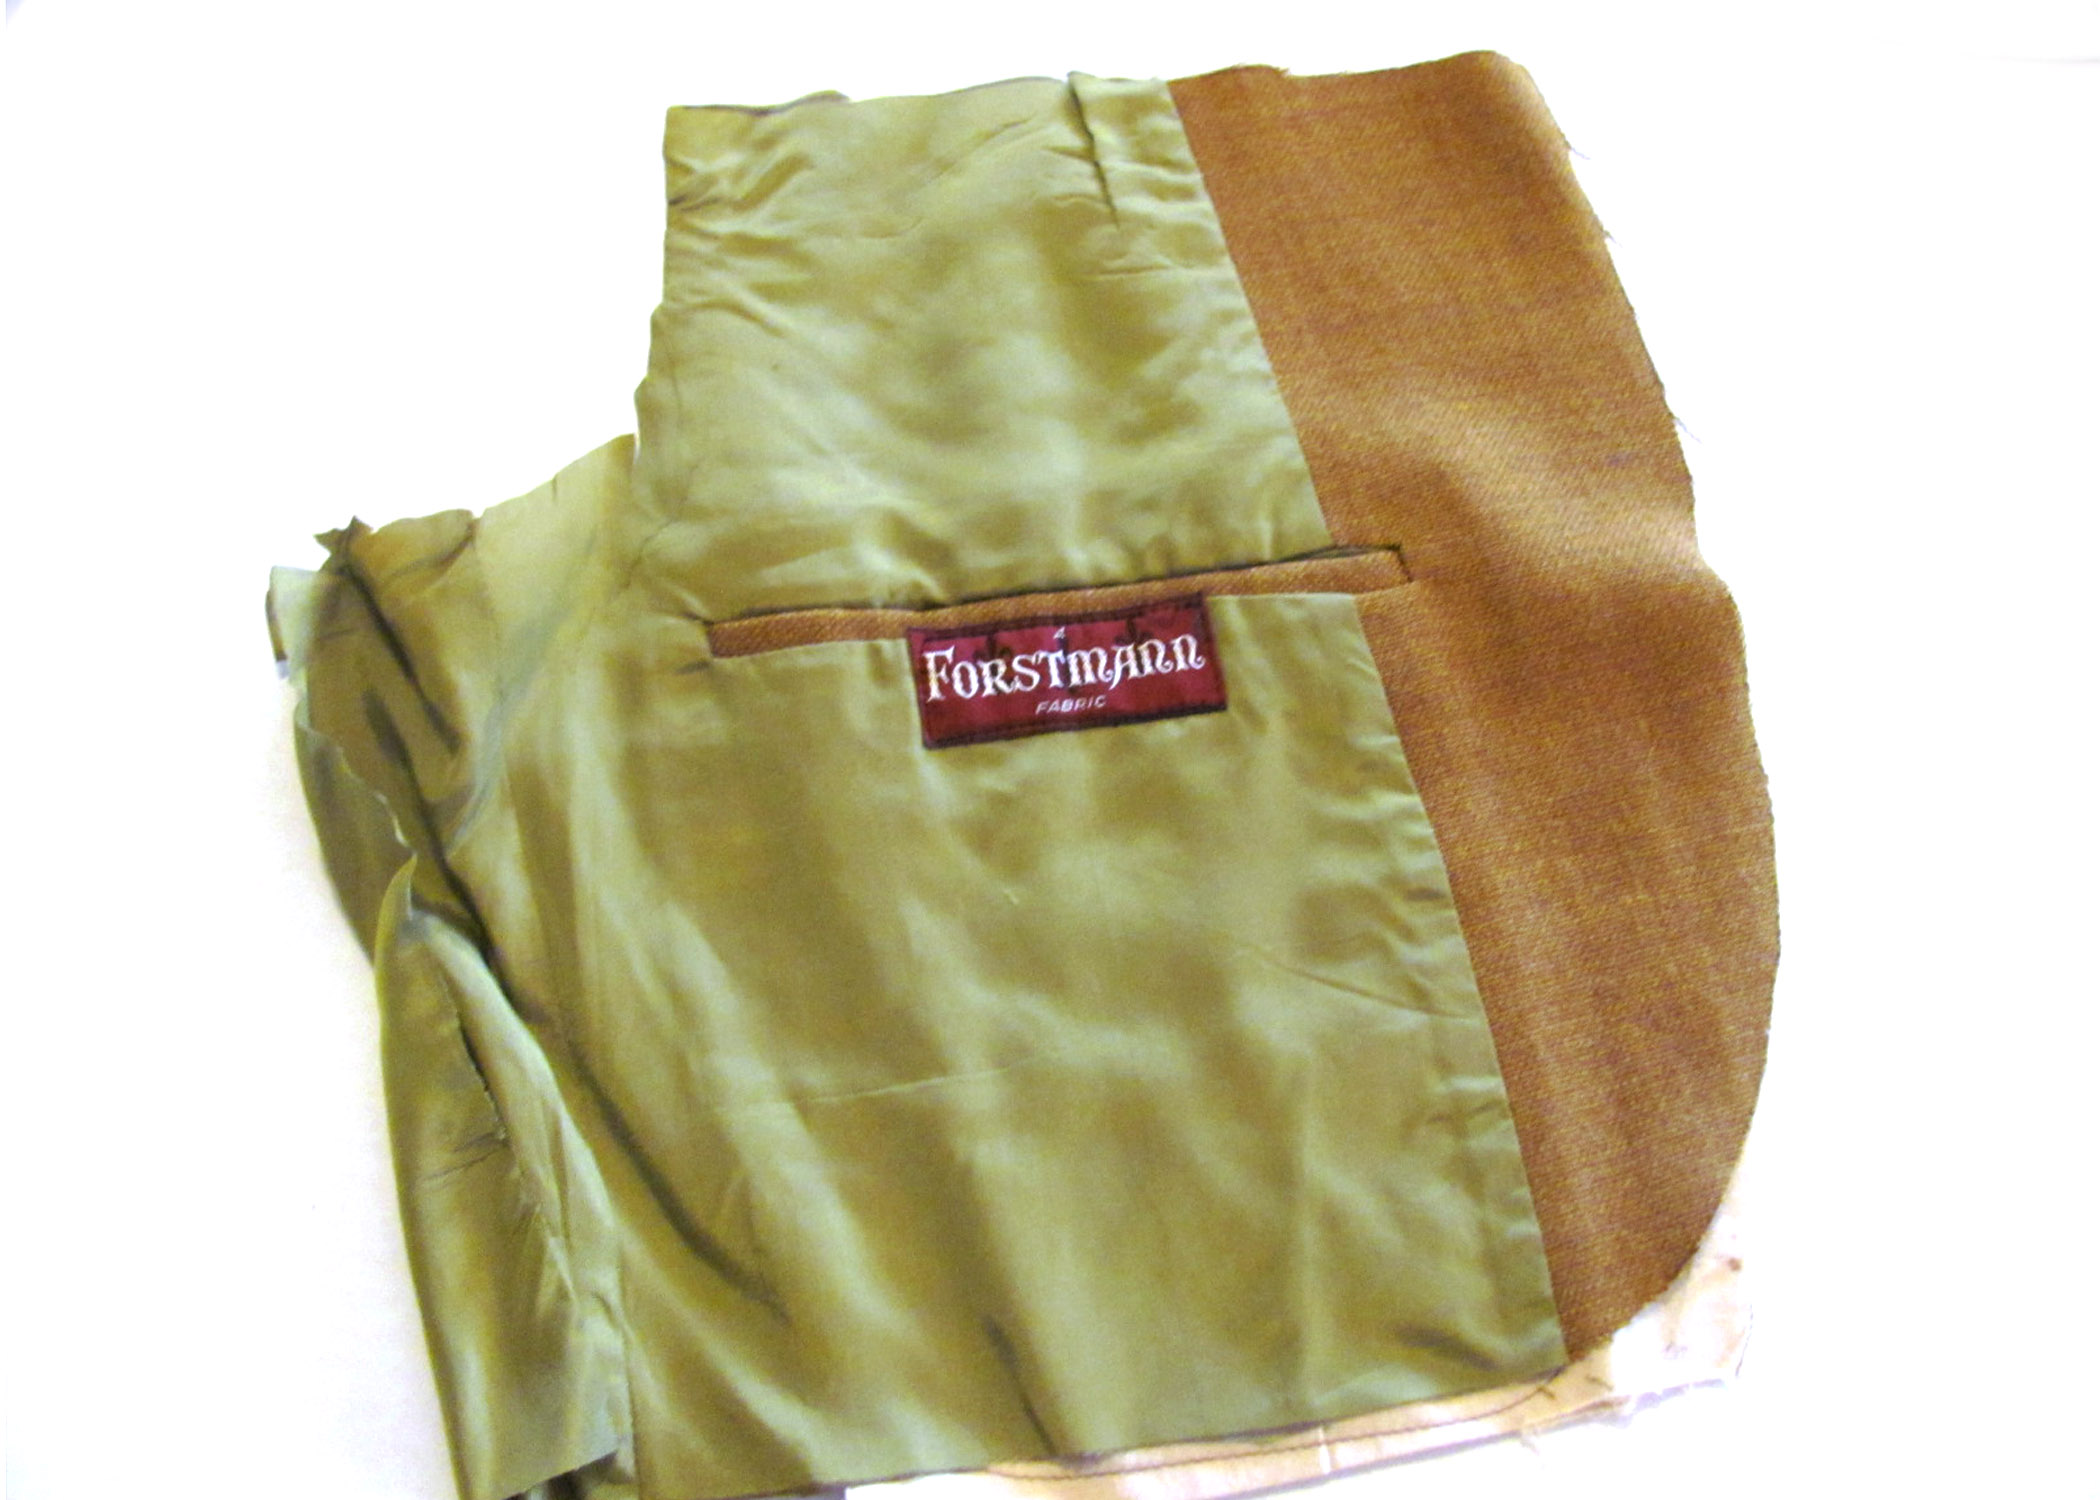
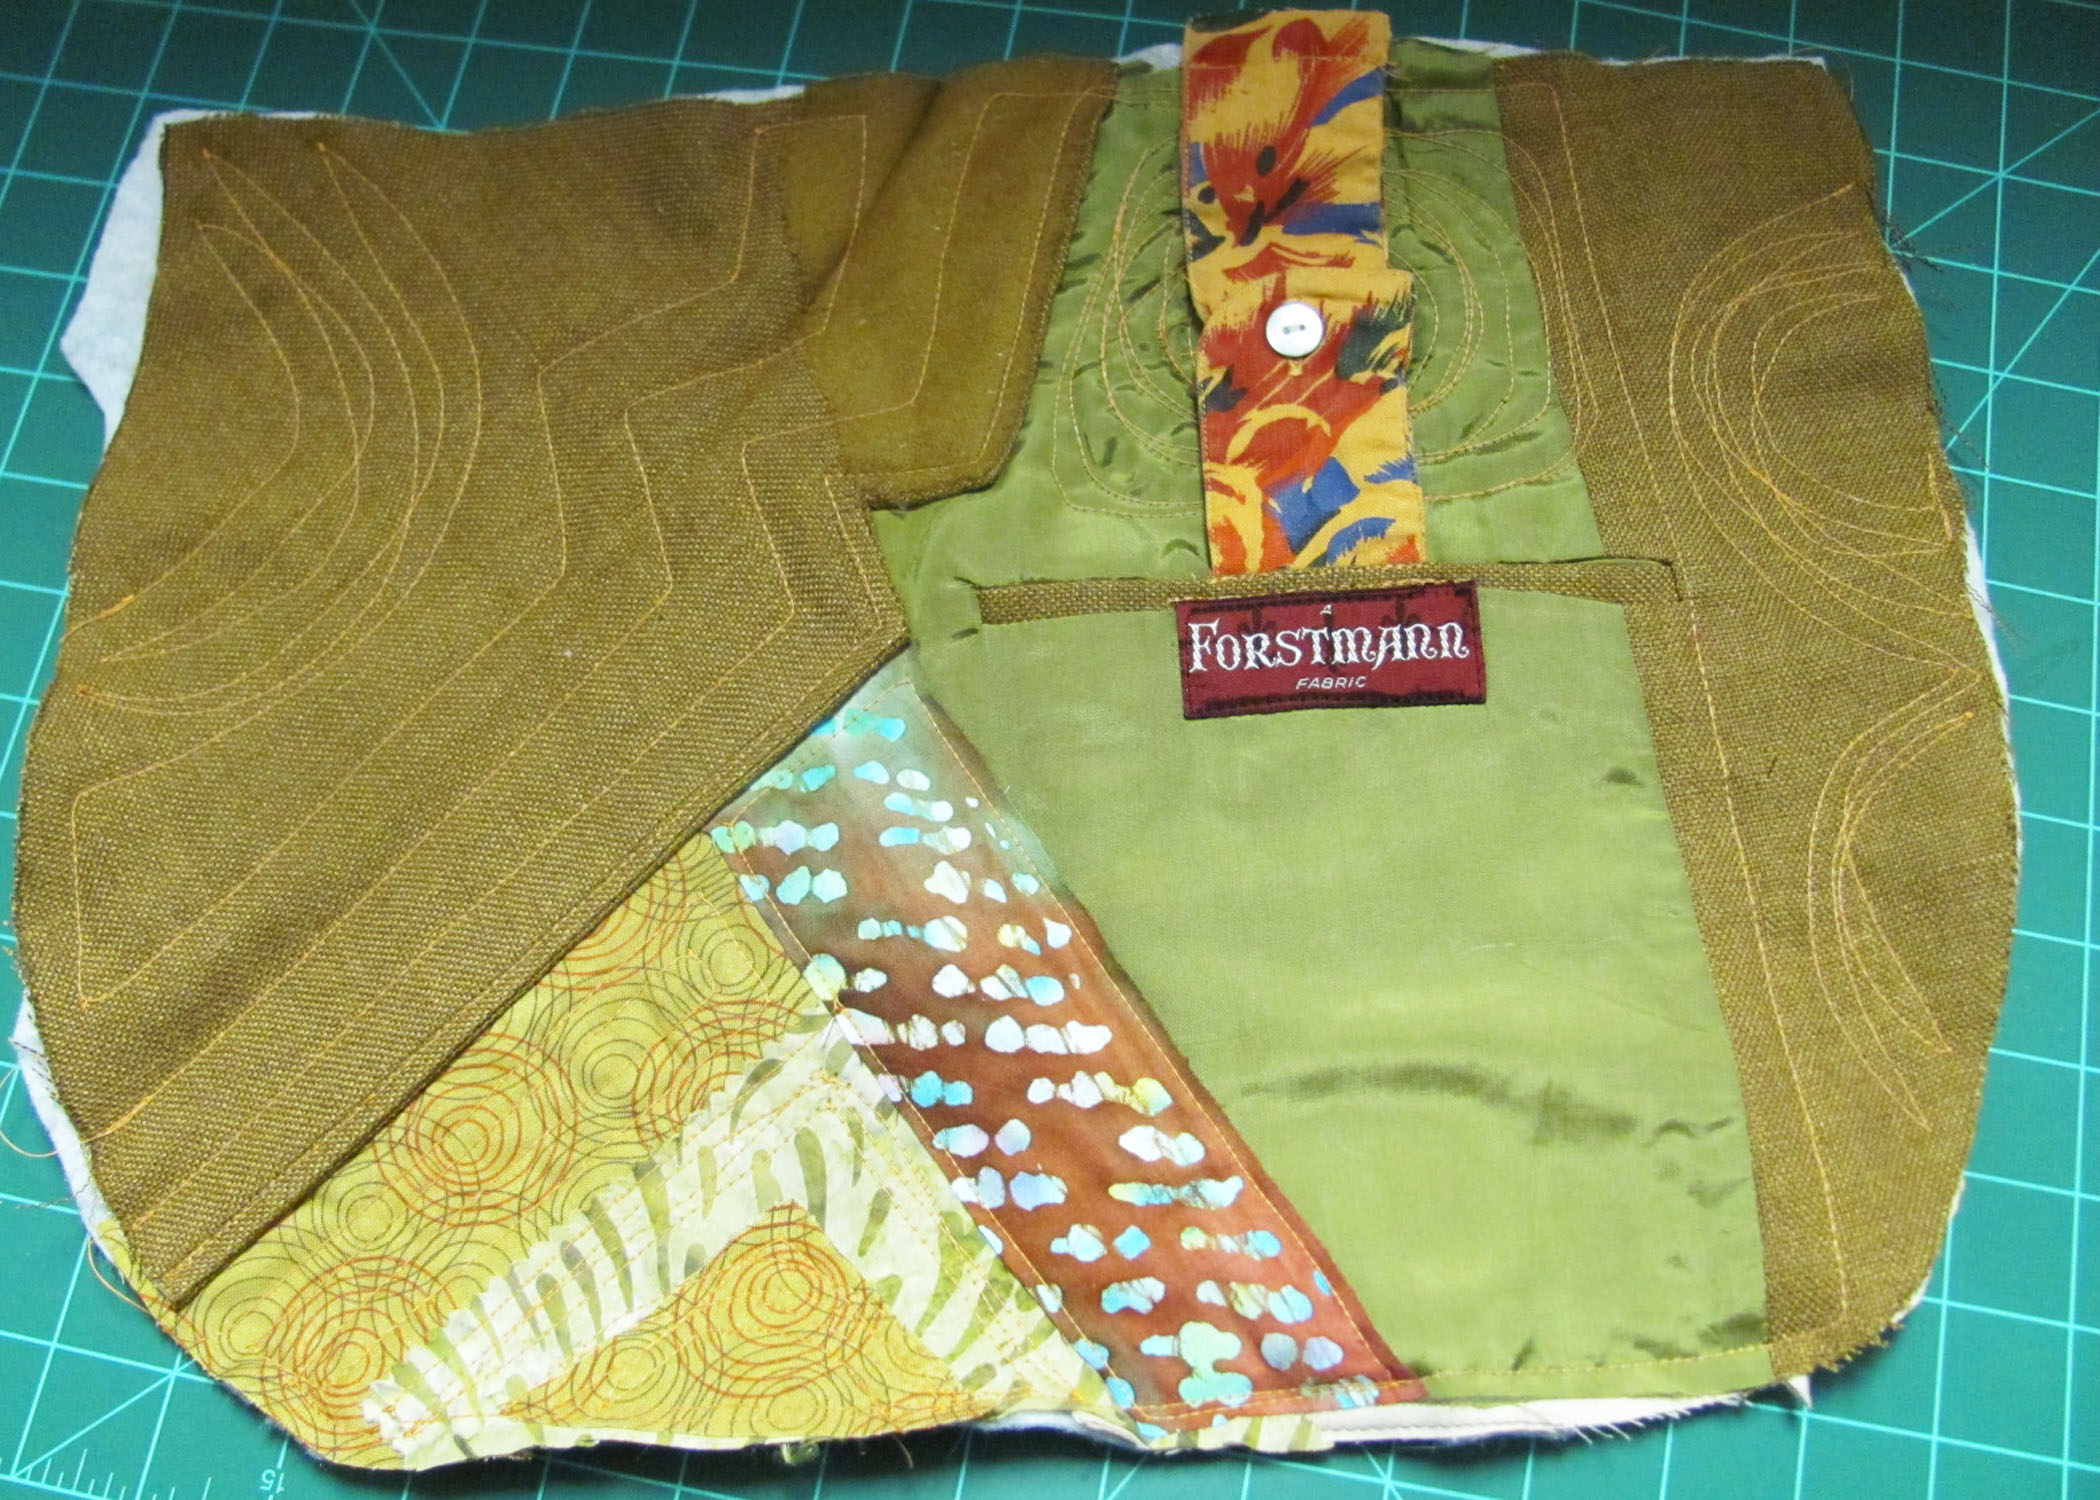
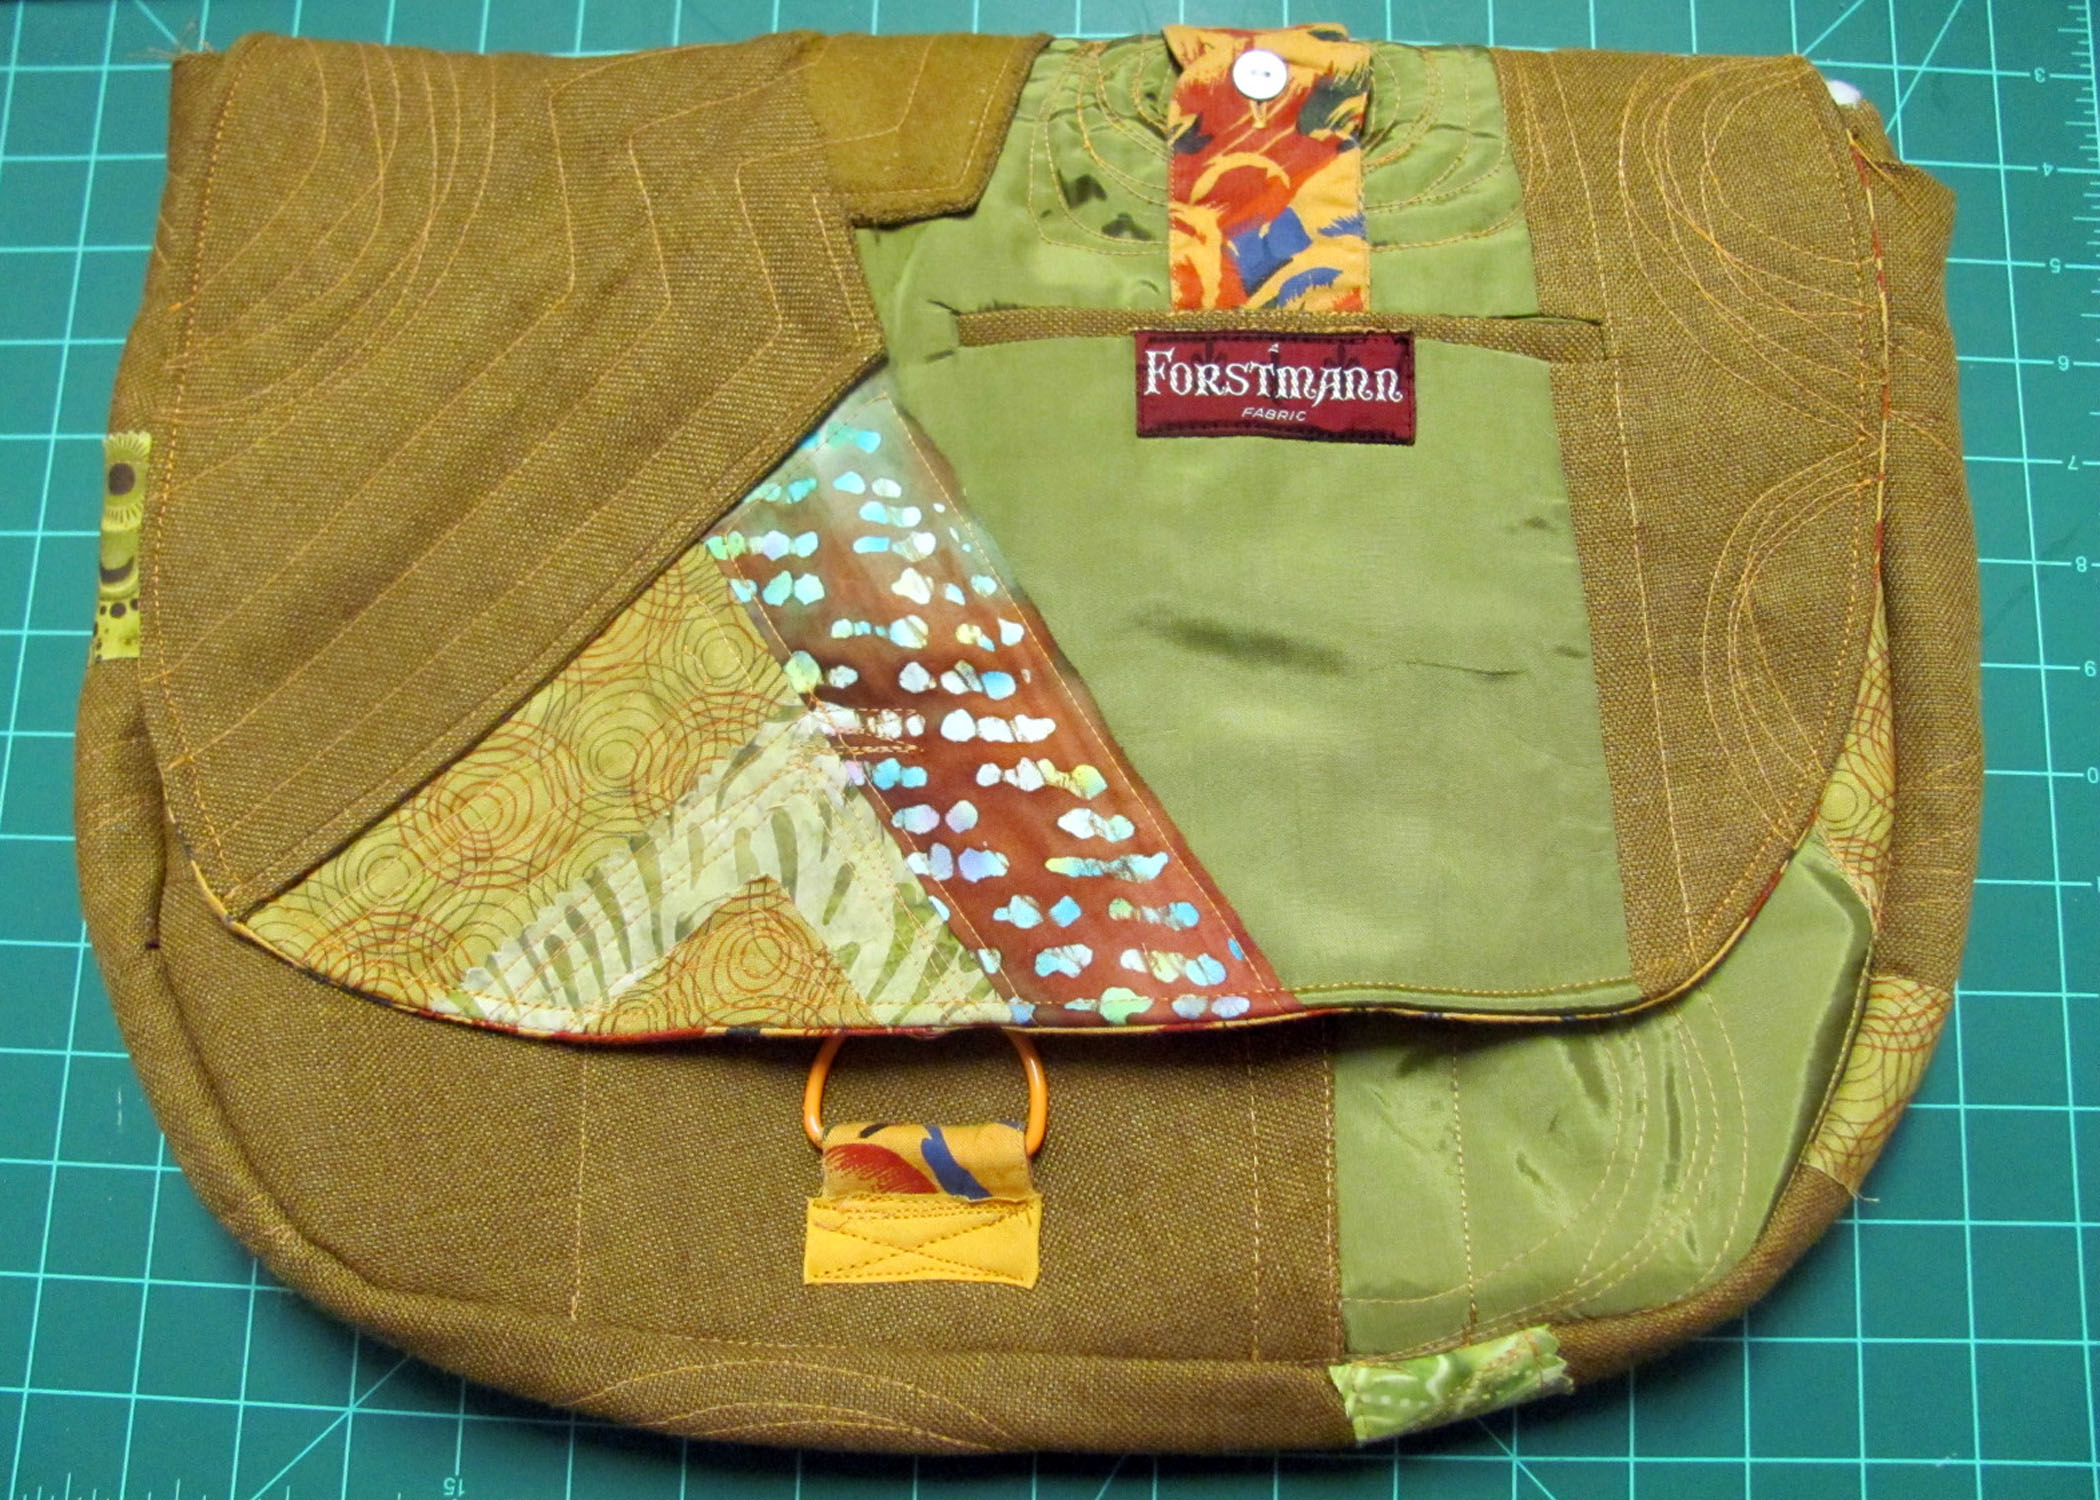
I look over the item intended for the outer bag to discover its most interesting features, because I want to make the most of these. Pockets, lapels, cuffs, labels, buttons…

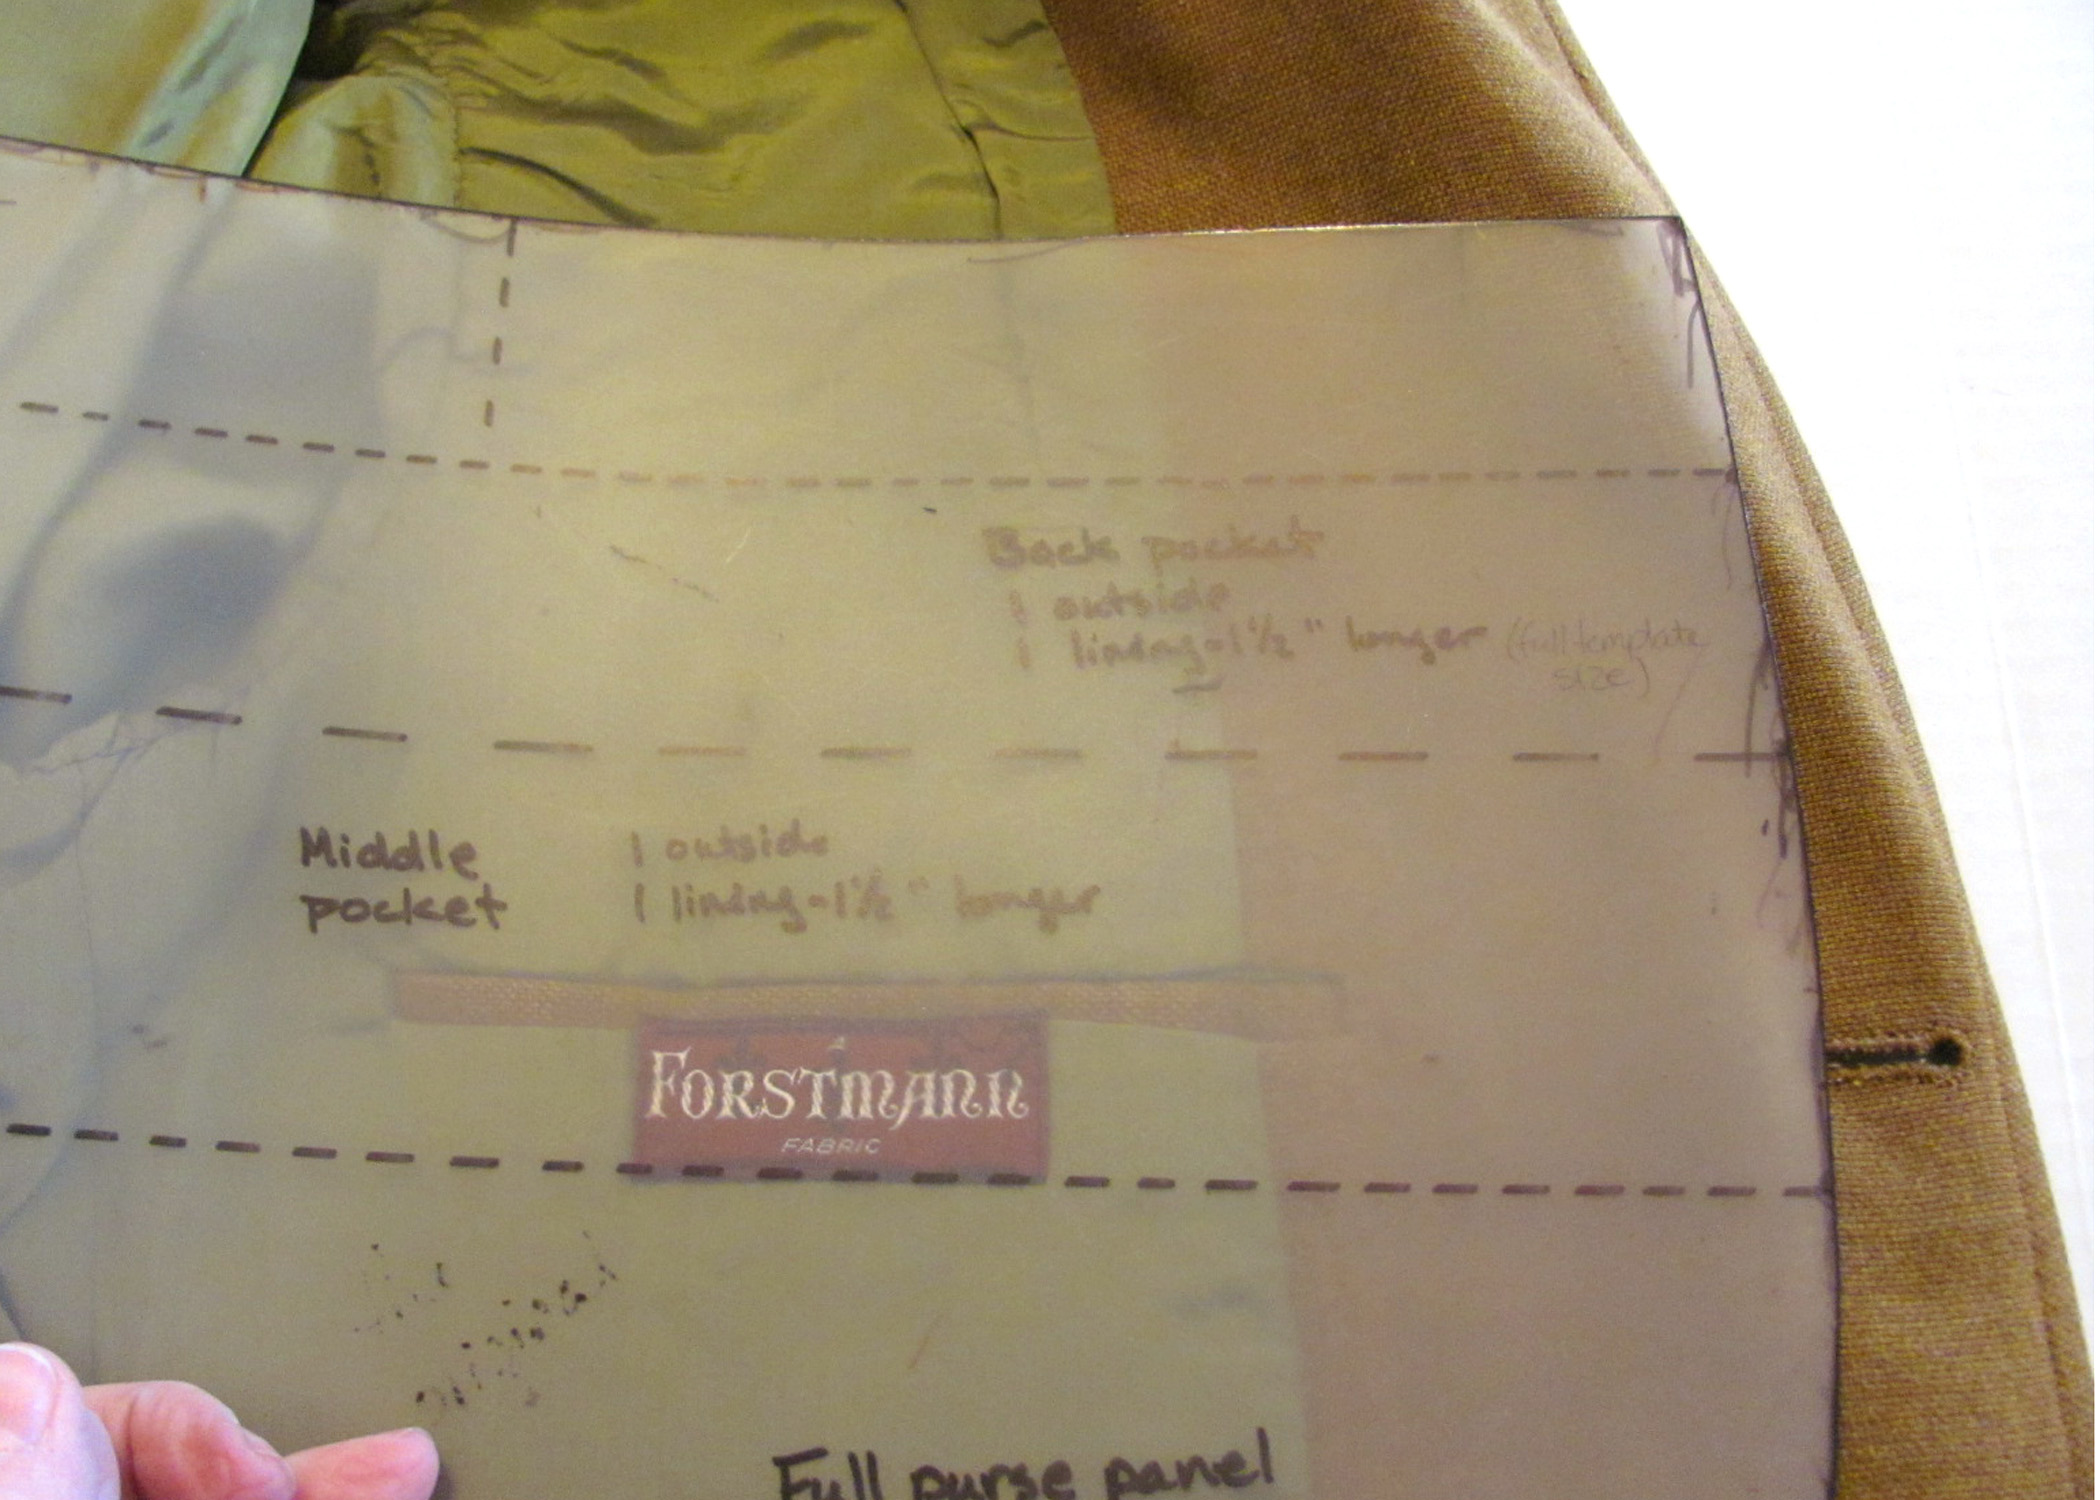
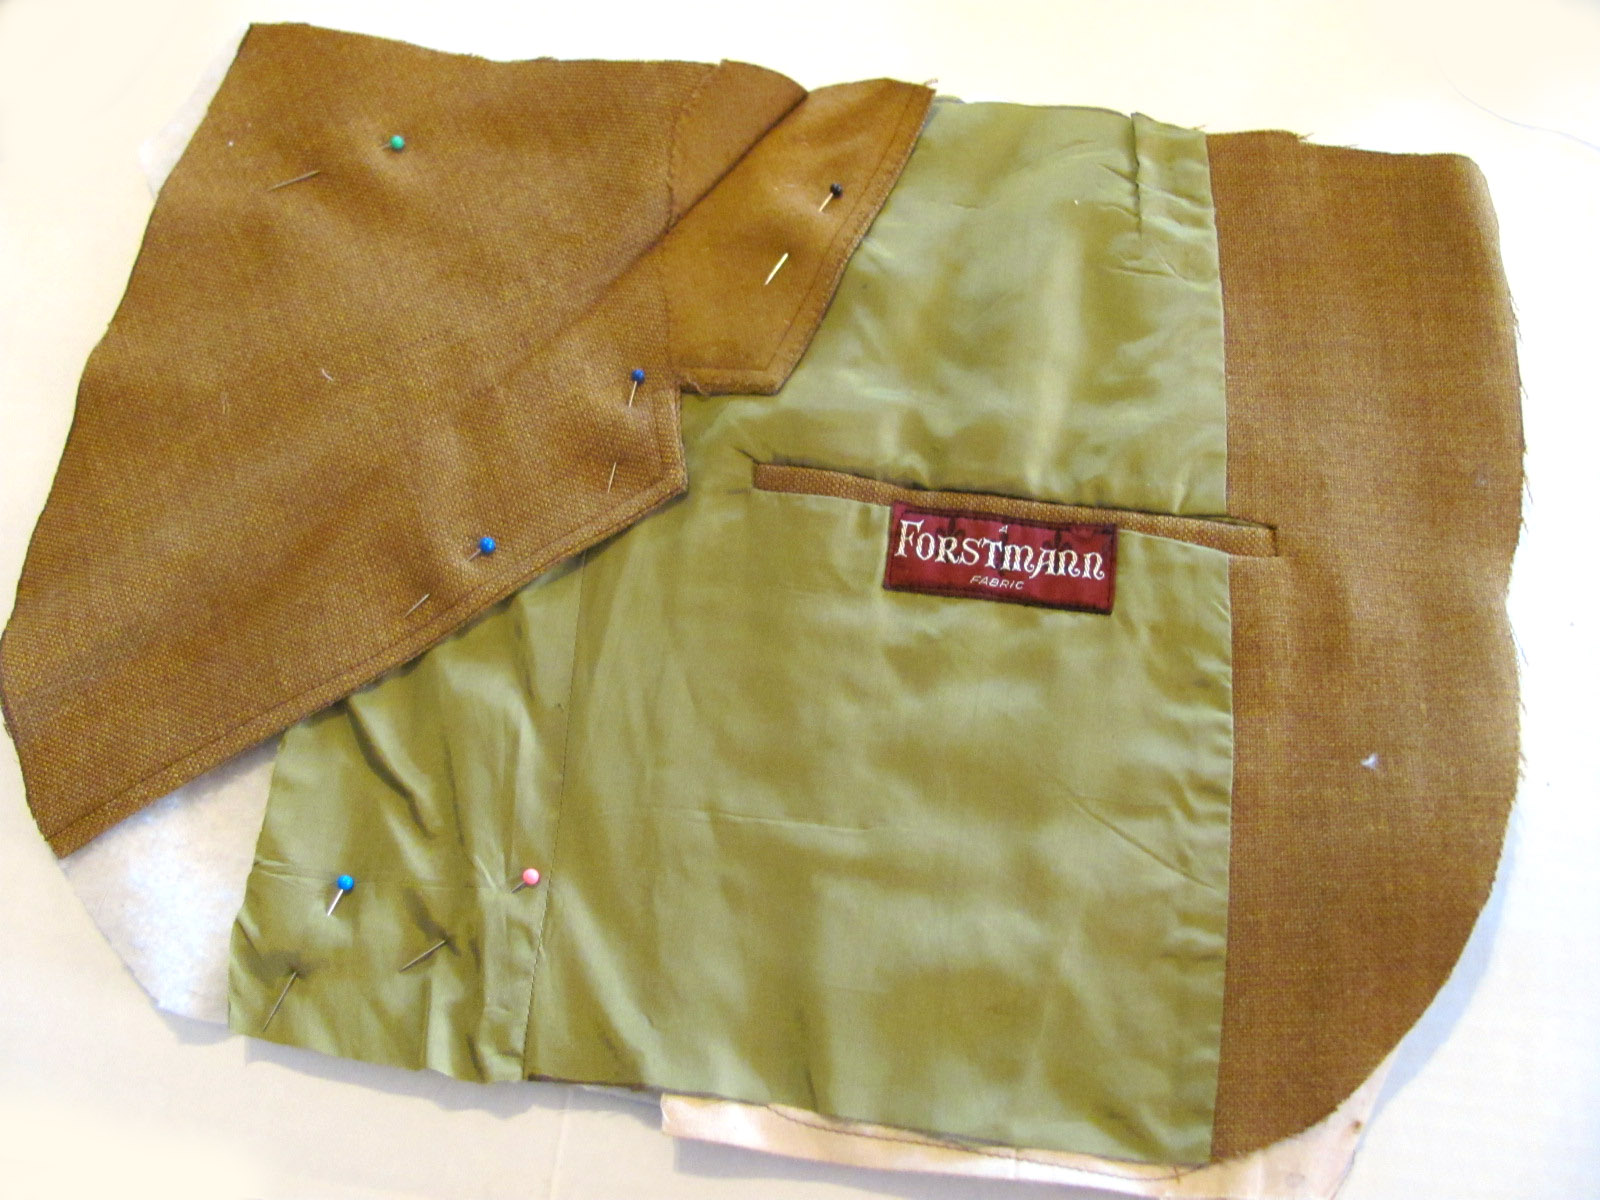
The next order of business is to draw a pattern. I use whatever clear and sturdy plastic I can lay my hands on. This is a frosted sheet I found, but I also often use plastic placemats that are clear enough to see through so you can be sure and utilize those special features already scoped out. The size and shape for this are up to you, but generally if you start with a rectangle, round the bottom corners and taper in slightly at the top corners you will have your basic pattern. You will cut three panels from this shape that will make up the main part of the exterior of your bag. You will cut a back pocket from the same template, just making it slightly shorter, then a front pocket that is even shorter.

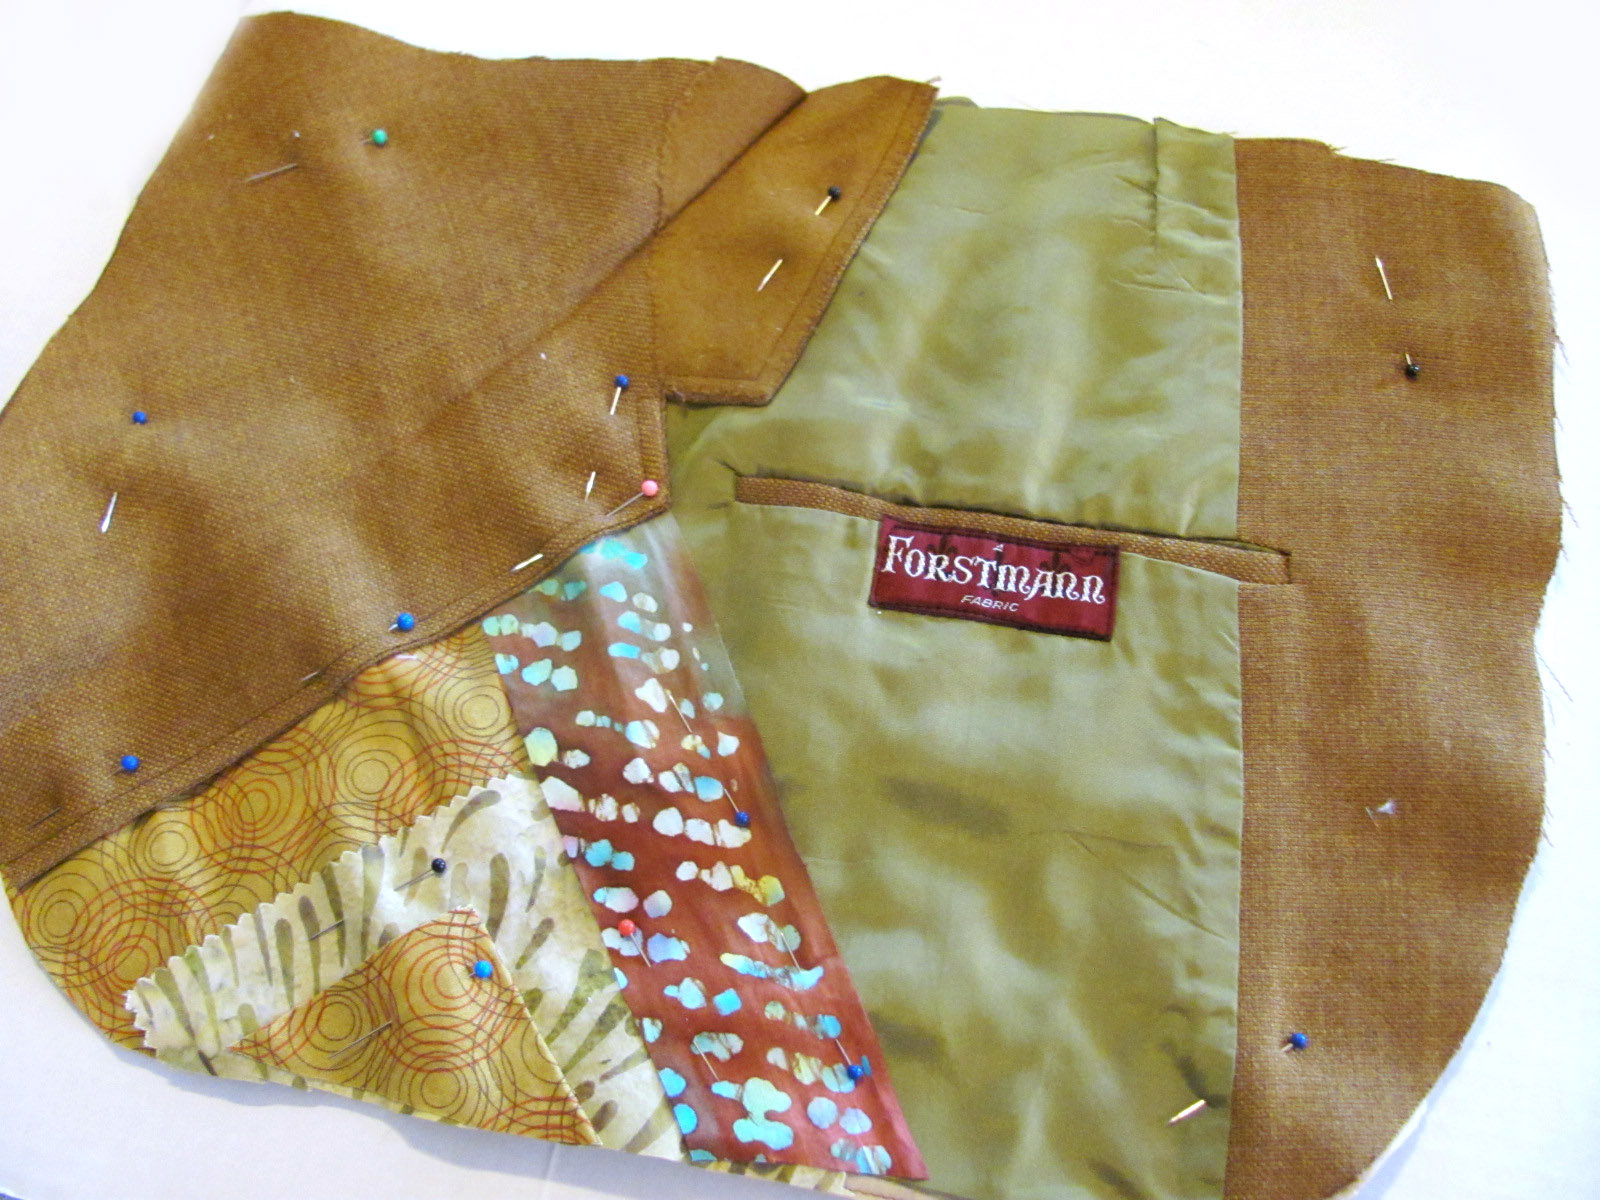
Don’t worry if the shape doesn’t fit just right, the more piecing together, the funner the bag looks!
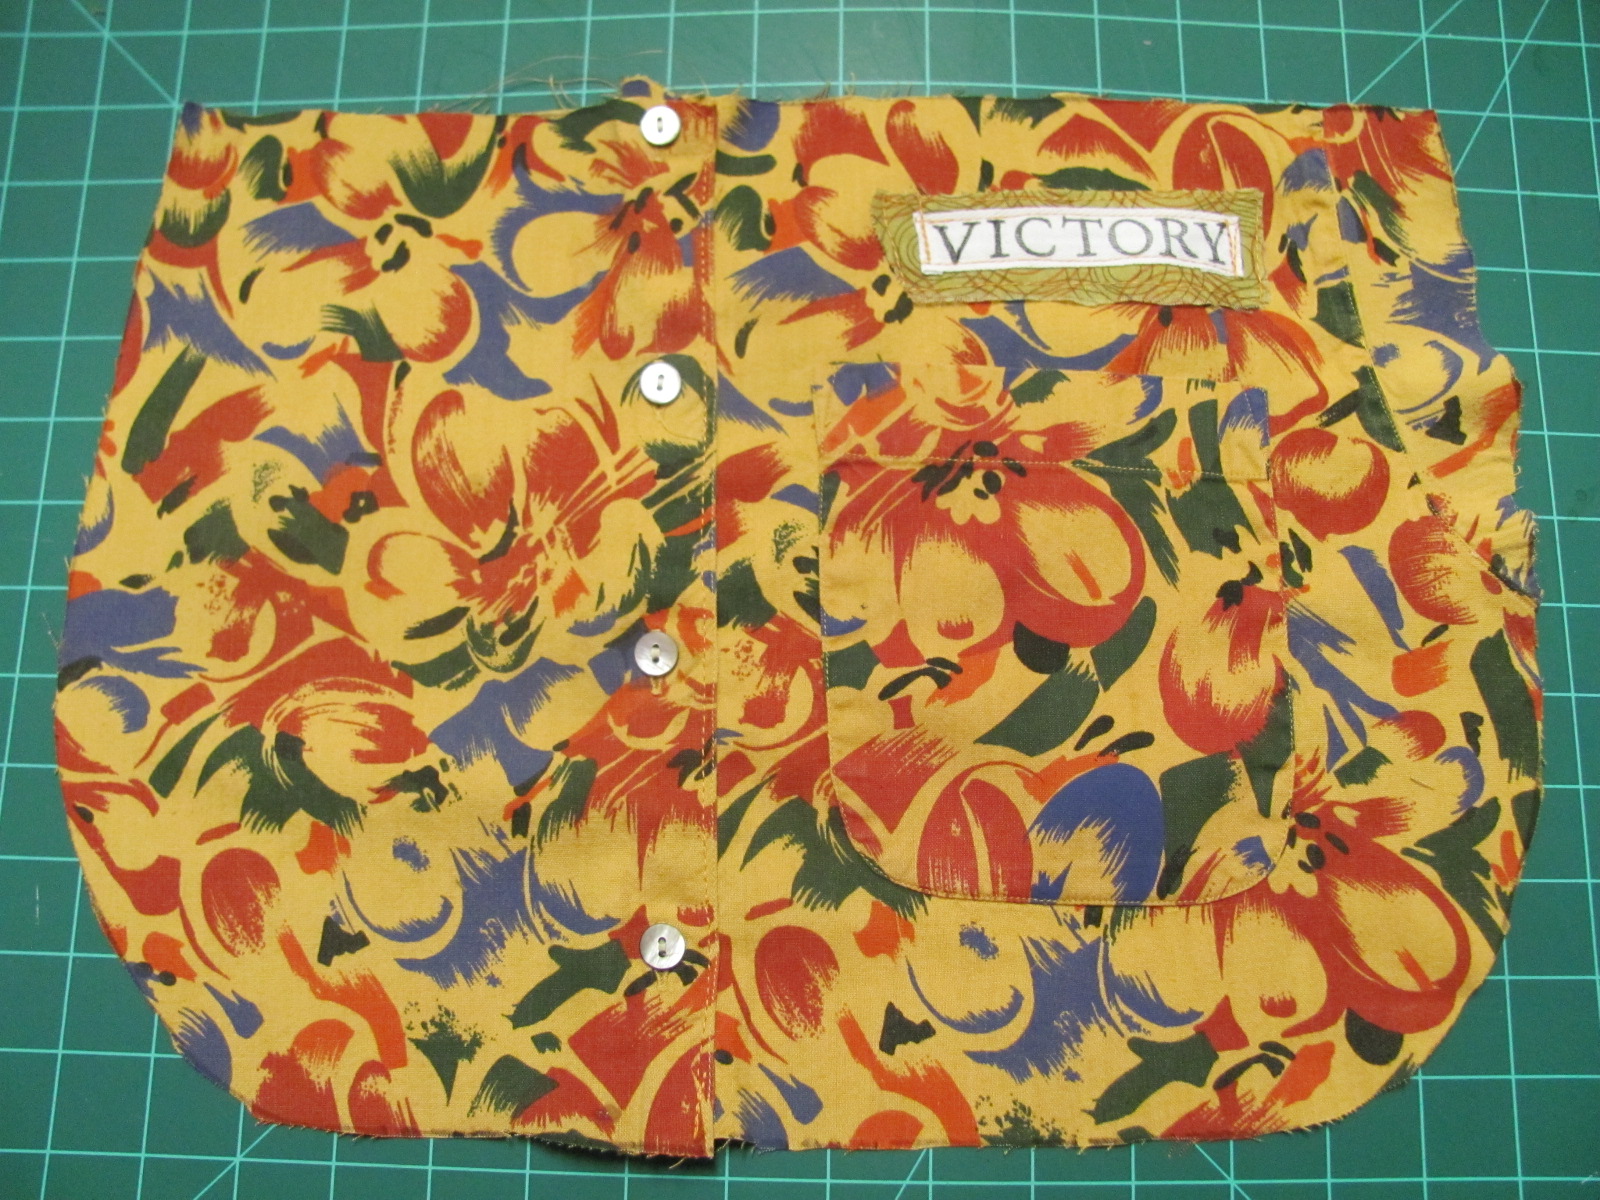
Once you have cut out your special feature (in this case a fun inside pocket) you can start piecing in additions to make up a complete panel.
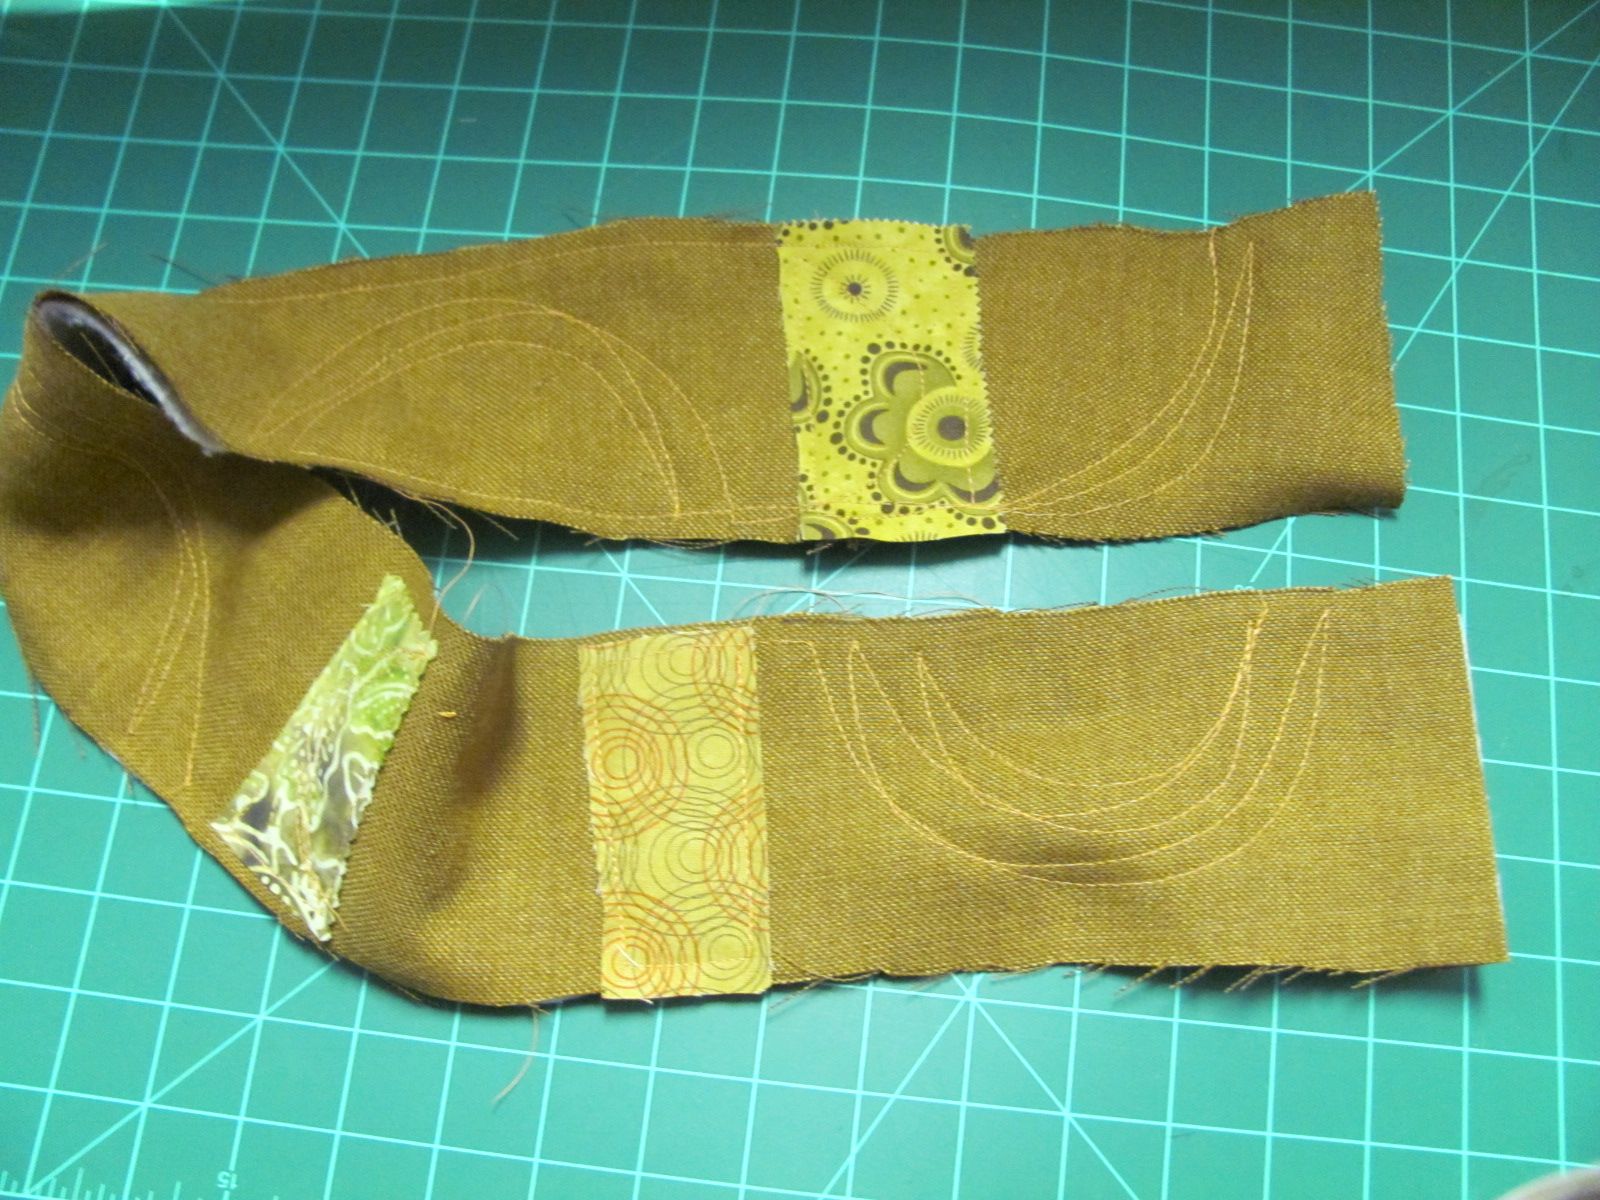
You will need to end up with three panels, plus a strip as long as three sides (all but the top) of your panel. Mine is 3 1/2 x 36 inches.
Then, cut two more panels, a bit shorter, for your front and back pockets.
You will need three more panels and another strip from lining fabric as well.
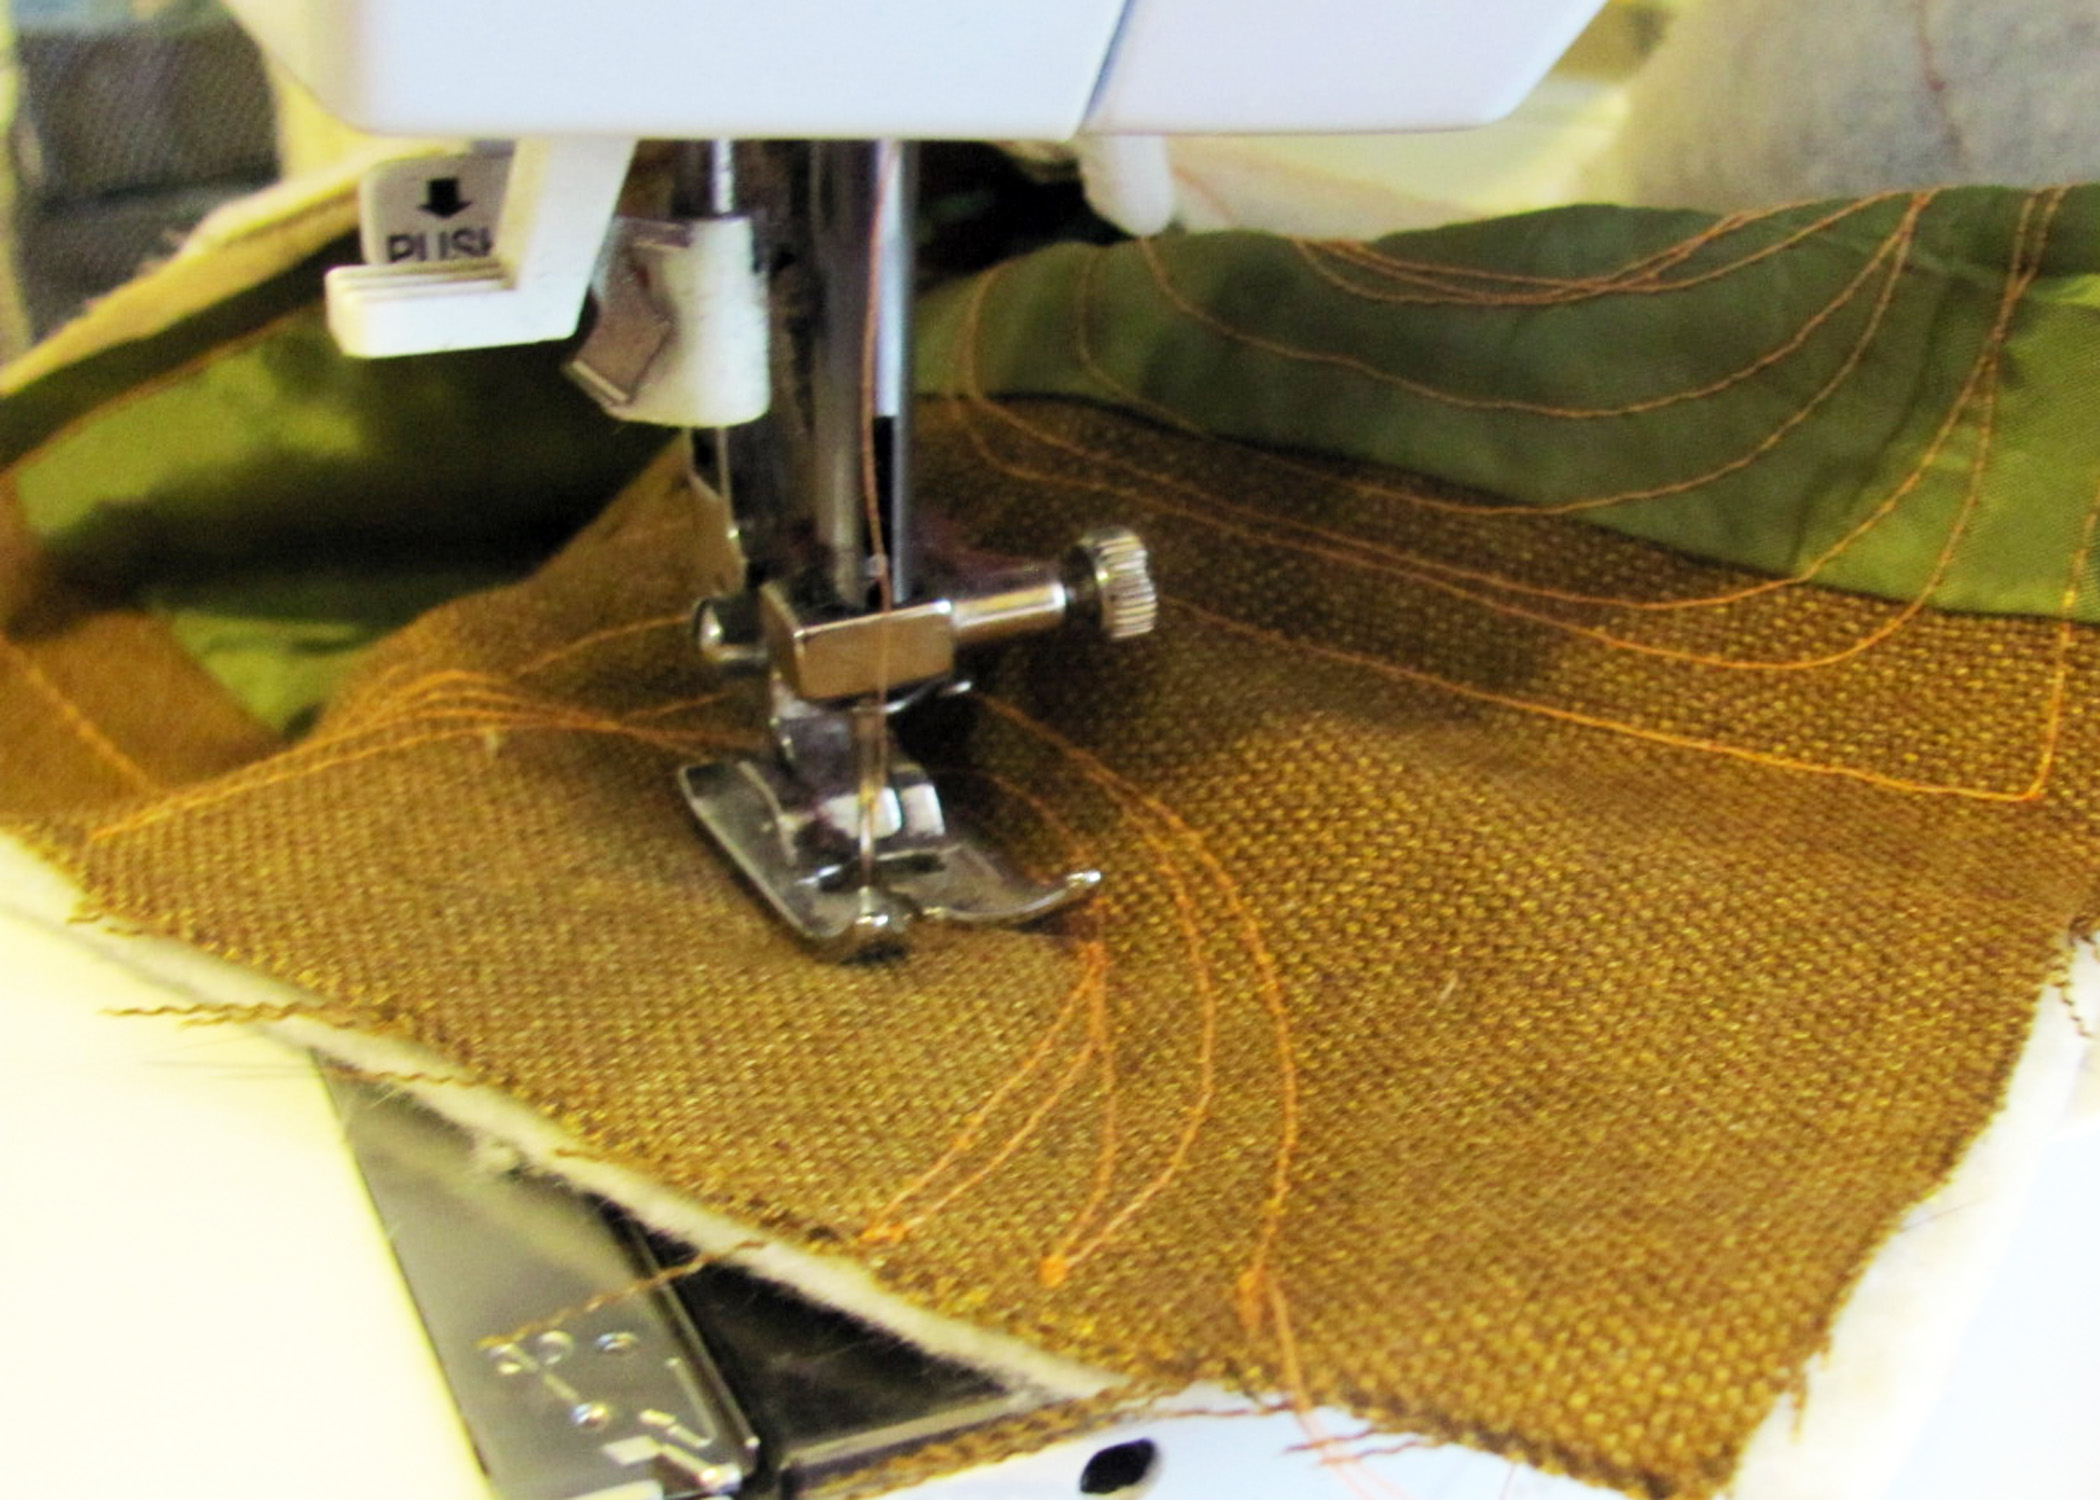
Now the real fun begins. Using coordinating thread, I just let myself have fun with some machine quilting to attach the panels and side strip to the batting.
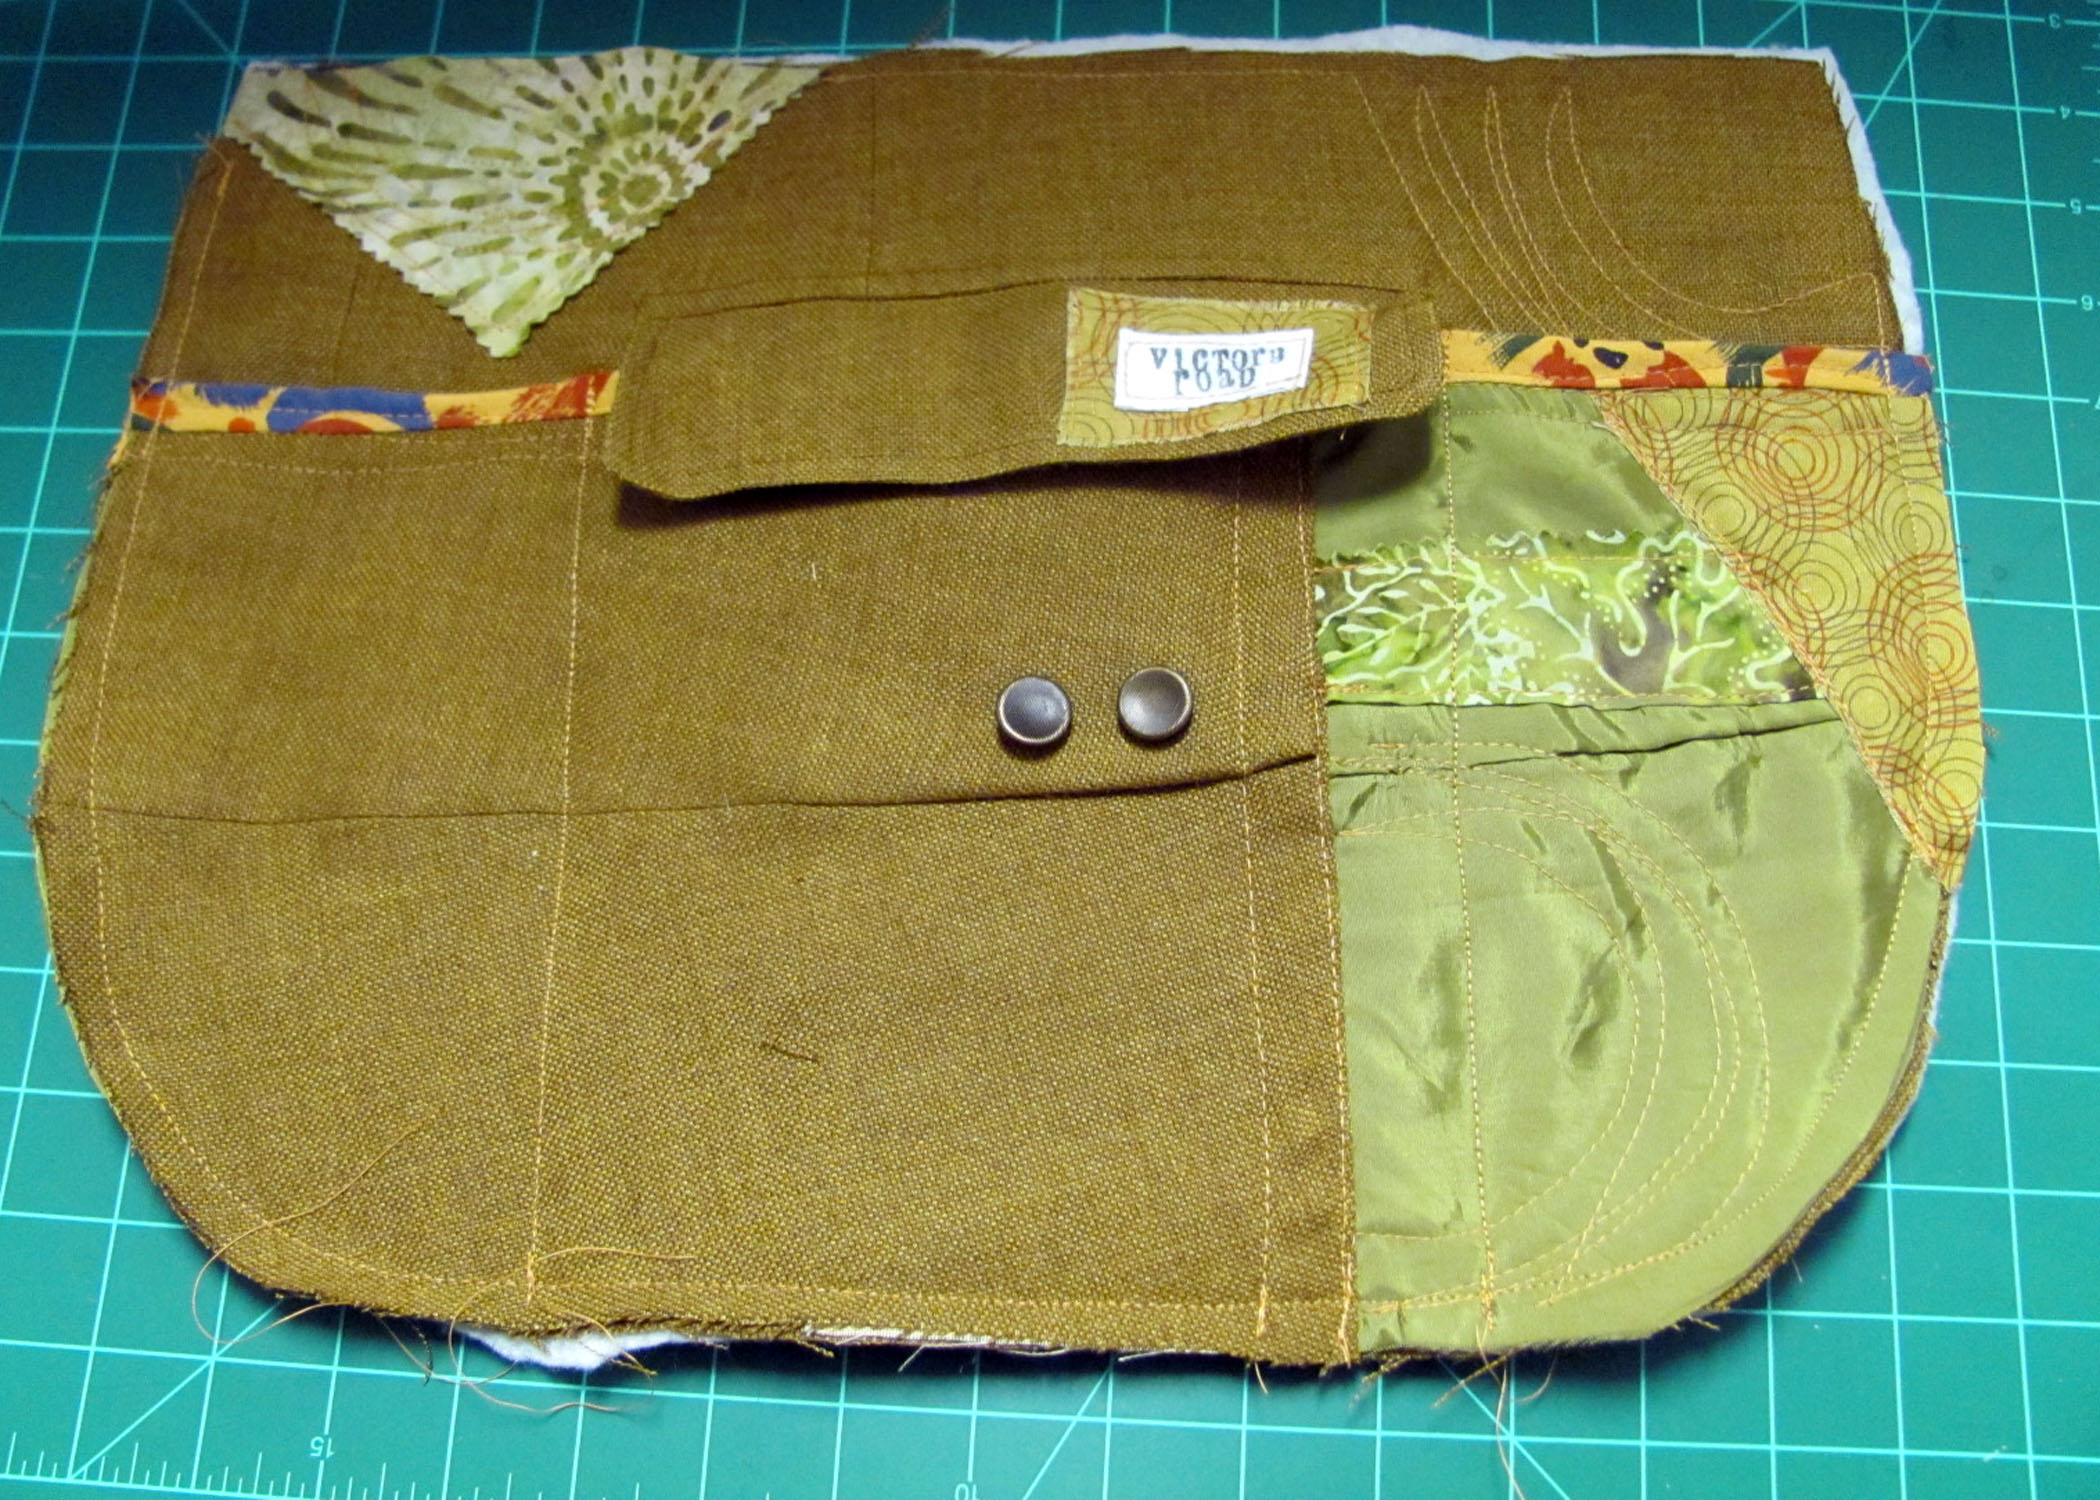
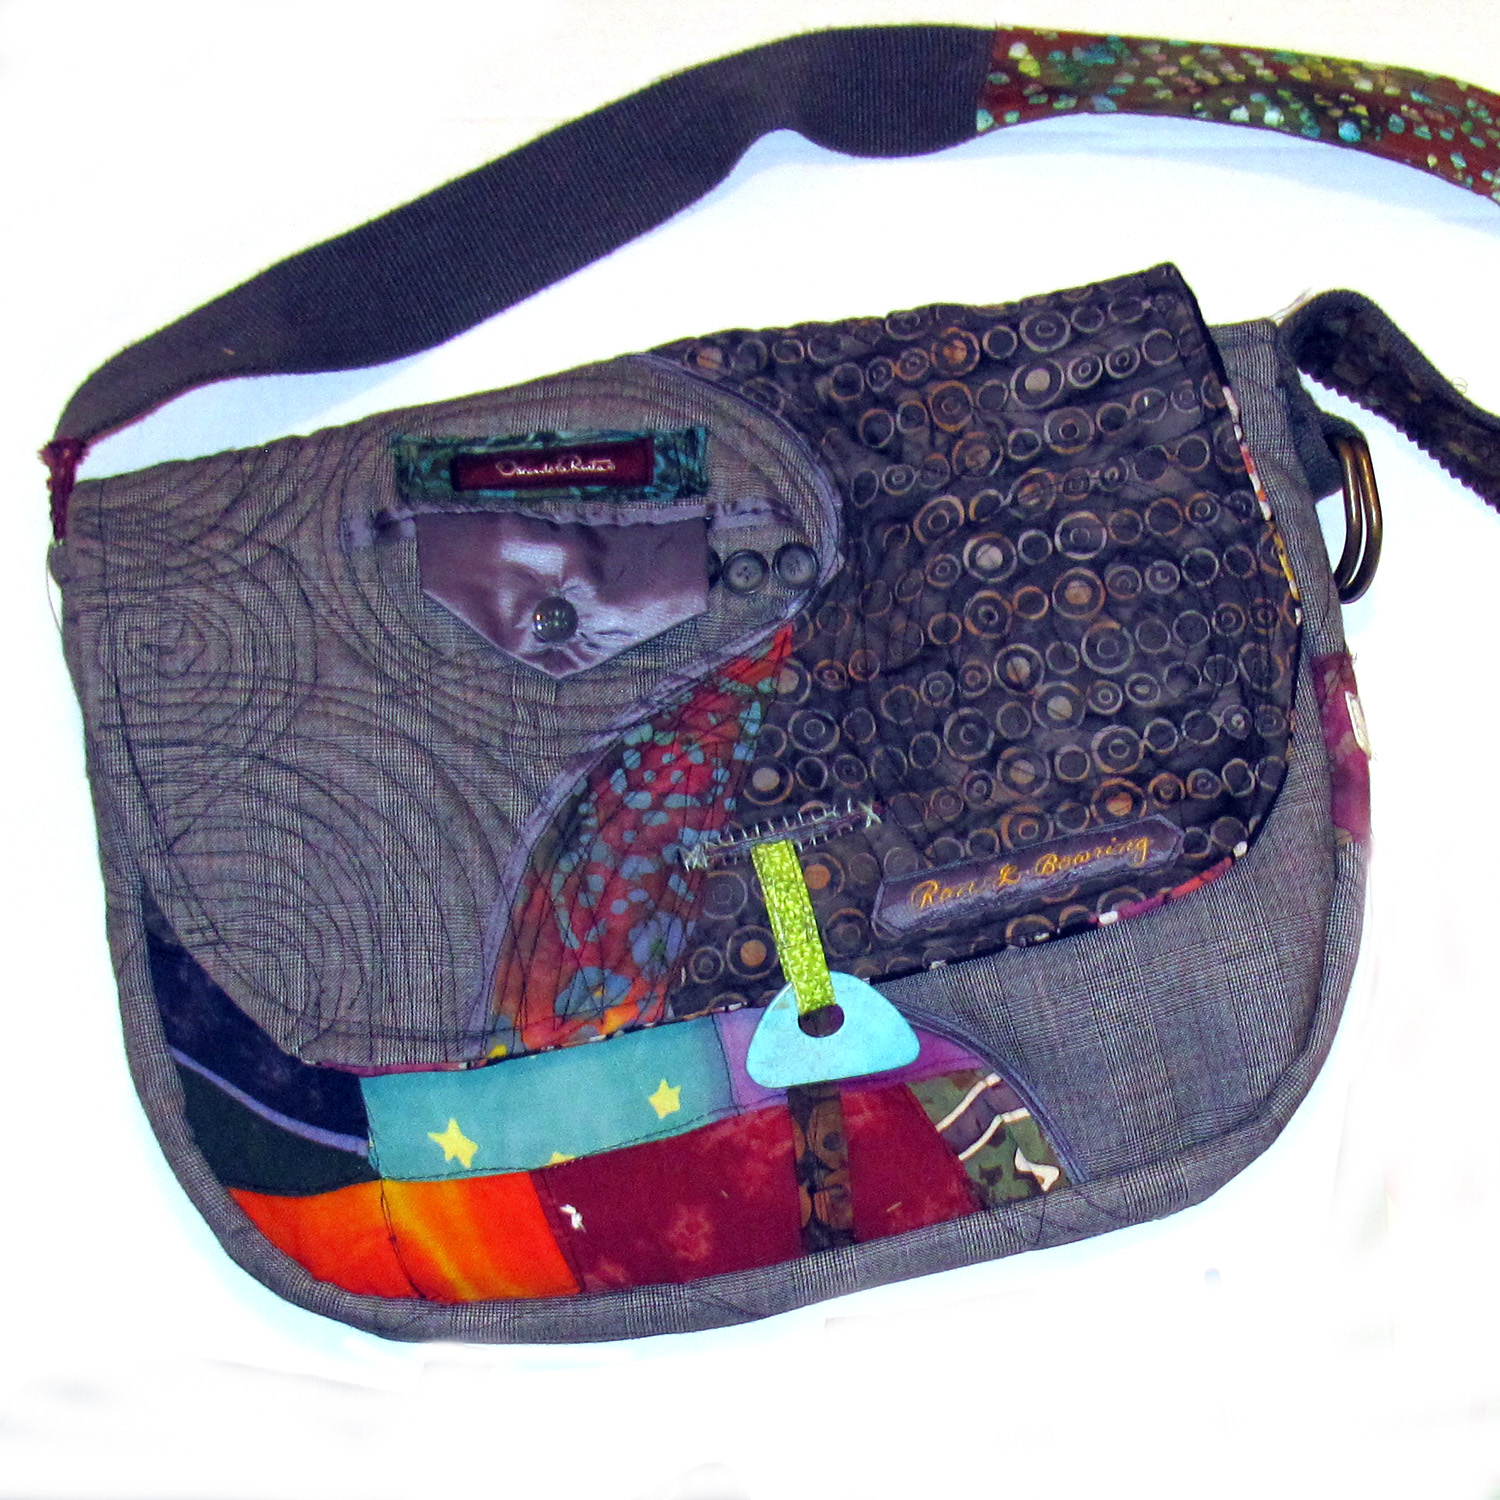
After getting the front and back pockets stitched in place, and any pocket divisions sewn, you are ready to assemble the body of the bag. Sew the quilted strip to the two sides and bottoms of the front and back panels. Sew the three lining pieces together in the same way. I used a cuff from the shirt I used for the lining to make the closure for the back pocket. This leaves plenty of room for slipping in a notebook.
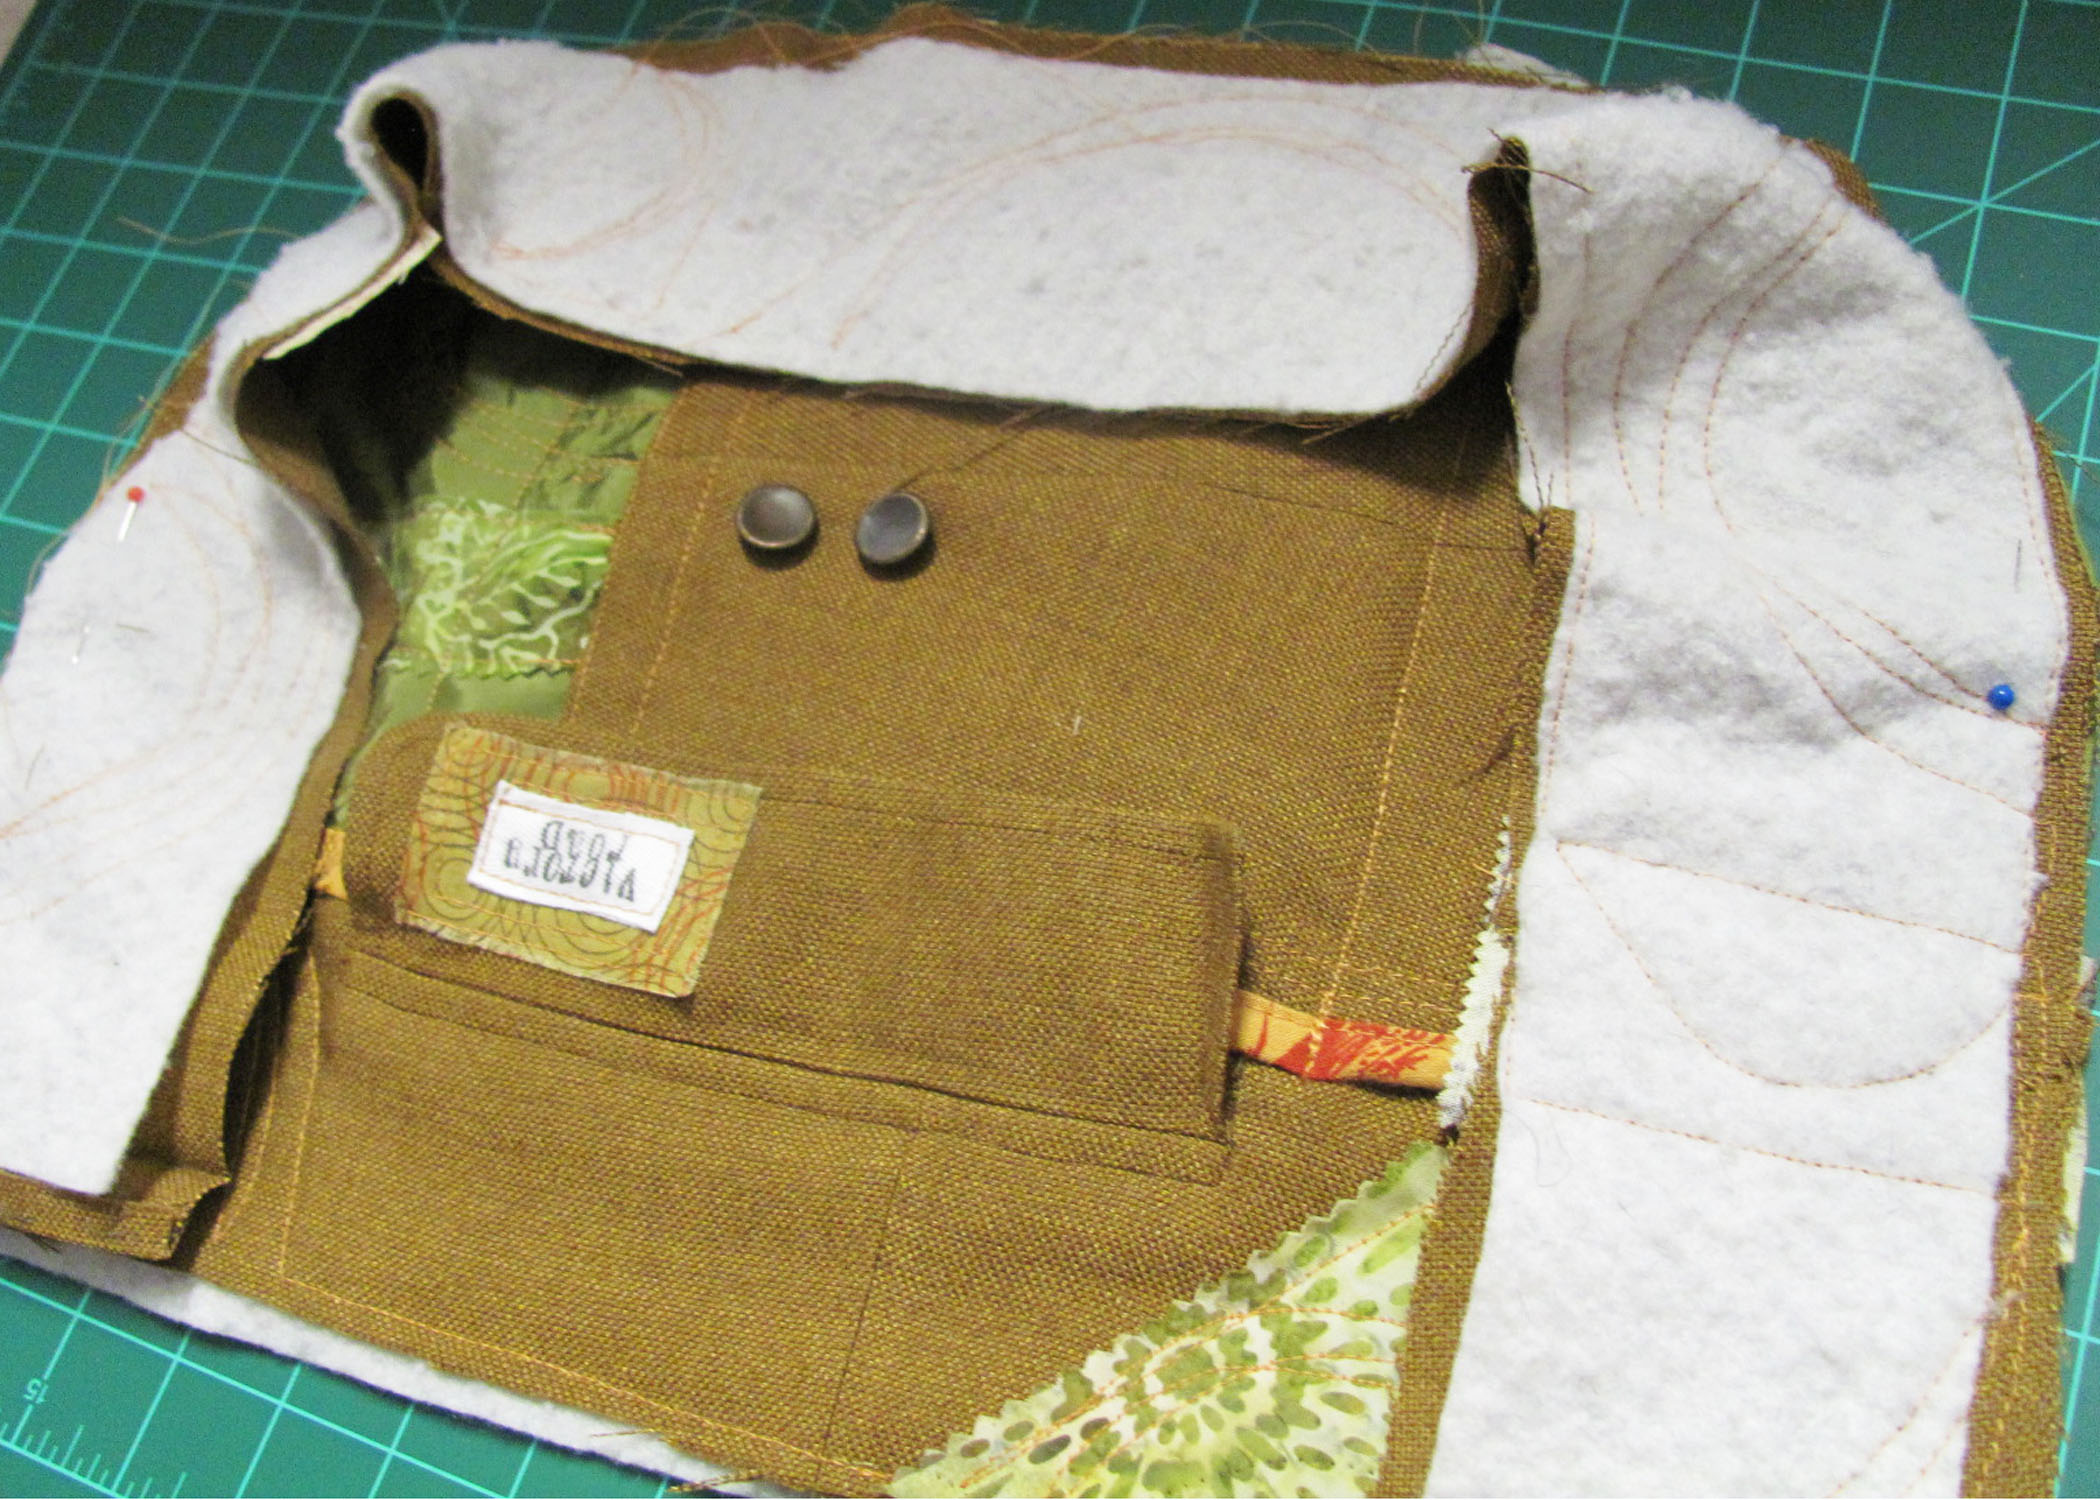
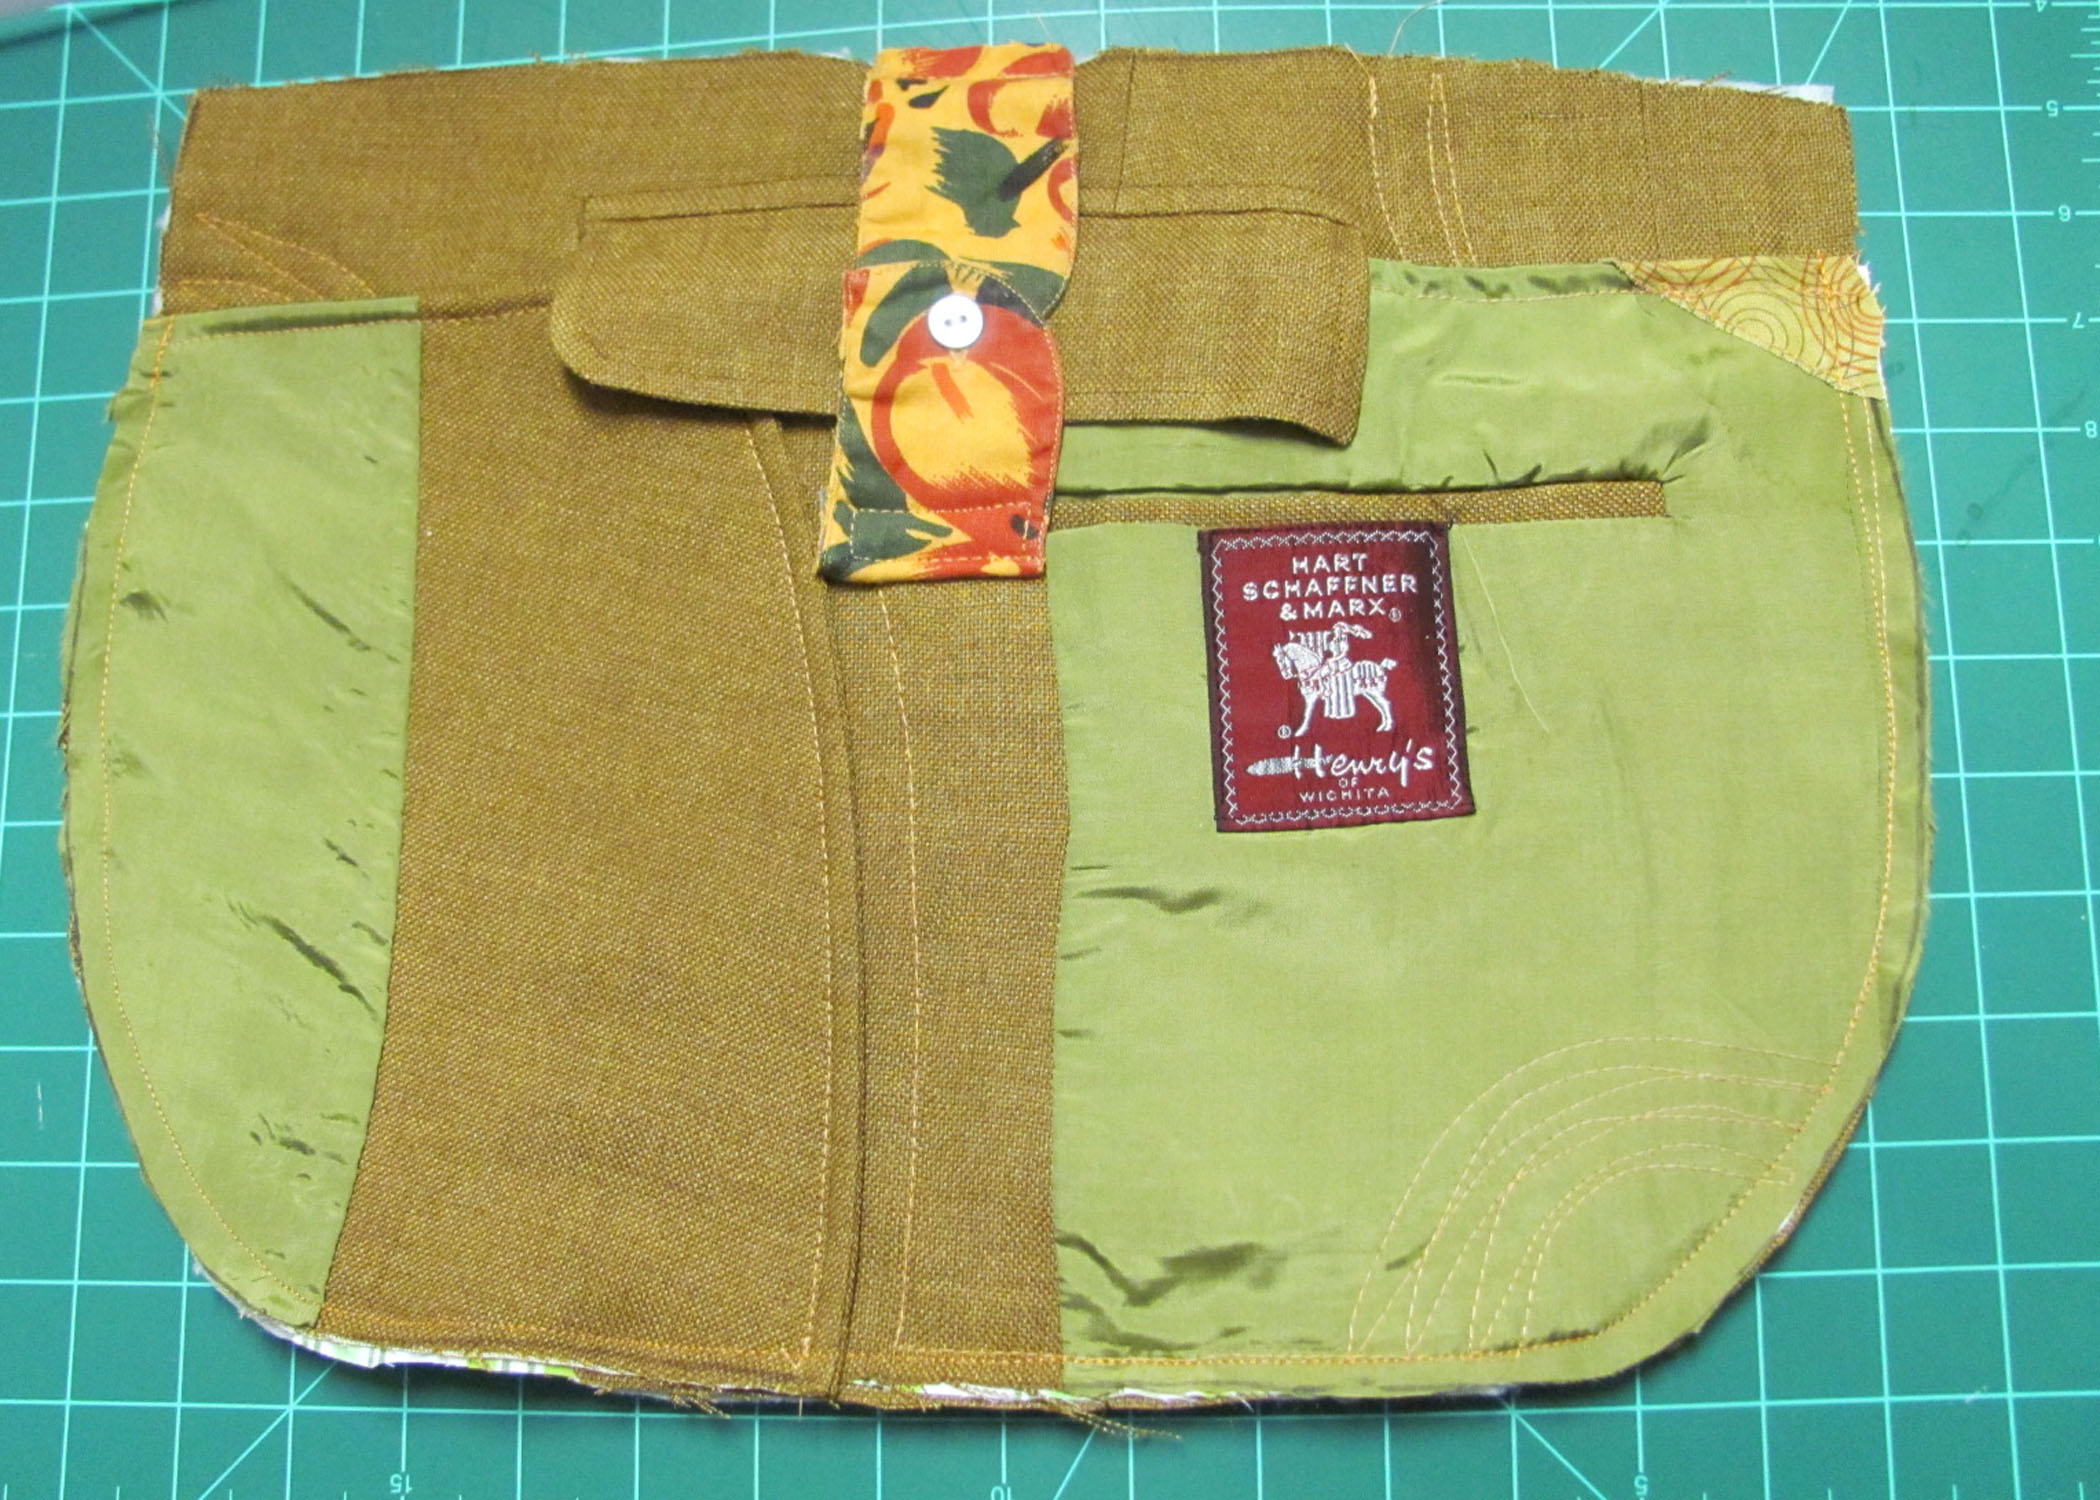
Right sides facing, sew together the front flap panel, and one of the lining panels around the bottom three edges, leaving the top edge open. Turn and top stich. I also added a closure for the pocket on the flap, which is actually made from the other cuff of the shirt I used for the lining.
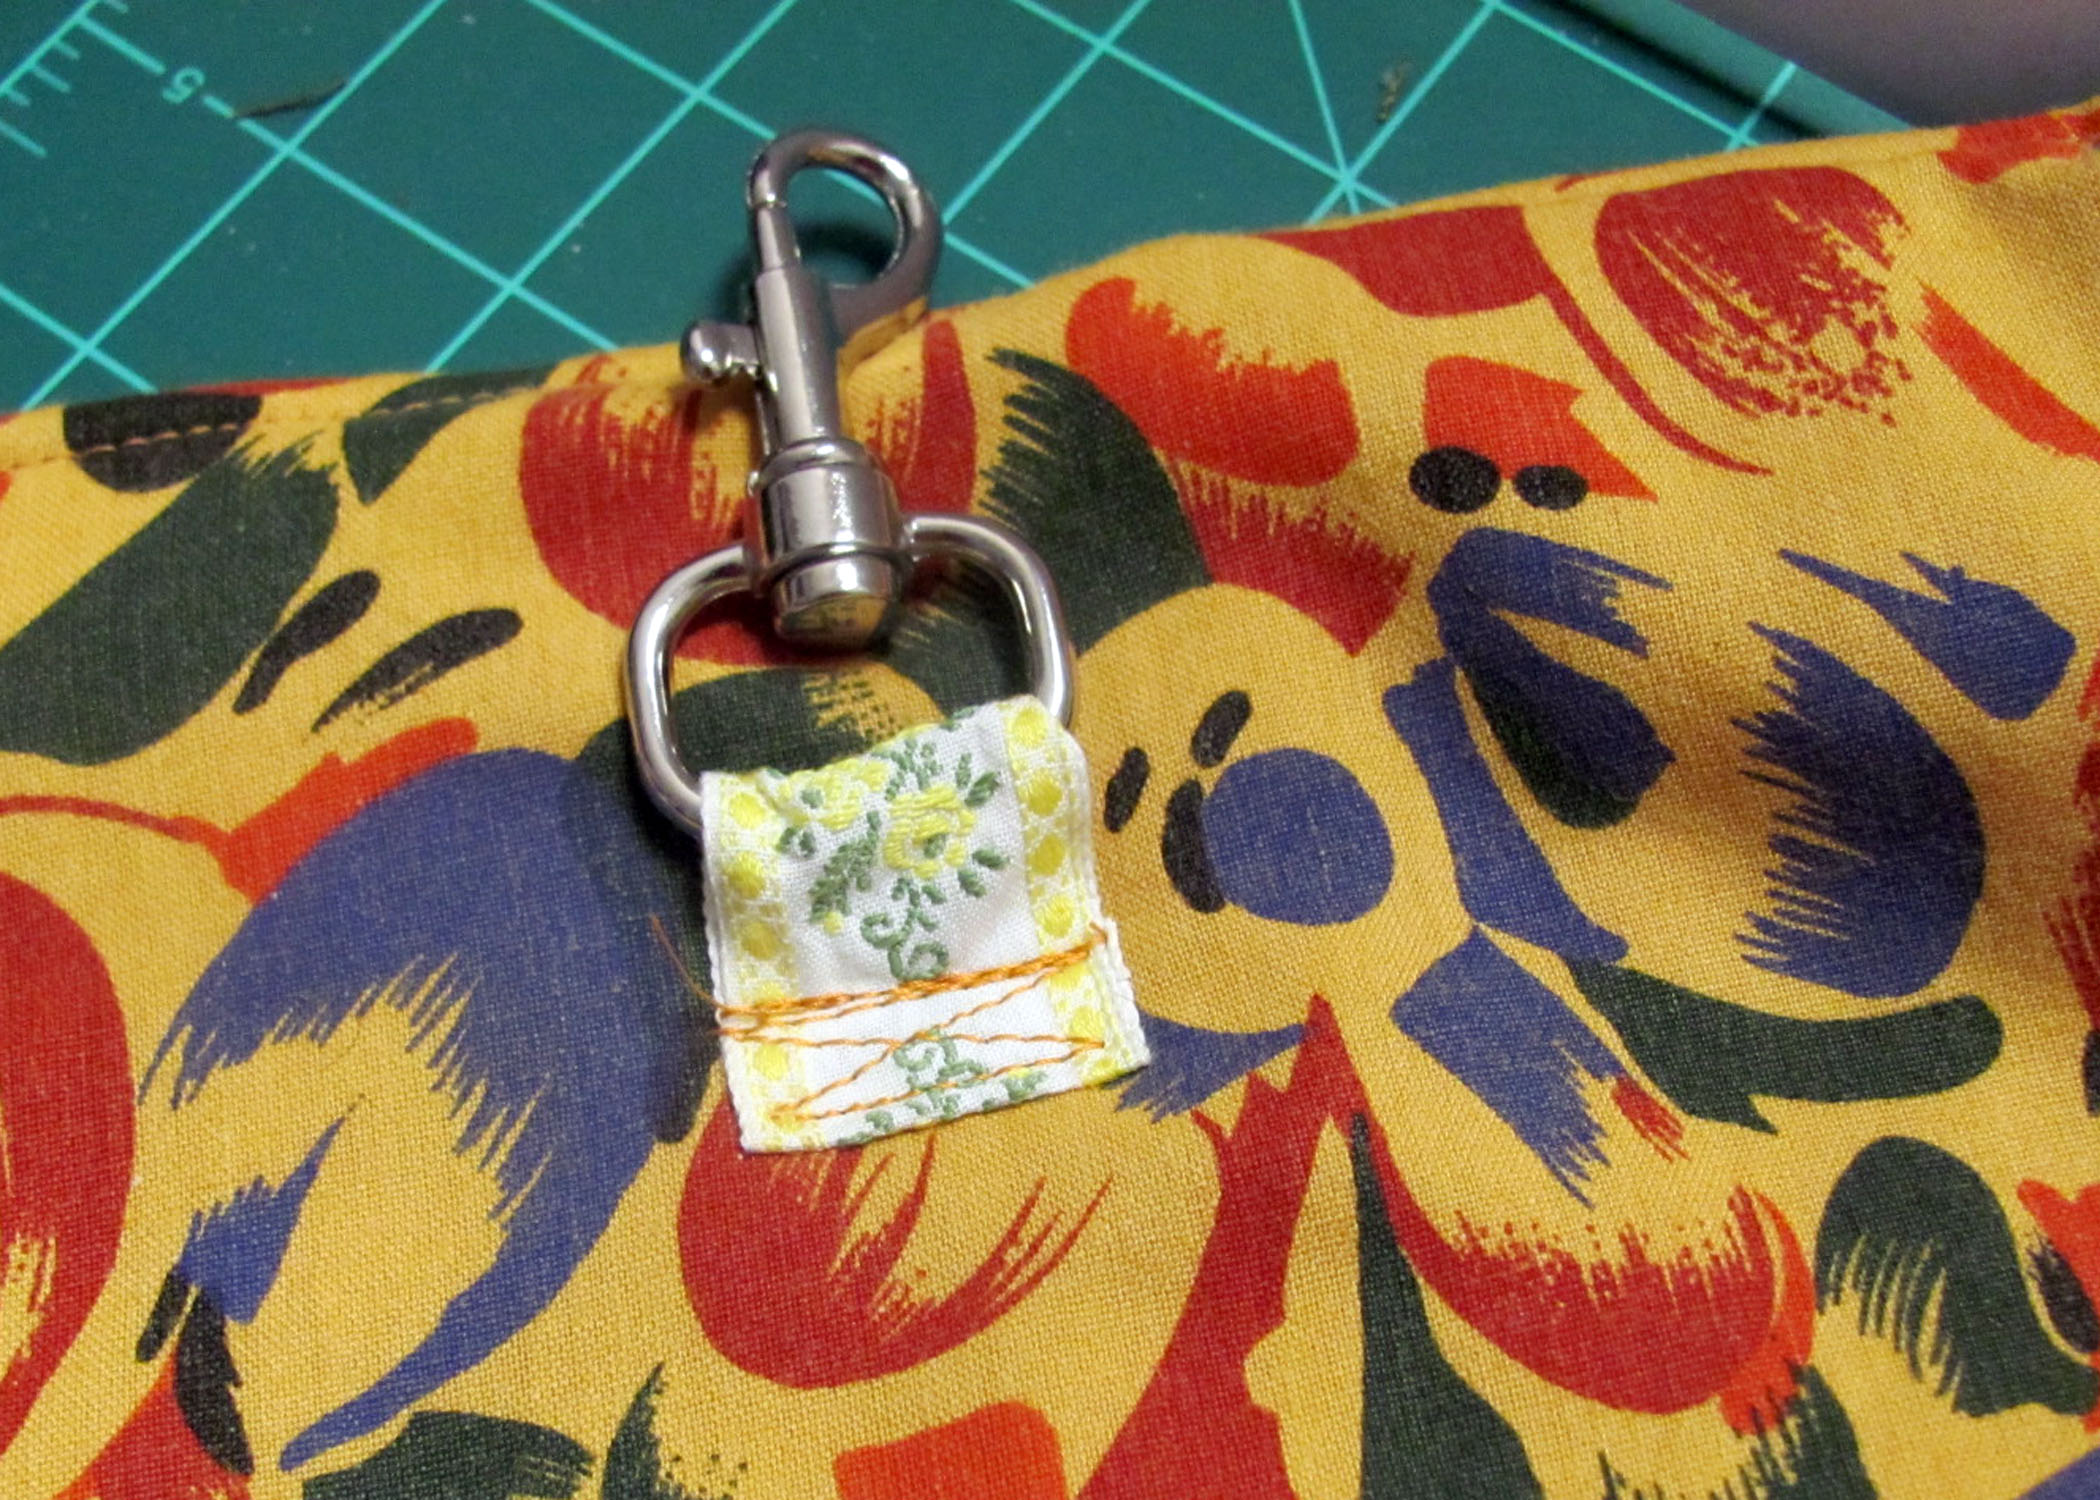
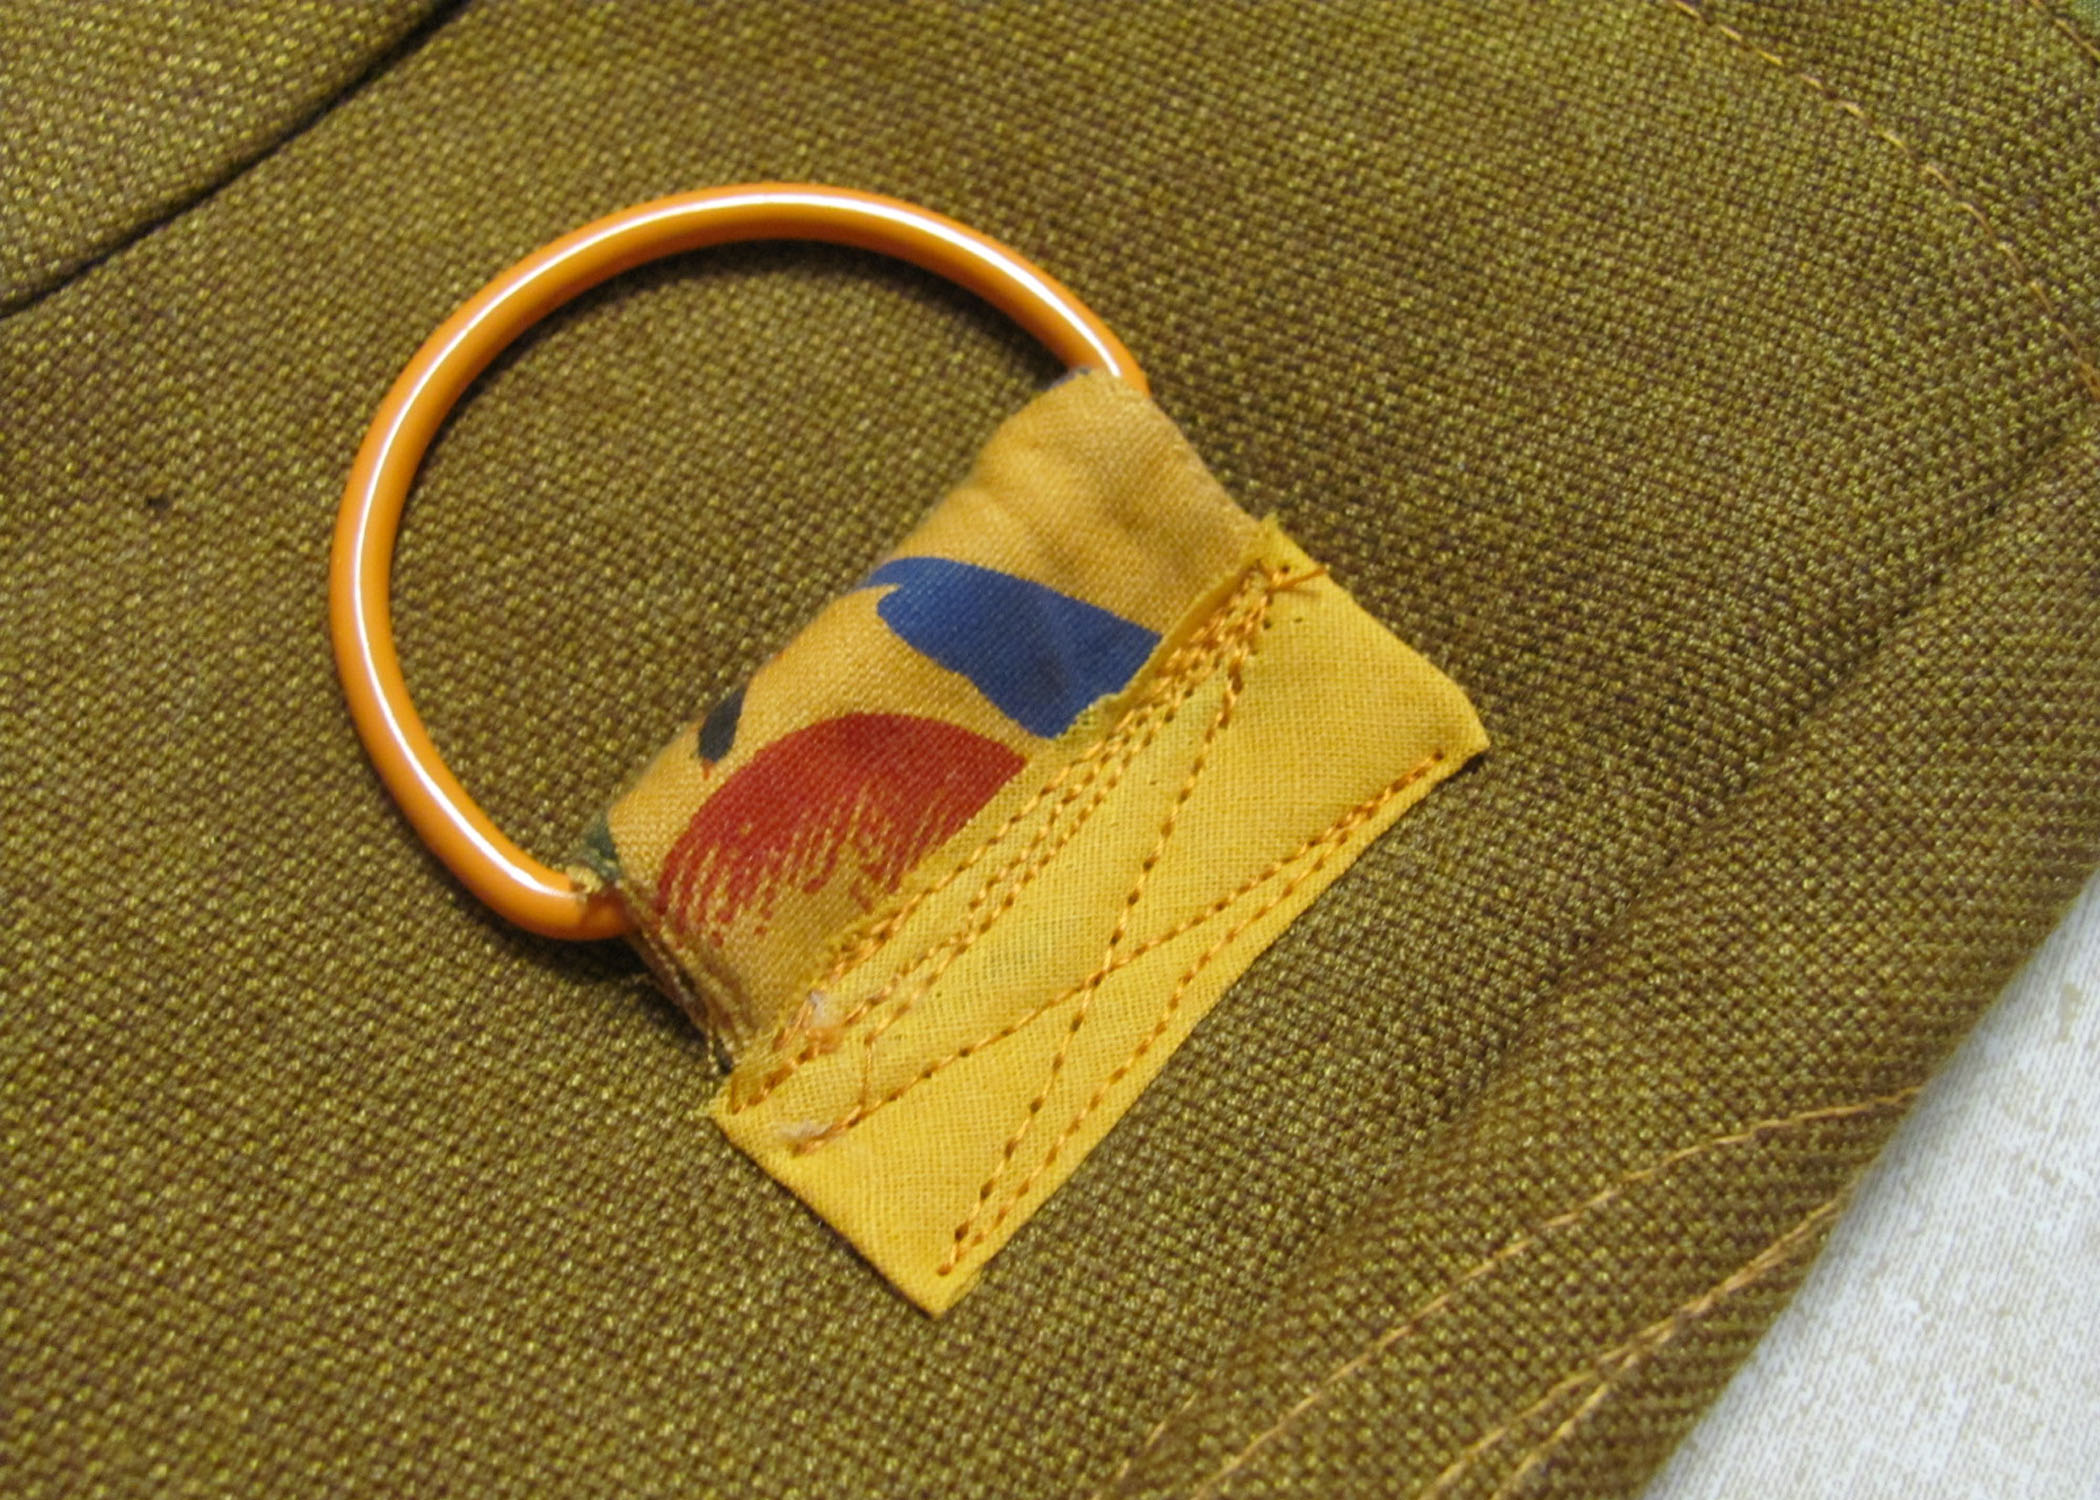
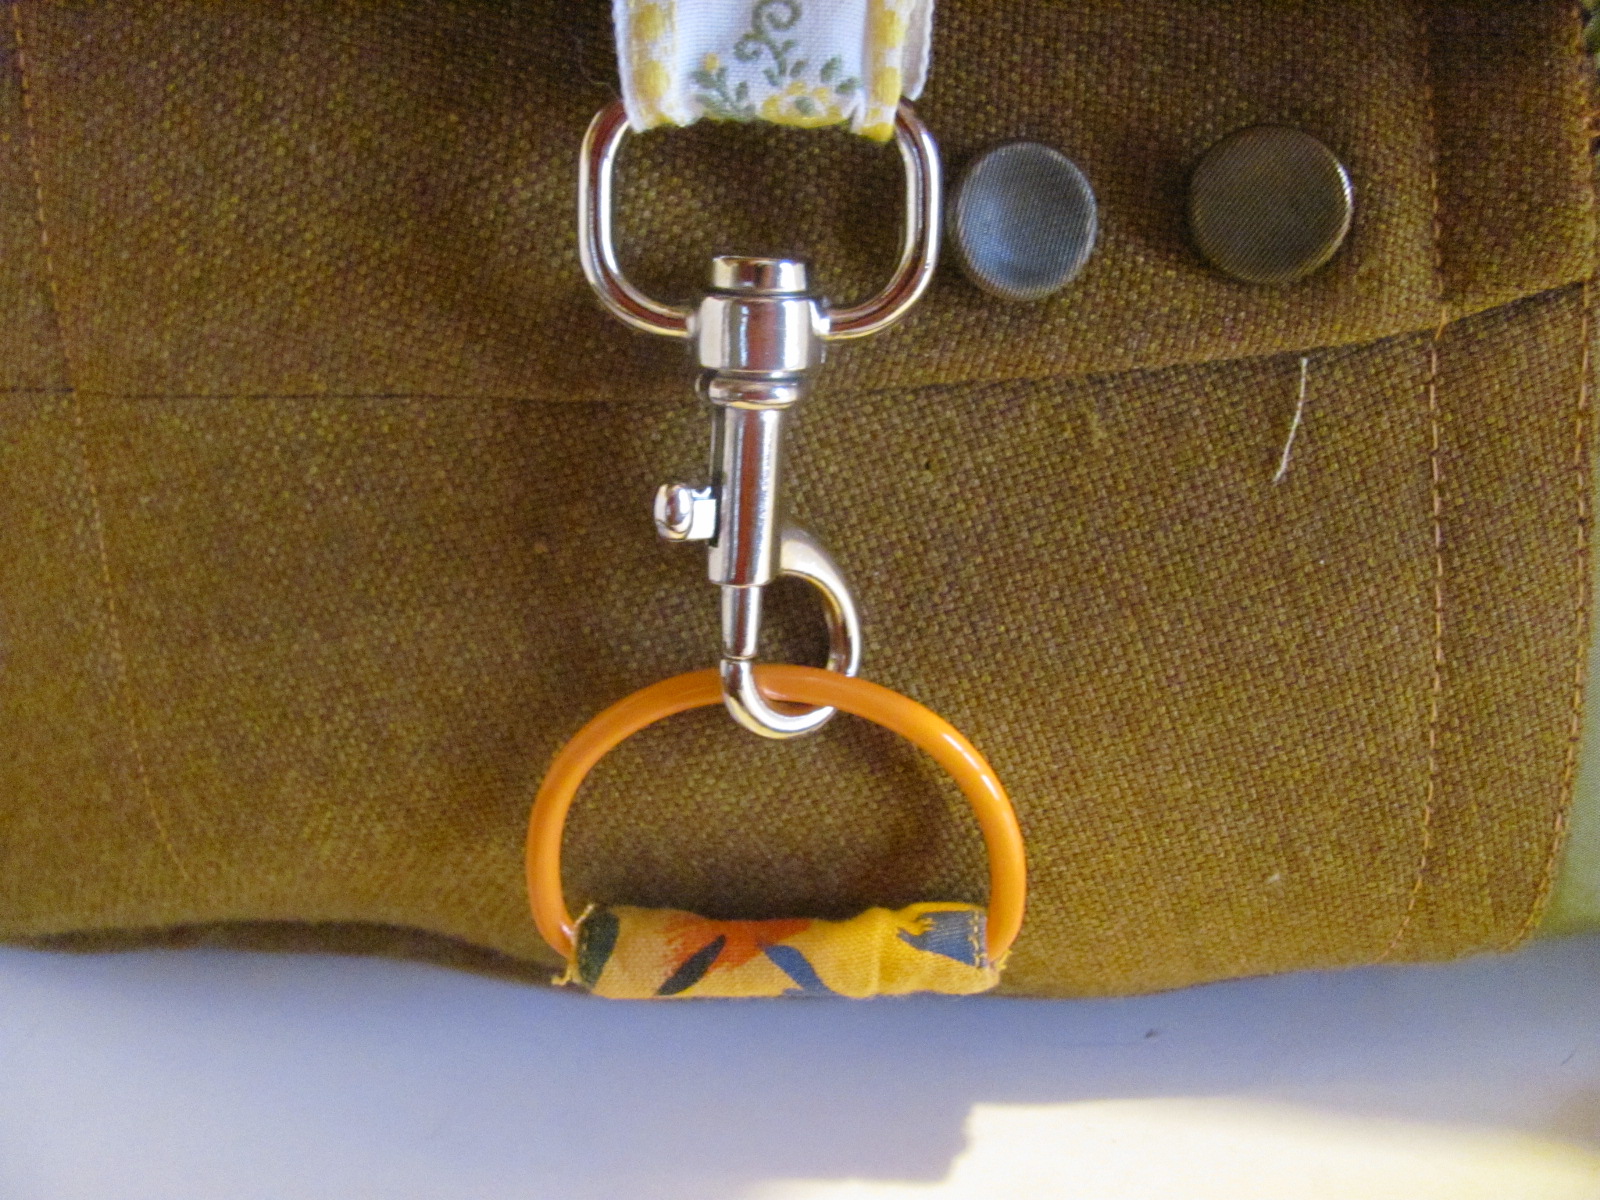
Attach whatever hardware you would like to use for closure on the front flap and body.
Placing right sides together, sew the front flap to the back panel along the top edge.
Place the outer bag inside the assembled lining and stitch, leaving an opening in the back. (Make sure you tuck the flap in next to the back for this step). Turn and top stitch around the top edge of the bag. I usually hand stitch the opening.
Finally, use a belt, a necktie, or reused messenger bag strap to sew securely to each side of the bag, adjusting to the desired length. I used a belt and left the buckle as a place to clip keys or a water bottle. That’s it! You are ready to use your one of a kind, super unique and ultra practical bag!
Want to check the purses available in my etsy shop? Go to my purses and accesories section at https://www.etsy.com/shop/fromvictoryroad?section_id=10728734
Kristen @ Whimsy Inspired
I want one. Someday I will have one <3