
Last weekend I held an Eco Dye workshop where we learned about natural dyes; where to find them, how to make them, and all kinds of different ways that they can be used… even making ink!
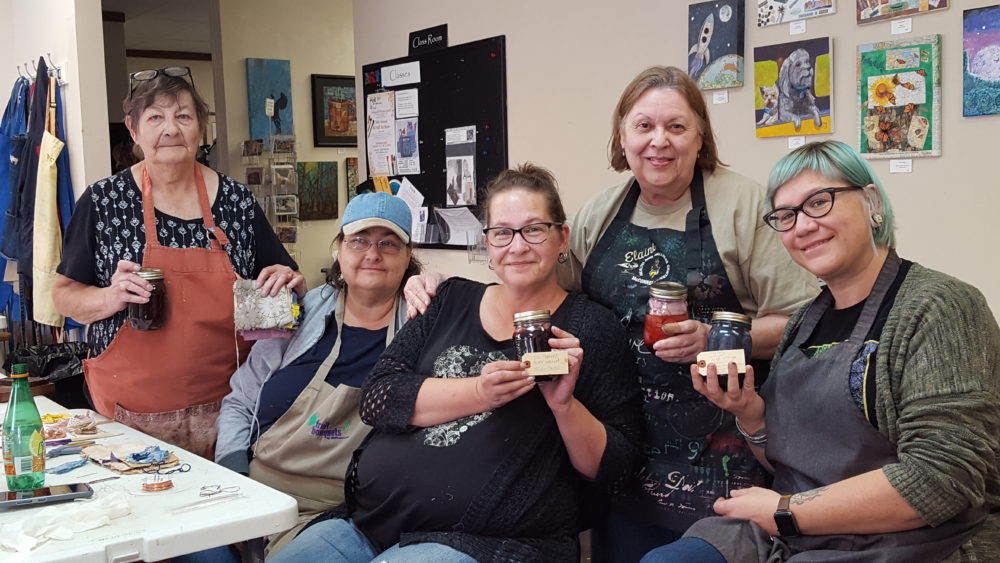
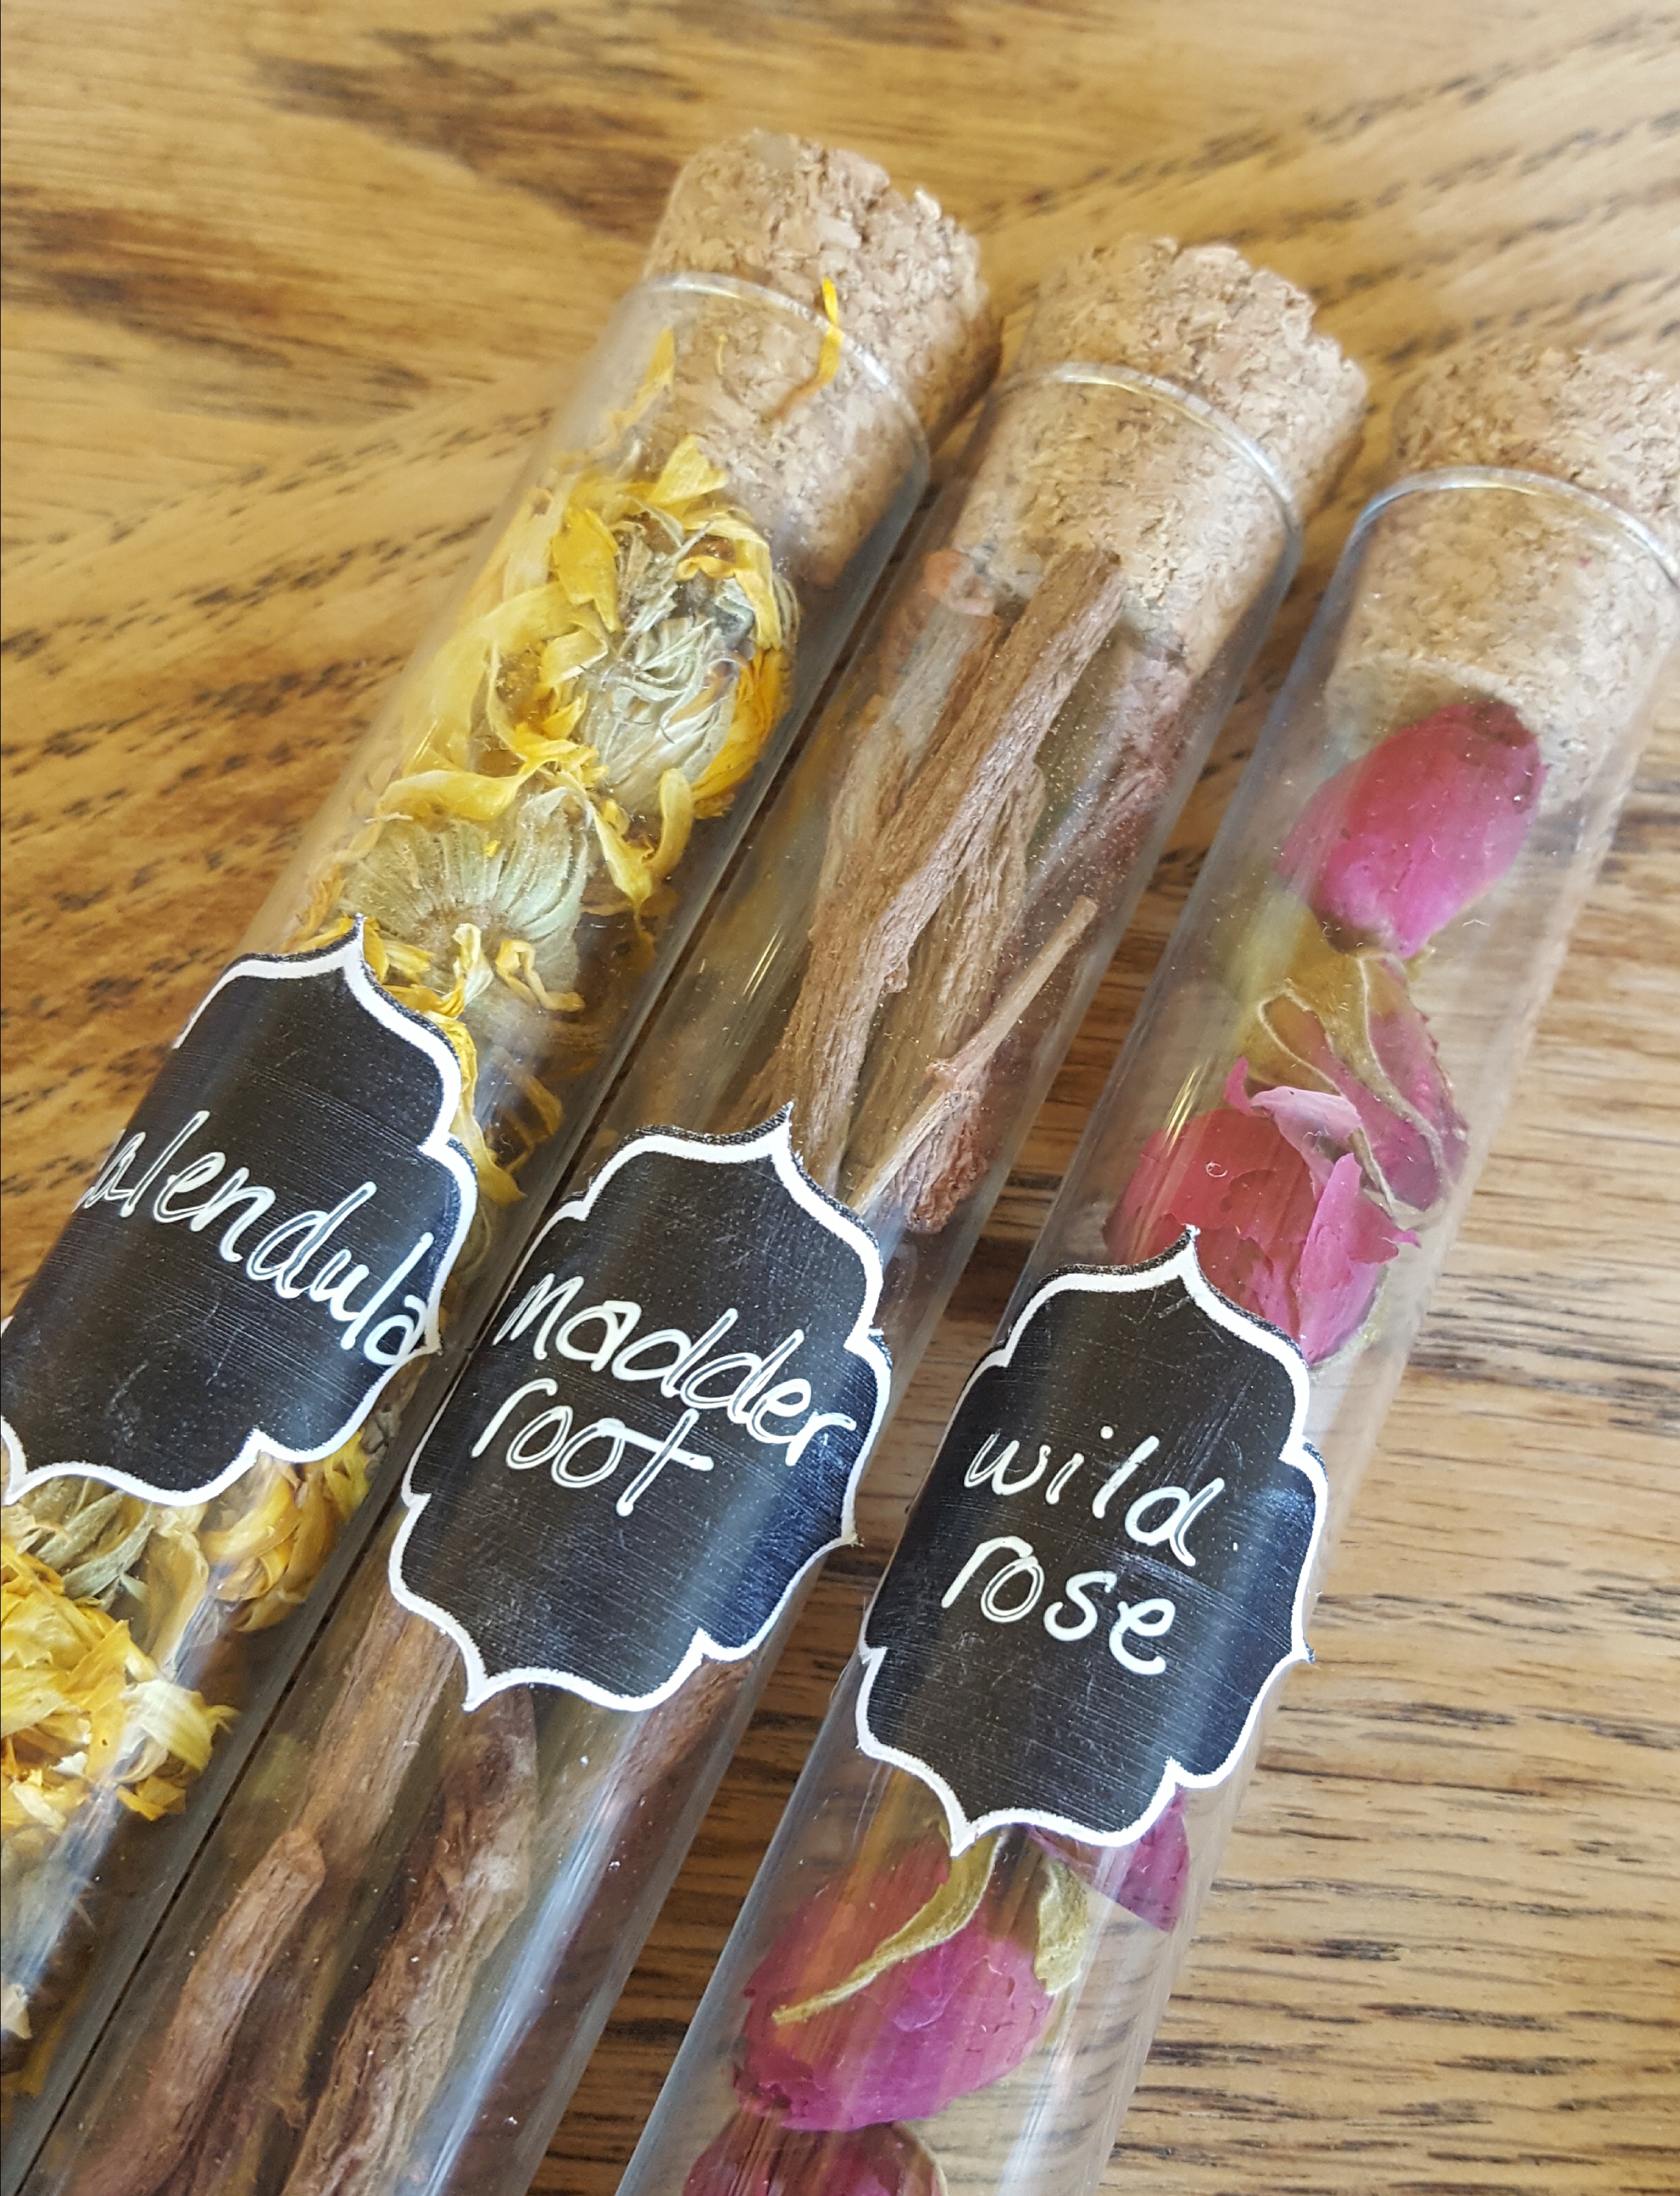
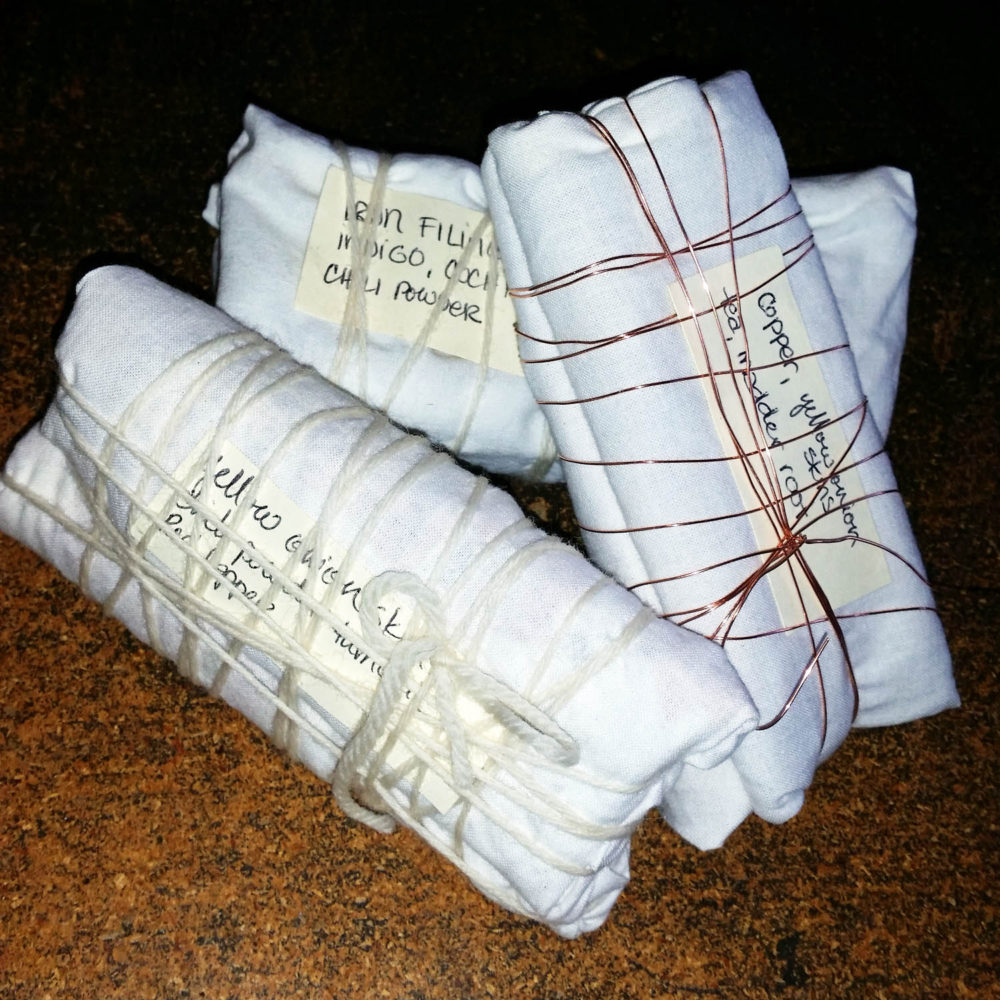
We made bundles full of fun “inclusions” that would make their mark on the fabrics and papers included in the bundle. I have even packaged some up in these sweet test tubes, available for purchase so you can make up your own bundles at home! Of course I also have the suprise sample bundles, all ready for you to brew!
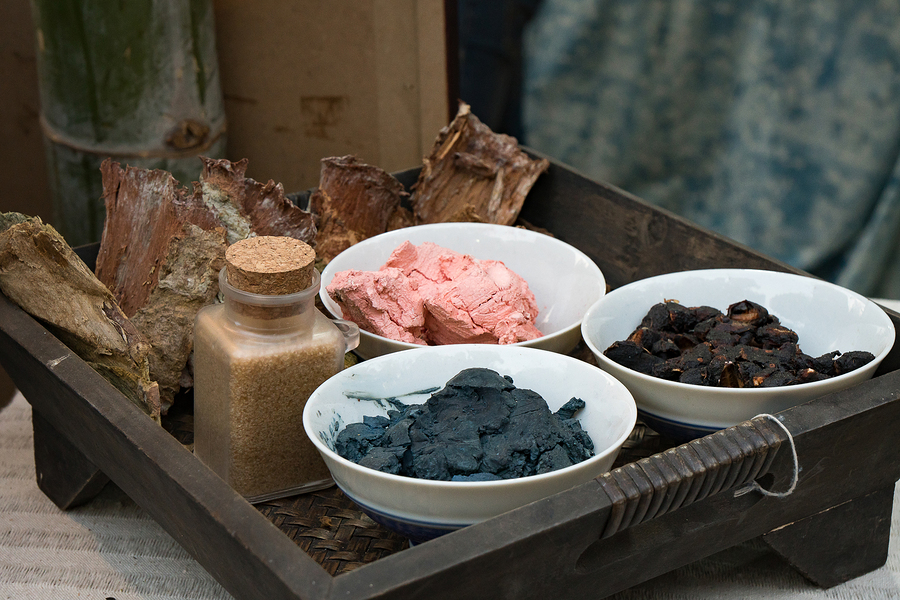
We used things like pokeberries, copper wire, black walnuts, red cabbage, basil, spinach, rusty nails, blacked eyed susans, … and more! We played with pH strips and checked the effects of pH on our dye colors. We covered mordants and fixatives and what natural plants and produce created which colors. We added a dye bath to the pint jars that held our bundles.

I also am offering the 11 page handout I have written about all the basics you need to know to start dyeing and bundling. With hours and hours of research, as well as more hours of trial and error, I gleaned the most pertinent information and boiled it down into easy to understand instructions. It is written for those who want to try their hand at the various dye techniques for using natural dyes and it covers sources for dyes, methods for extraction, how to make rusting plates, what mordants and fixatives you can use, and lots of good reference information, like a page of which dyes make which colors. Did you know that deep green avocado skins make a beautiful soft peachy pink?
Here is a sample page right out of my file!
Making Your Own Rusting Plates
I love the look of rust. I like it on embellishments, and I like it on paper. A simple solution of vinegar and salt in a jar, plus some time is all you need to rust metal objects. I would then lay those rusty objects on paper to make delightful rust prints on my paper. This year, I made myself a set of rusting plates and have been loving the resulting papers and fabrics.
There are many instructions for making rusting plates out there, but this is what I did.
- Purchase the cheapest metal sheet cake pans you can. Mine were $1 each from a dollar store.
- Buff just a bit with some steel wool to get rid of any protective finish. This is optional, but does speed things up.
- Then I spread my pans out in the yard, sprayed liberally with vinegar and sprinkled heavily with salt.
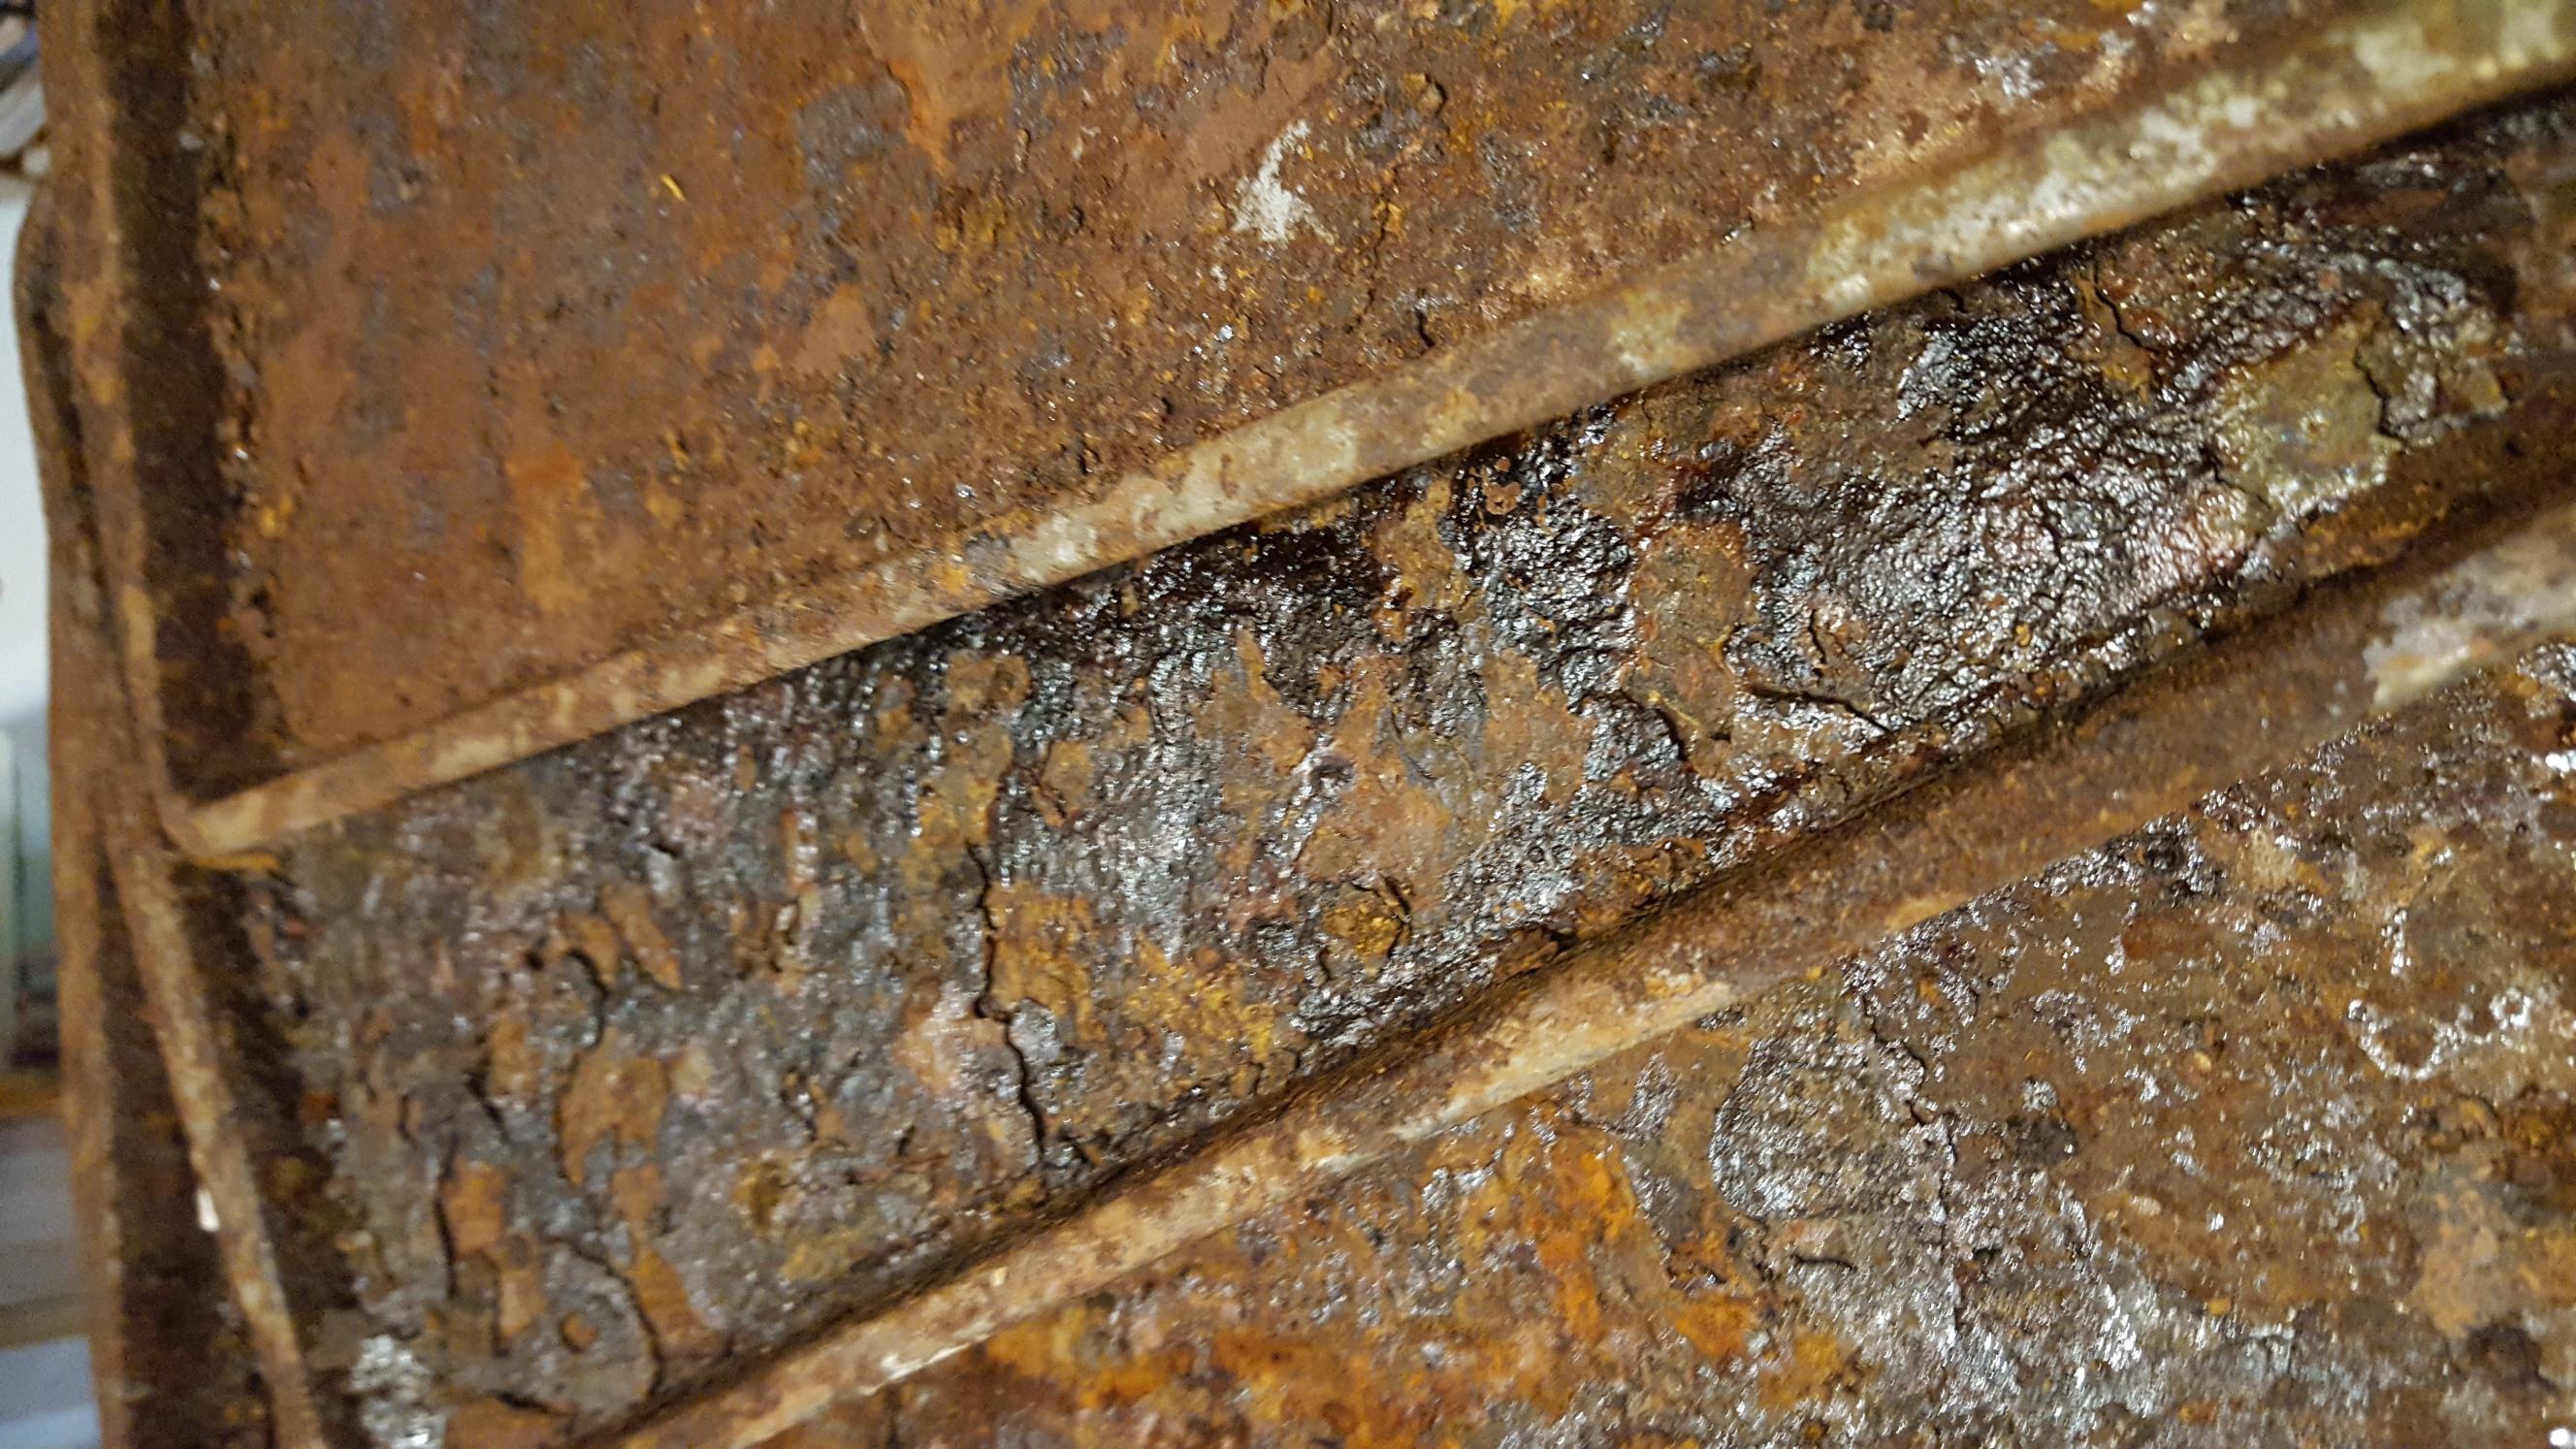
- Forget about them! I did go out once in awhile and reapply vinegar, but there is no substitute for time. I let mine sit out in the weather for a couple of weeks.
- Once they have begun to rust, stack them up and they will continue to rust on the top and bottom. Be careful where you store them or the rust will spread onto things you don’t want rusted!
To use your rusting plates, simply lay papers, fabric, or even small objects like keys, washers, etc. between two rusting plates. Spray with water, and then leave in a warm location for a few days or a week. You can re-spray with water if it dries too quickly for the rust to form.
Iron filings can also be used to accelerate the rusting process and add a more crusty appearance. It also adds a brown gray tint to the rust.
My favorite papers to rust include handmade cotton paper, dried out baby wipes, sturdy book pages (old fragile ones tend to stick and break), and cotton fabric.
How about you? Have you done any eco dying?
Leave a Reply