
Weaving is one of those arts that seems a little intimidating. I always think of someone sitting in front of a huge loom spending hour after hour, day after day, creating lovely woven blankets, rugs, clothing, or wall hangings. While that is a wonderful creative outlet for some, others of us lack the space, the patience, or the interest to be THAT invested in the craftsmanship required.
But there is a more accessible version of weaving that is relatively quick, inexpensive, and space saving while still allowing us to make some lovely woven creations.
THE LOOM

While the full blown loom makes weaving a breeze, it require considerable set up time and space and expense. But, all you really need for a small weaving project is a piece of cardboard, string, and a bit of masking tape!
Cut small slits in two opposite sides either 1/4 or 1/2 inch across depending on what size of fiber you are using, and how fine you want your finished weave to be.
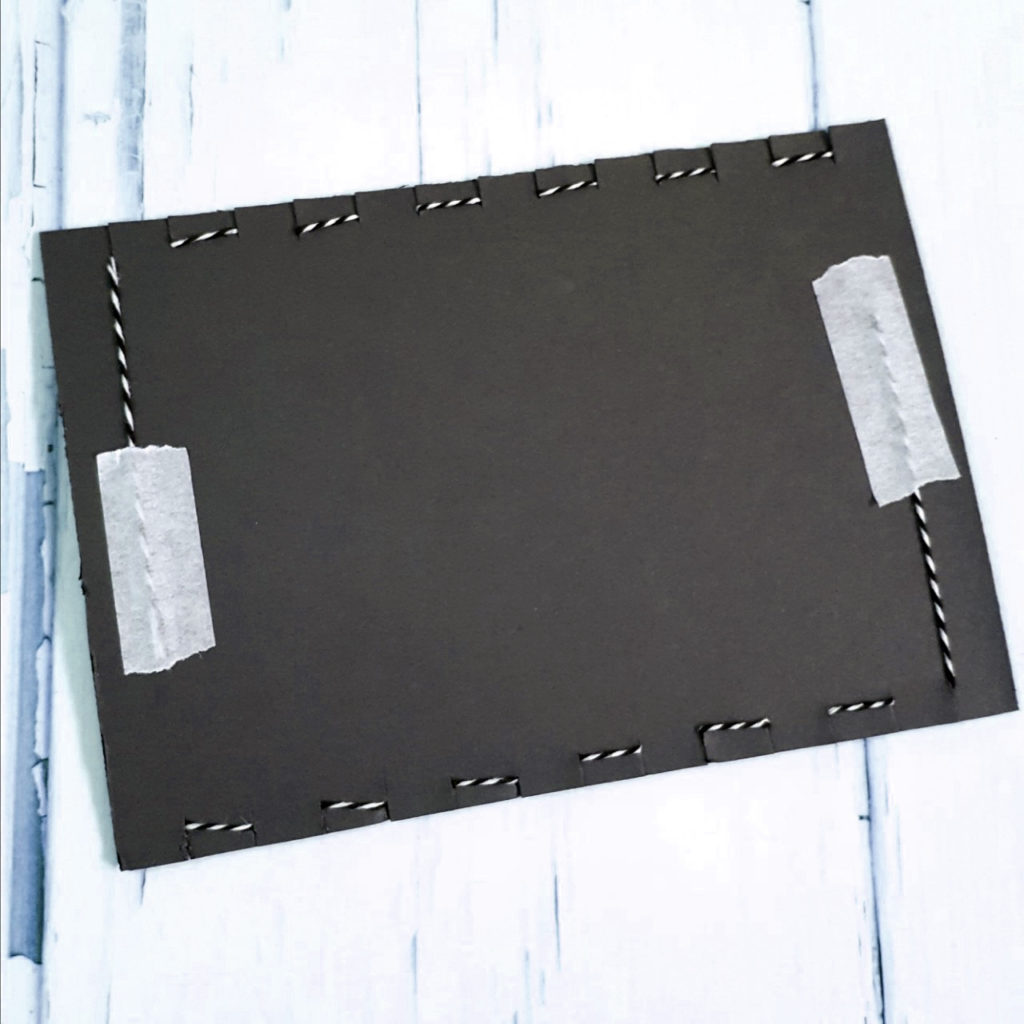
Secure one end of the string on the back of the loom with masking tape. These strings are called the WARP. Then use one of two methods to wrap your string onto the loom:
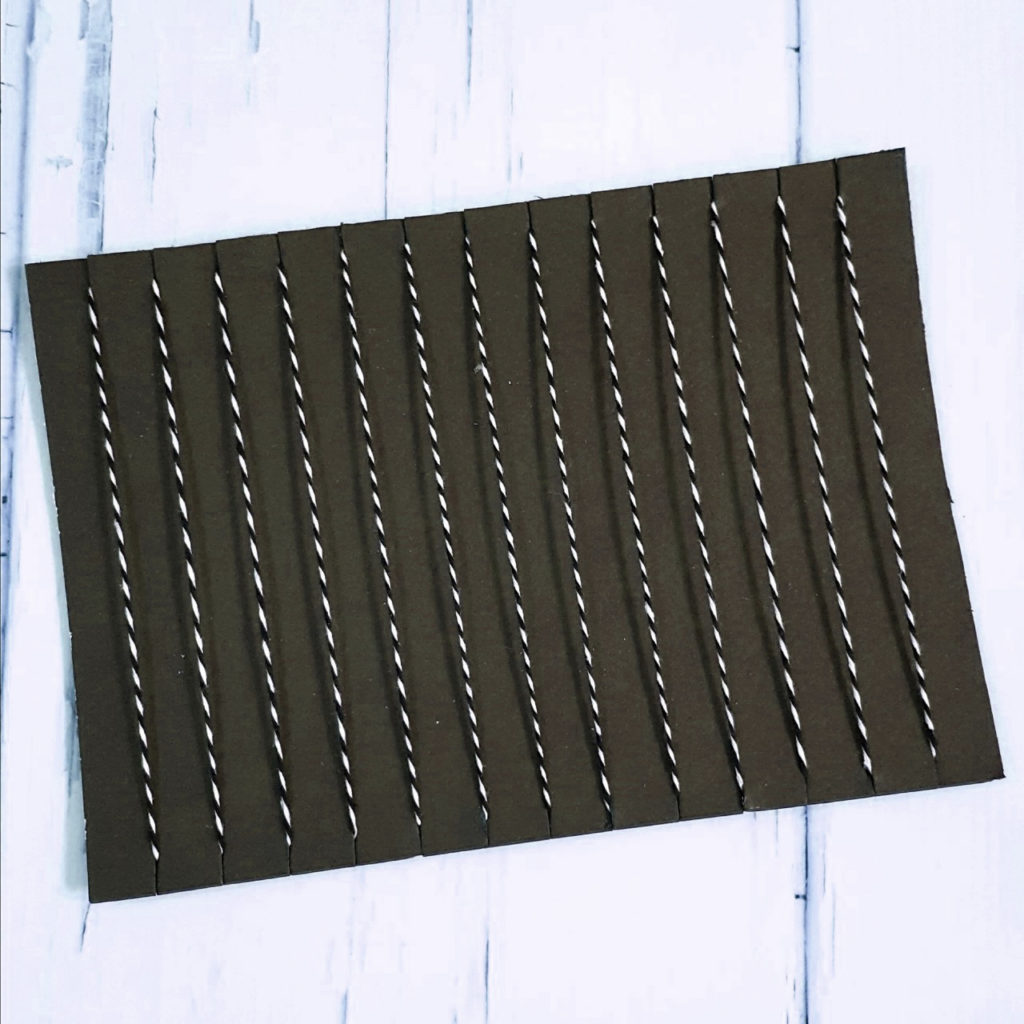
For the first technique, using the slots, wrap the string around the front of your board. When you go out a slot (front to back) come back in the slot right next to it and repeat. When you reach the last slot, secure the end of the string on the back side. Here I have used a scrap of mat board to make my loom.
This technique uses the least string, but also leaves the least finishing options.
In the second technique, use the slots to wrap the string around the front of your board as before. In this technique however, you will wrap the string all the way around the back of the board as well. Here I am using an old record cover for my cardboard.
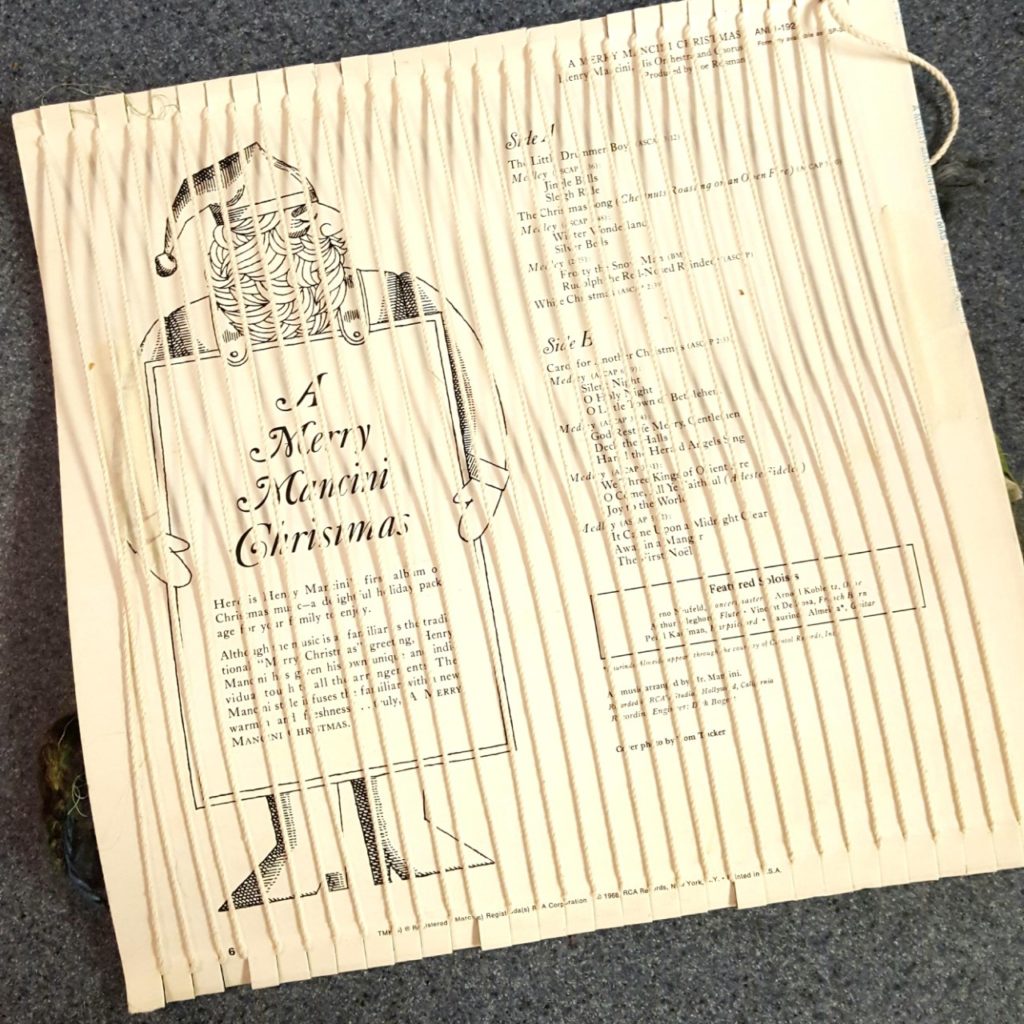
While this uses nearly twice as much string as the first technique, it gives more finishing options at the end of your project. (More on that later!)
There are also lots of other creative alternatives you can explore. While plain ol’ sturdy string is all you need to use to set up your loom, you can also experiment with using ribbon, yarn, or anything strong enough to not break while you are weaving.
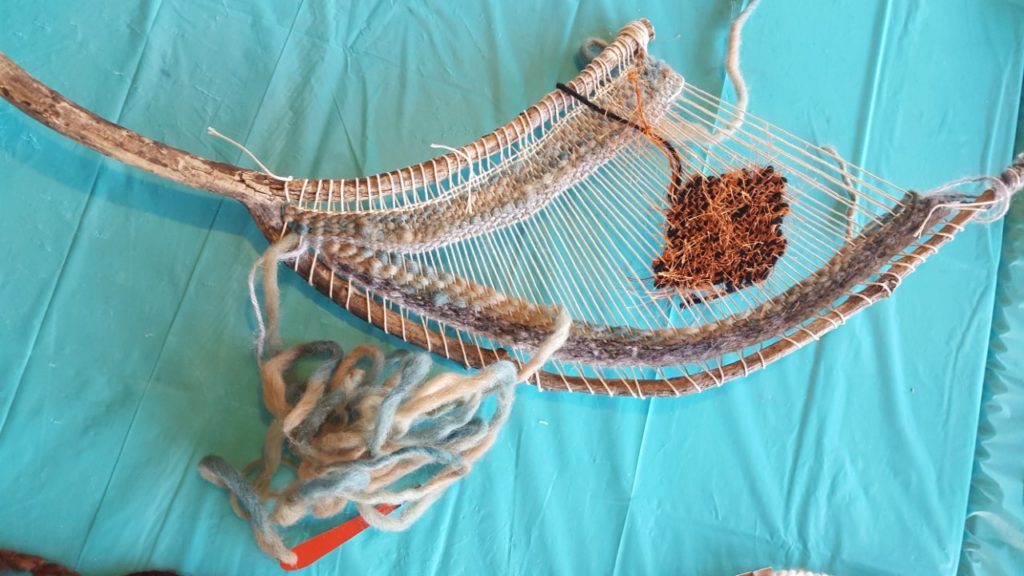
You can also get creative with your loom. Try using a forked branch, a pitchfork, an embroidery hoop …. Anything that you can run strings across.
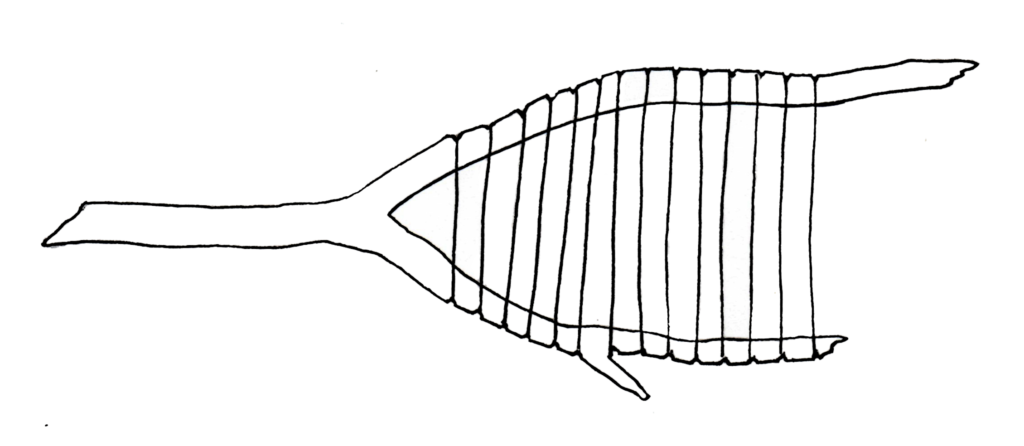
It is a little trickier to use a branch, but here is one a brave workshop participant recently started!
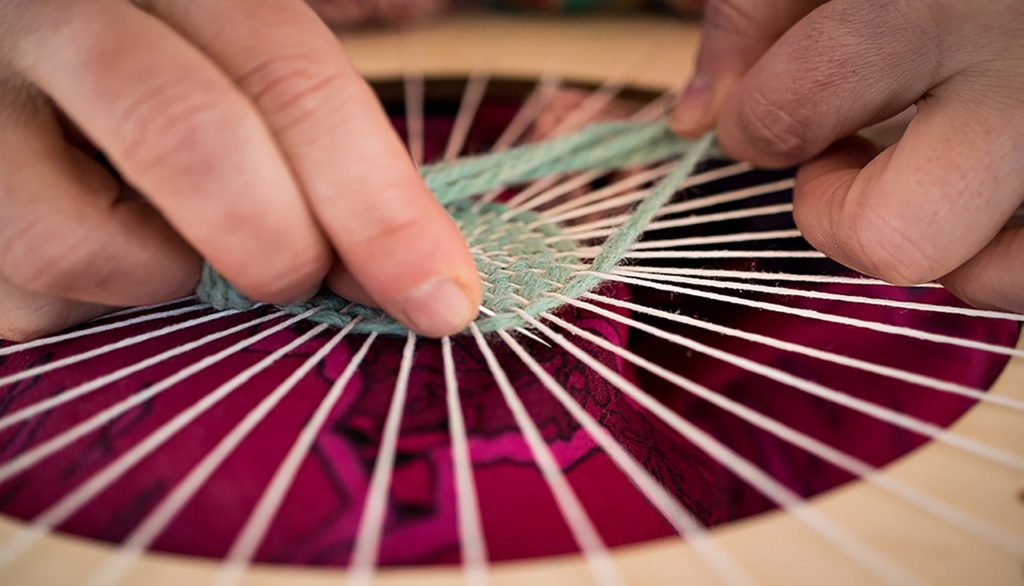
And here is an example of doing a circular weave on a loom set up on a round loom like an embroidery hoop:
THE WEAVE
Most of us probably learned the basic idea of weaving in grade school. Over and under, over and under. When you start a new row with a new fiber, secure to the first warp string on your loom. It doesn’t matter which side. The fibers that you weave into the warp is called the WEFT. A single thread of the weft crossing the warp is called a PICK. You can change the fiber you use with each row, or you can use the same material for several rows.
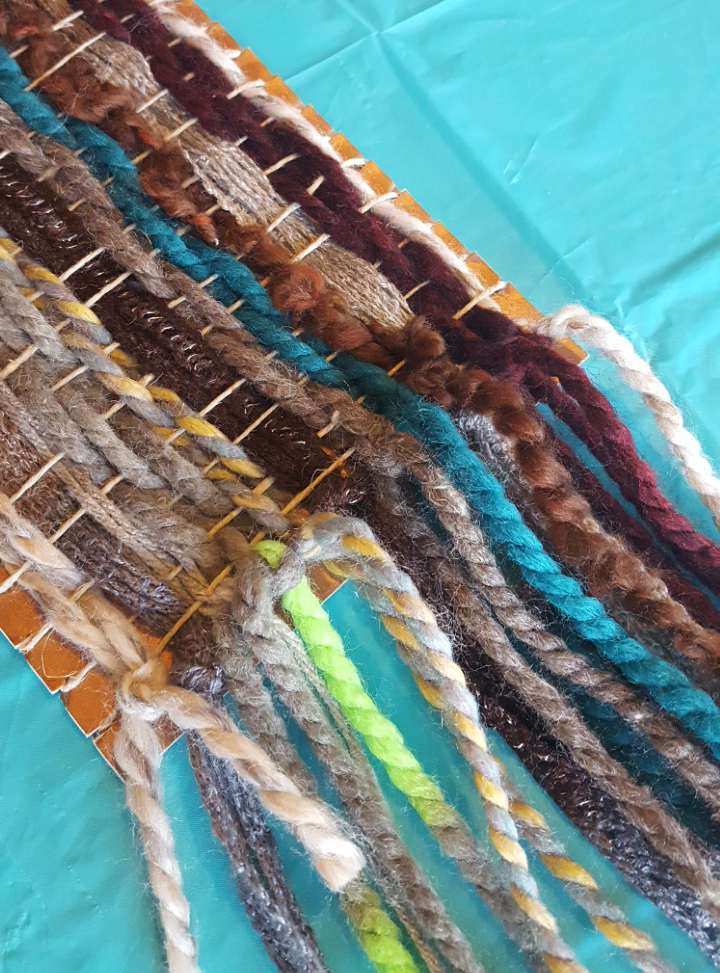
I like to leave a bit of a tail hanging where I start each pick to leave my options open for later. I may want them for a decorative fringe for example.
To make the weaving a little easier, I made a simple SHUTTLE. A ‘real’ shuttle holds a bobbin full of thread, to pass back and forth on a regular loom, but a simple shuttle for our simple loom is more like a large needle. Simply cut from something sturdy like an old gift card.
Some things to keep in mind:
If you pull your weft too snug, you will end up with concave edges to your weaving. To help avoid that, run each pick at an angle, then scoot it down into place. That keeps you from having the tendency to tug on it too hard.
There are no rules that you have to run each pick all the way across, or have a pattern of straight rows. Feel free to create waves, shapes, landscapes, whatever suits your creative urges!
You can also use different weave patterns, like skipping certain warp strings, or looping the weft around the warp in different ways.
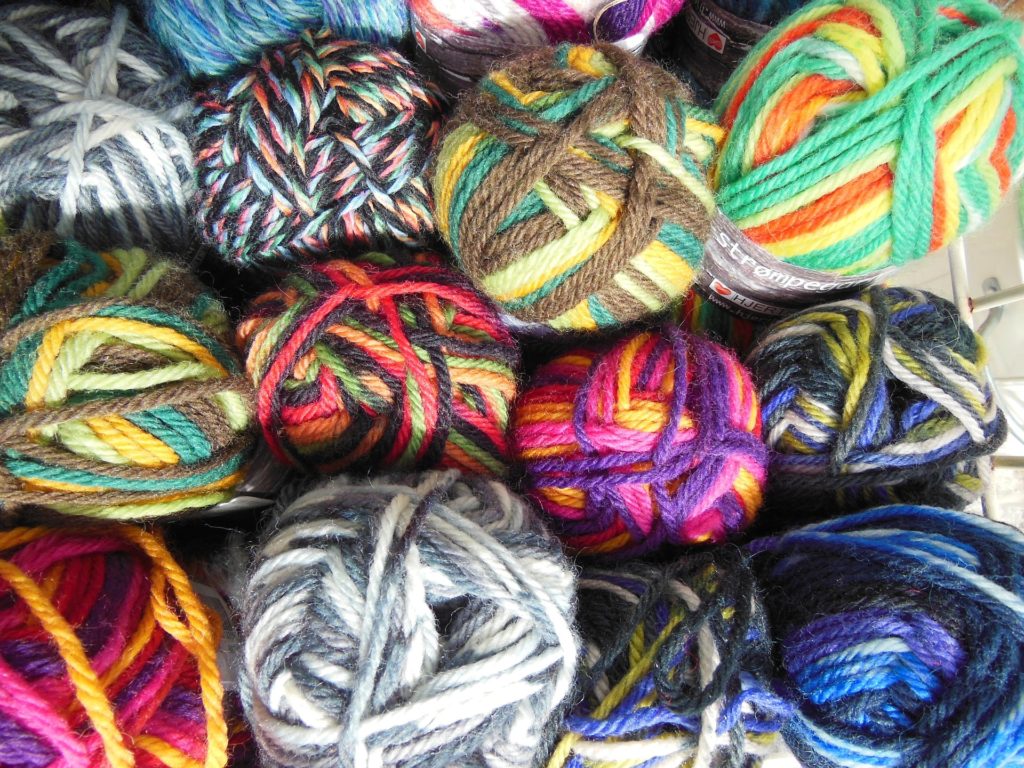
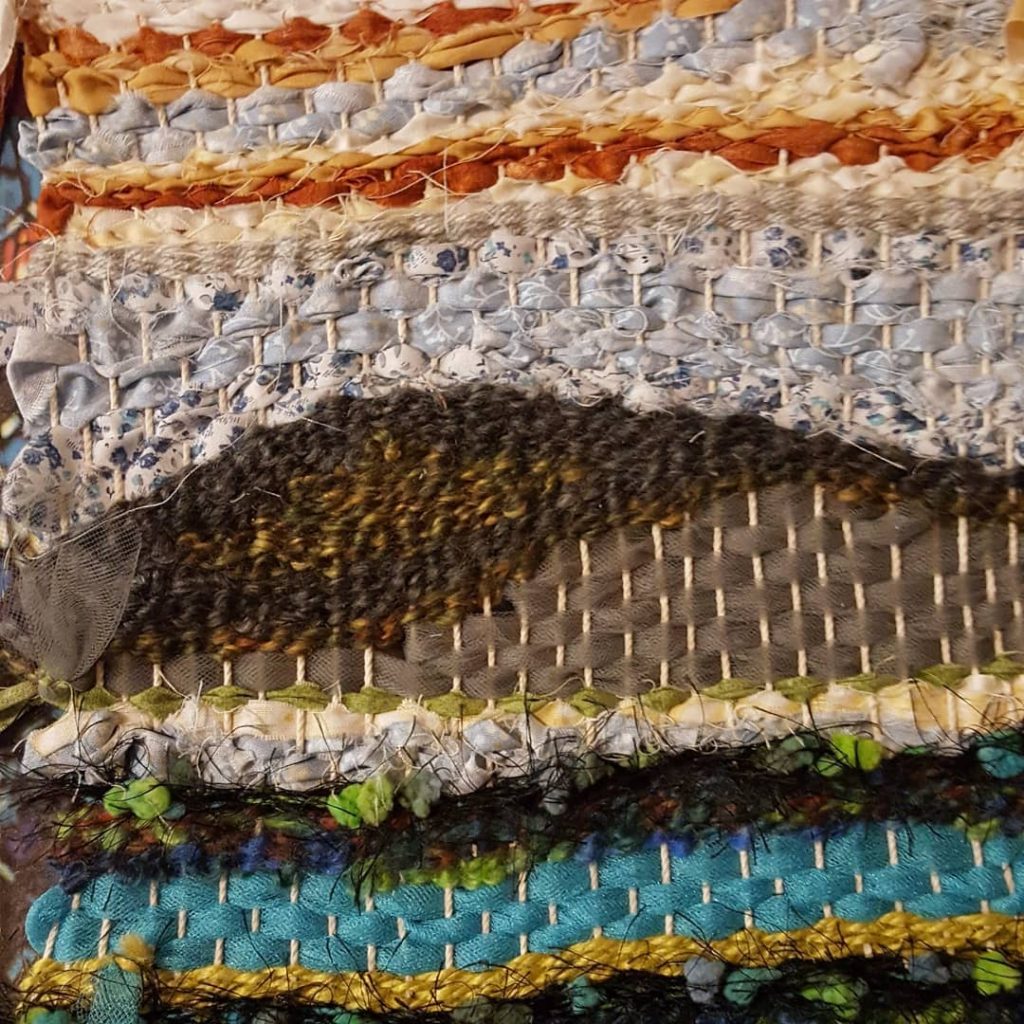
Add interest by using a variety of fibers. I like to mix in fabric strips, tulle, ribbon, and a variety of nubby yarns.
If you are a knitter, it is a great way to use up scraps of yarn!
FINISHING
There are many things you can make with your finished weaving. Turn it into a wall hanging, a pillow, a framed piece of art, a placemat, a hot pad, a coaster, …. Whip something out for a special handmade Christmas gift! These small projects really don’t take long.
If you set up your loom with option 1, just snip each loop as you slip it off of the ends and tie so that your weaving is secure.
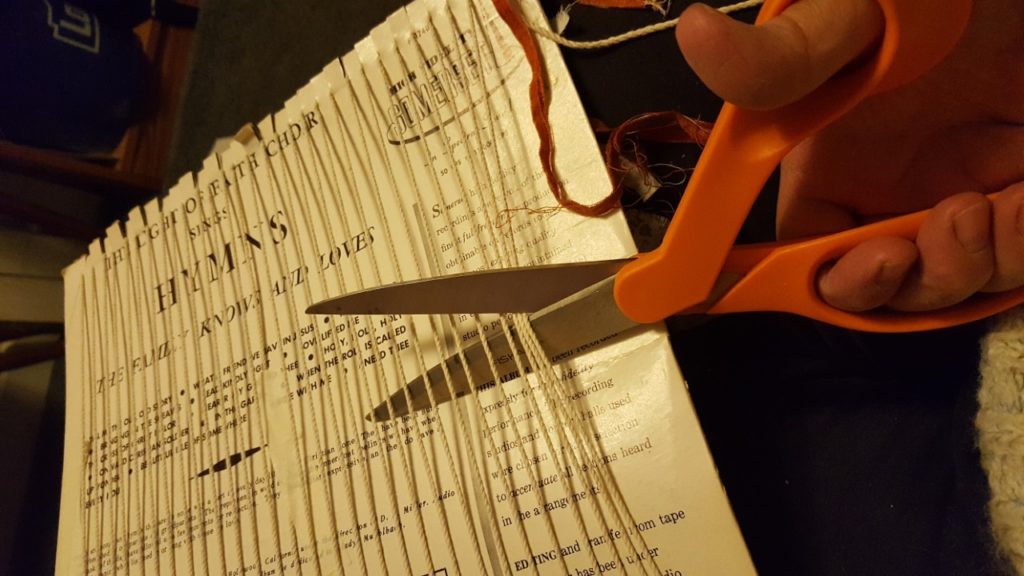
If you set it up with option 2, then snip the threads down the middle of the back side. Leave it on the loom until you tie off each of the warp threads to the one next to it.
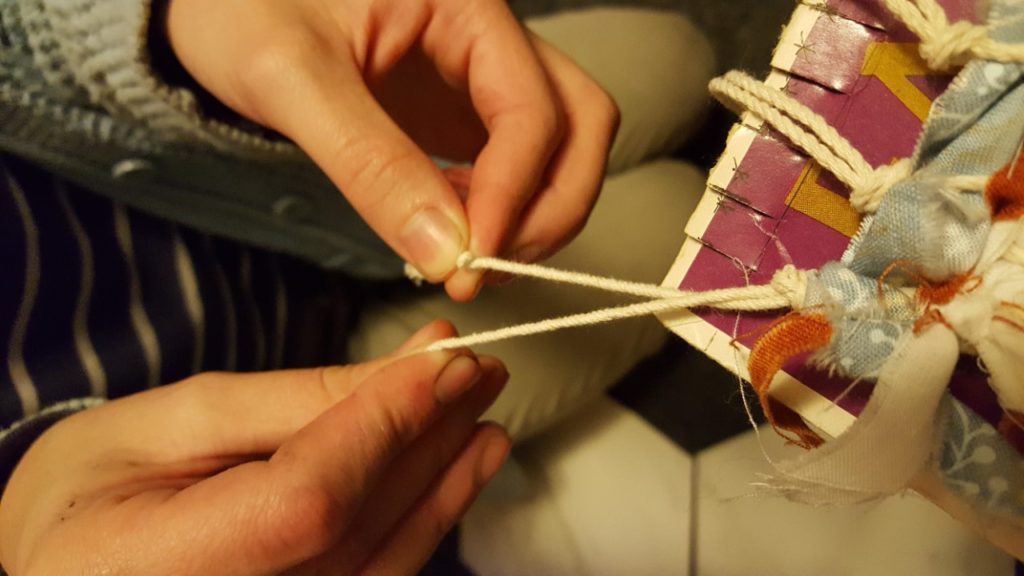
There are a couple of ways to tie off your warp strings:
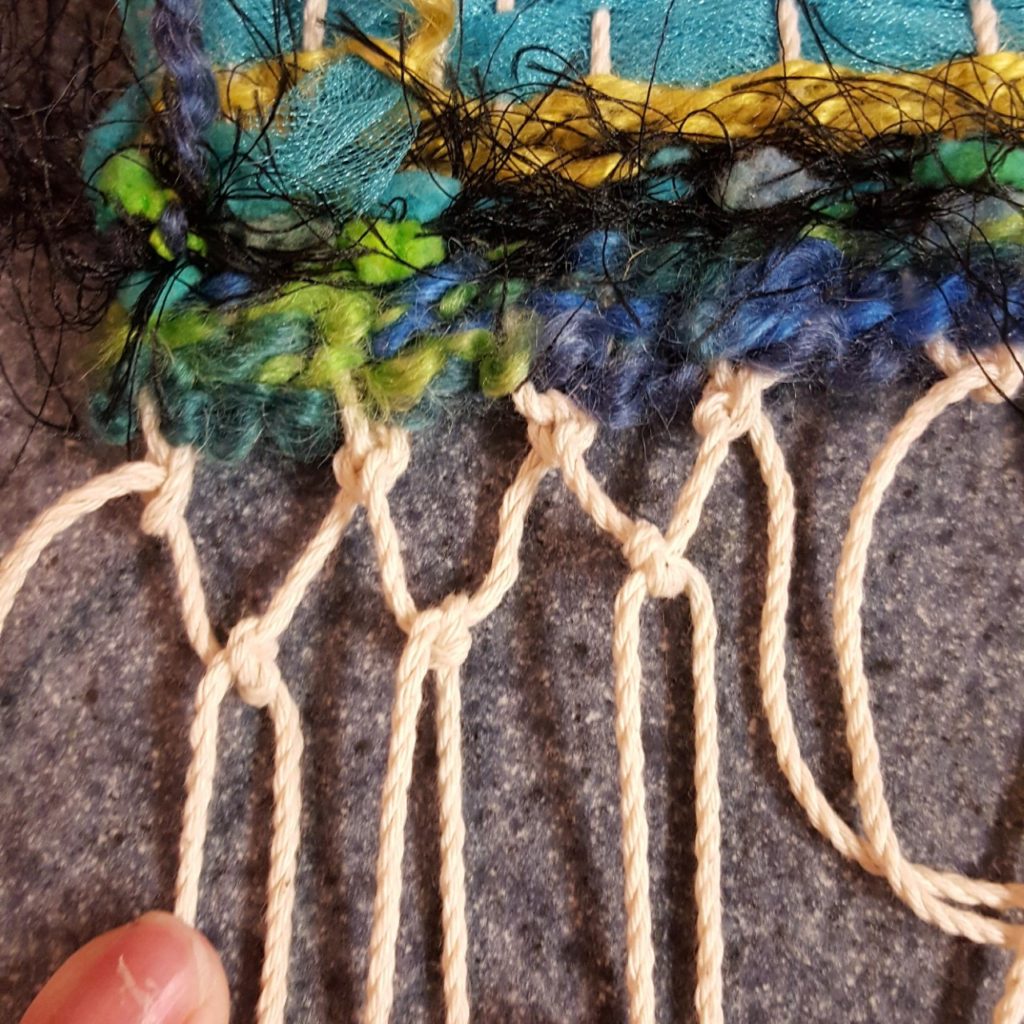
1. tie a simple knot, then use the remaining string to do some macramé type effects, tie to a dowel or stick, or both!
2. Twist the two strings very tight, release and they will magically twine themselves together!
3. Do a combination of 1 and 2. You could also string on some beads, or tie in other embellishments.
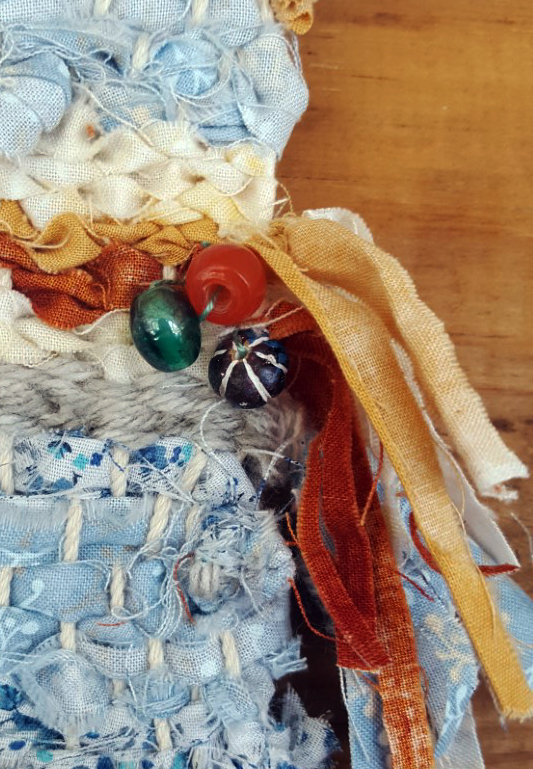
I sewed on beads to my actual weaving to finish it up.
What do you think? Ready to give it a try?
Leave a Reply