
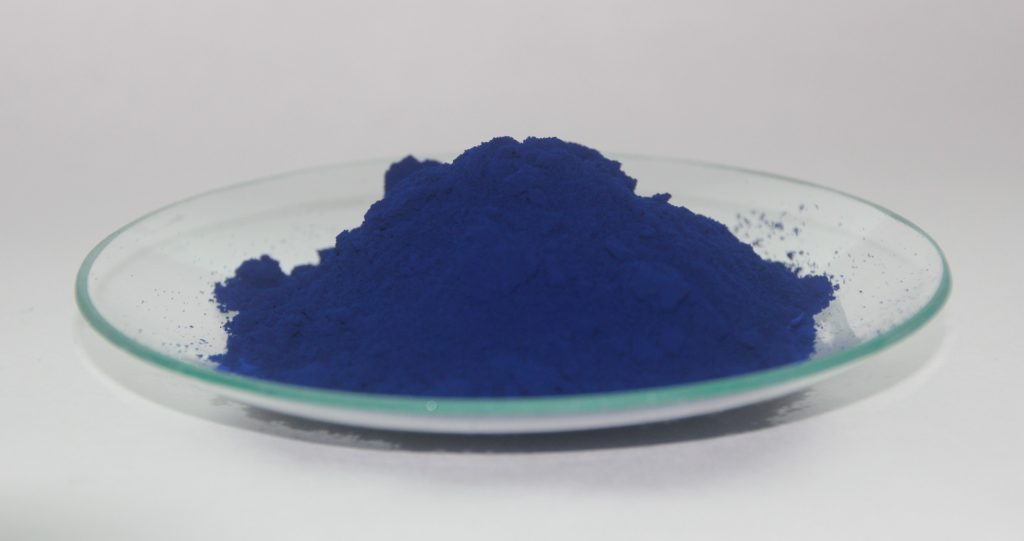
Indigo is extracted from the leaves of the indigofera tinctoria plant and is one of the few naturally occurring blue dyes. It is commonly used in India, but we are also familiar with its use dying the ever popular blue jeans.

The powdered indigo leaves are only coaxed to produce their beautifully vivid blue color through some chemical reactions. It is much easier if you use pre-reduced indigo as I did in my latest attempt. I was pretty pleased with the results. So, I thought I would share a tutorial with you on my supplies and process.
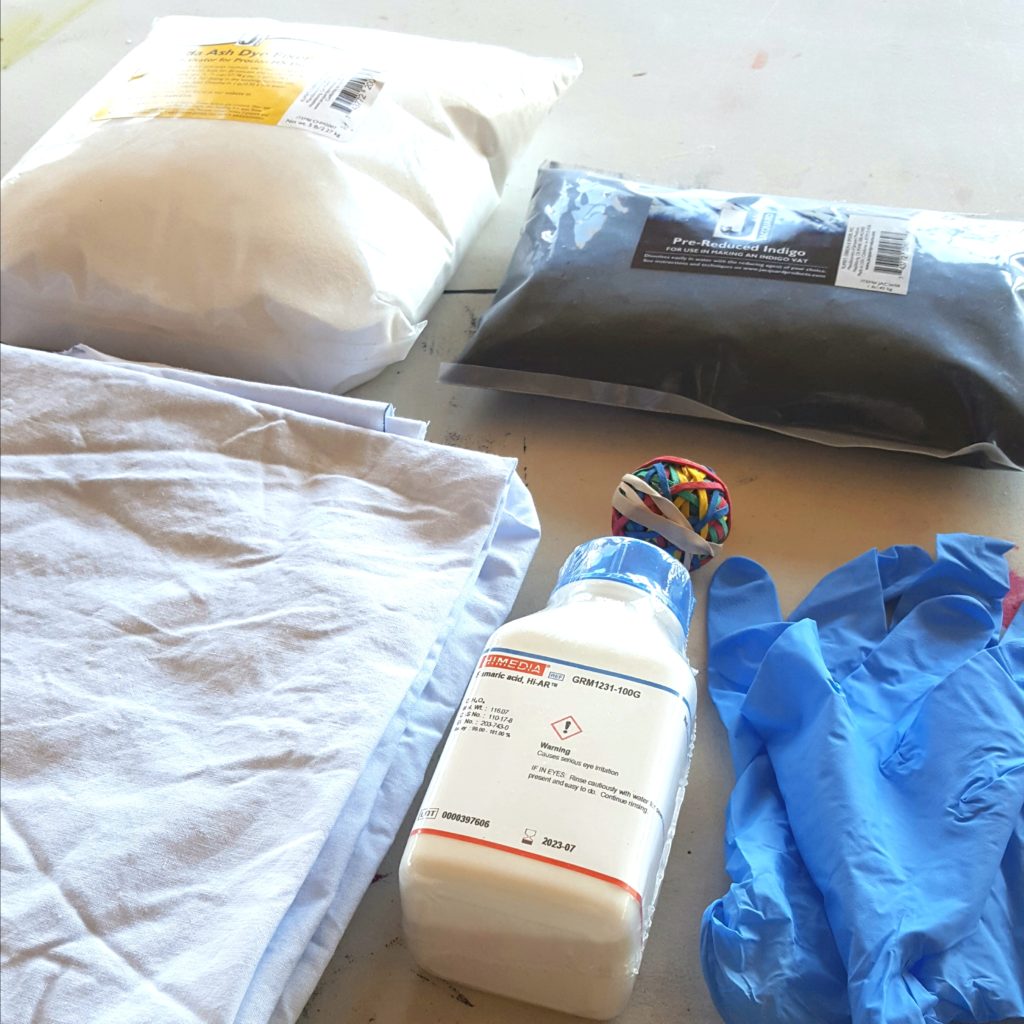
Supplies:
First off, the supplies you will need. I was making window treatments and used 100% cotton fabric. Any natural fiber will work well.
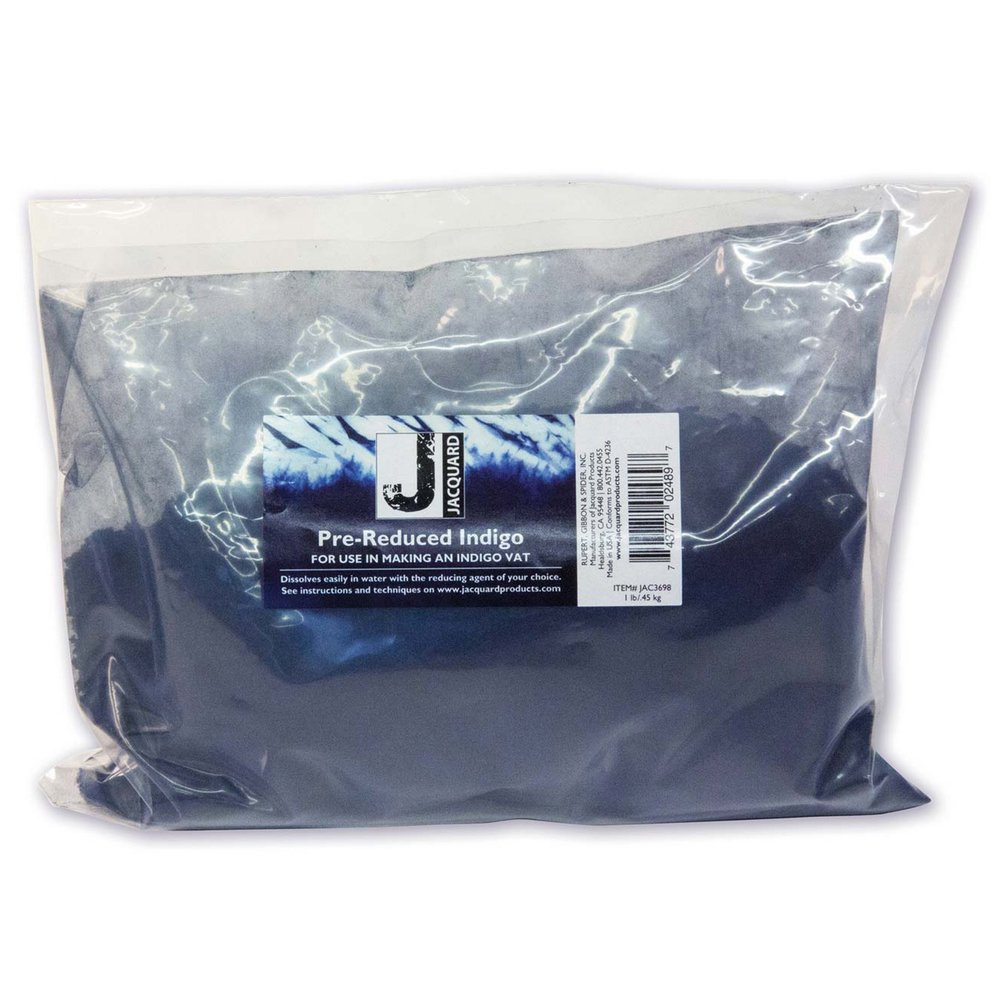
I also purchased indigo that was already 60% pre-reduced. That makes things so much easier, and allows for the use of soda ash instead of lye to create the dye vat. My indigo was from Jacquard, and I pretty much followed the directions available on their website, with a few changes.
You will also need a clean 5 gallon bucket. I got mine from the hardware store. It is important that it have a tight fitting lid, and white would be nice. Mine is black and it is hard to tell the color of the dye…more on that later.
For a 5 gallon sized dye vat, I used 4 gallons of warm tap water. Easy enough! The other ingredients were listed in grams, so I had to do some conversion. 20 grams = 1 ounce, so here is the recipe with my conversion:
- 1 ounce Pre-reduced Indigo dye
- 2.5 ounces reducing agent (Sodium Hydrosulfite)
- 5 ounces Soda Ash
I ran into a problem finding the Sodium Hydrosulfite. Rather, I could find it, but it didn’t ship in the time frame I needed it. I had a pocket of time that I needed to do this project in, so was trying to find something that I could get quickly. After some research, I found that Thiourea would work instead, so was able to order that. On previous dye sessions with indigo, I used spectralite.
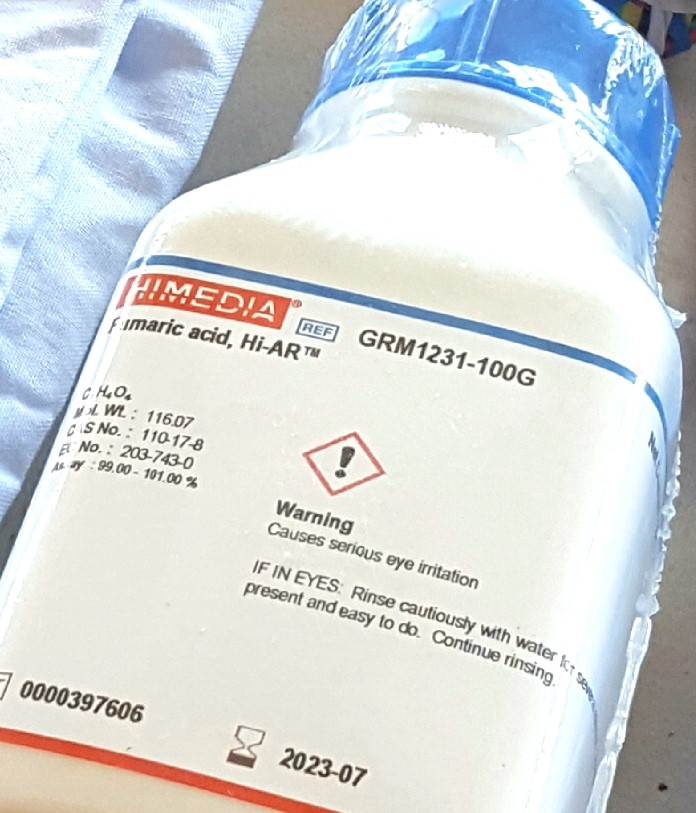
When it came, it didn’t say anything about Thiourea on it as the picture in the ad did, but was labeled Fumaric Acid. Since I am not a chemist, I am not sure whether those are actually the same or not… but I gave it a try and it seemed to work. I did take some precautions to make sure I used gloves, had eye protection, and was careful to not breathe any fumes when I first mixed it all together.
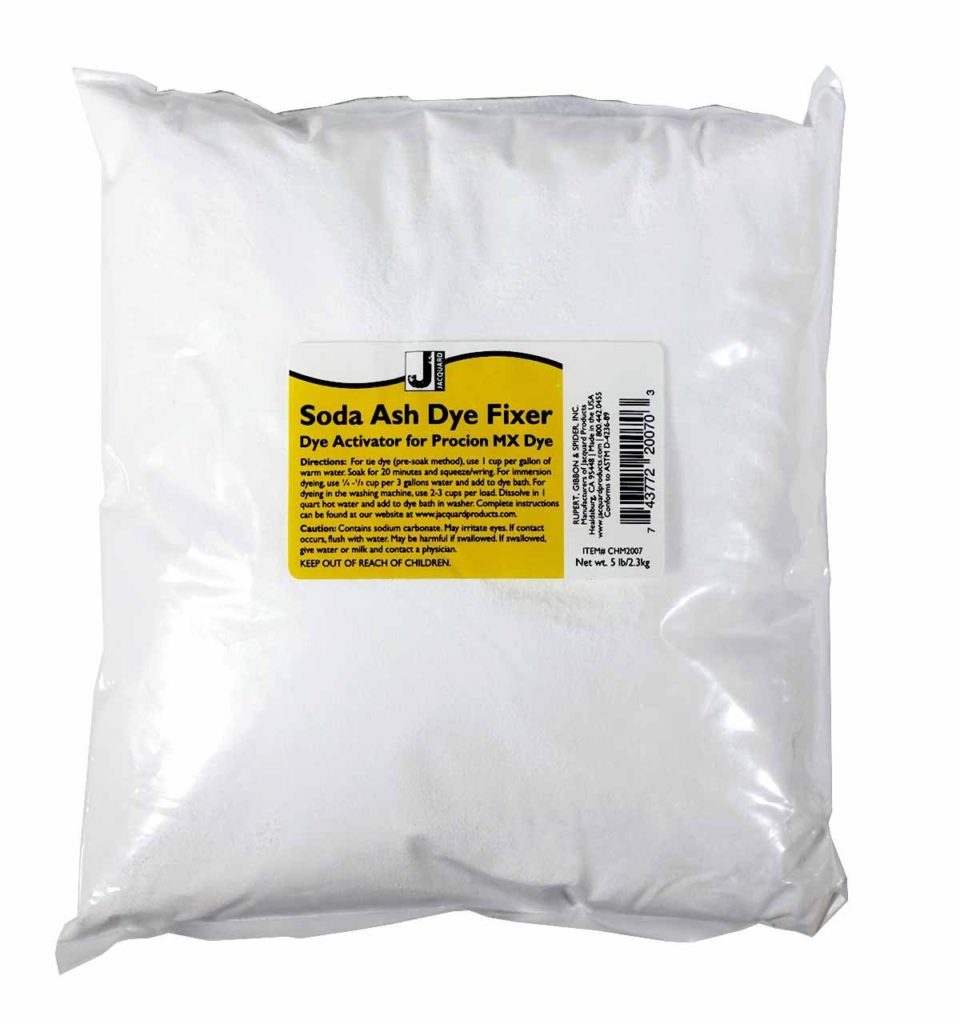
The soda ash is a much easier, and more inexpensive, item to come by, and in fact I already had some on hand for my other natural dye projects. It serves to raise the pH level to the required level. To dye animal fibers like wool or silk, you need a pH of 9. For plant fibers like cotton or linen, you need a pH level of 11.
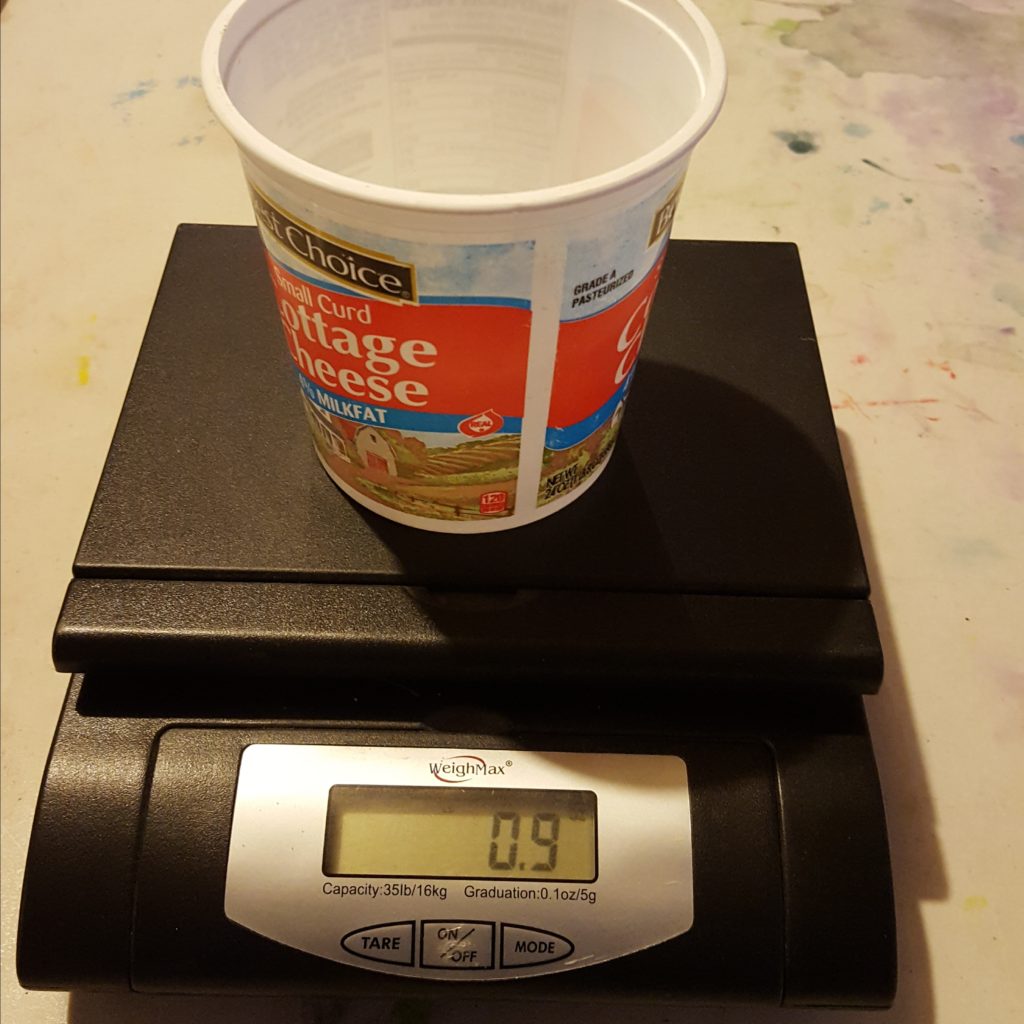
To measure my ounces, I used a postal scale, and a cottage cheese container. Weigh the container first, then add on the amount that you need. For example, since my container weighs 0.9 ounces, to get 1 ounce of indigo the scale needs to read 1.9 ounces.
You will also need a stir stick long enough to reach the bottom of your bucket, rubber gloves, a pan to put your fabric in while it oxidizes (I used a disposable aluminum cake pan), and a plastic sheet under the bucket to catch any drips.
Instructions:
I had already washed my fabric, just to make sure any sizing was removed.
Pour the four gallons of warm water into the bucket.
Add the measured Soda Ash and reducing agent (Sodium Hydrosulfate/Thiourea/Fumeric Acid) slowly into the water while stirring. Water will bubble like when you mixed vinegar and baking soda as a kid.
Add the measured indigo and stir
Gently, but thoroughly stir the vat keeping your circular movement going in one direction. The idea is that you do not want to stir so vigorously that you create bubbles, splash, or in any way introduce oxygen into your dye vat since the indigo reacts with oxygen. Slowly remove the stir stick, and cover the vat with the lid. Allow it to settle for at least 15-30 minutes. Longer if you are preparing a larger vat.
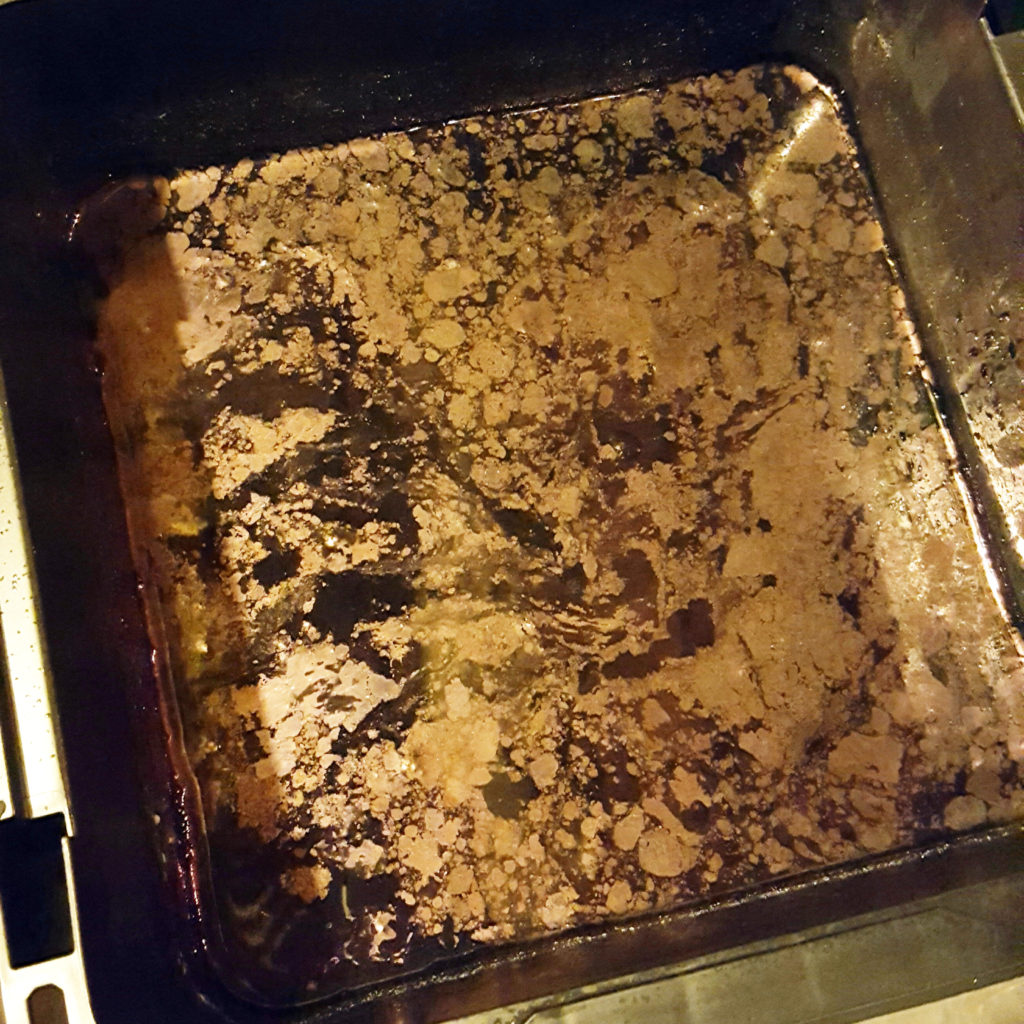
After the vat is settled, remove the lid. The top of the dye bath may be covered with a thin blue skin, or a foamy flower. The photo above makes this skin look gold, but that is because it is iridescent and is reflecting the light. Wearing your gloves, gently move the skin aside. I actually used a piece of cardstock to do this, and have the bonus of a lovely piece of cardstock to use in collage!
The dye bath should be a clear yellow, or yellow-green color under this skin. If it’s not, then wait another 30 minutes and check again. It was hard to tell in my black bucket, so I had to rely on whatever I pulled out being green for a few seconds before oxidizing to blue.
To Dye:
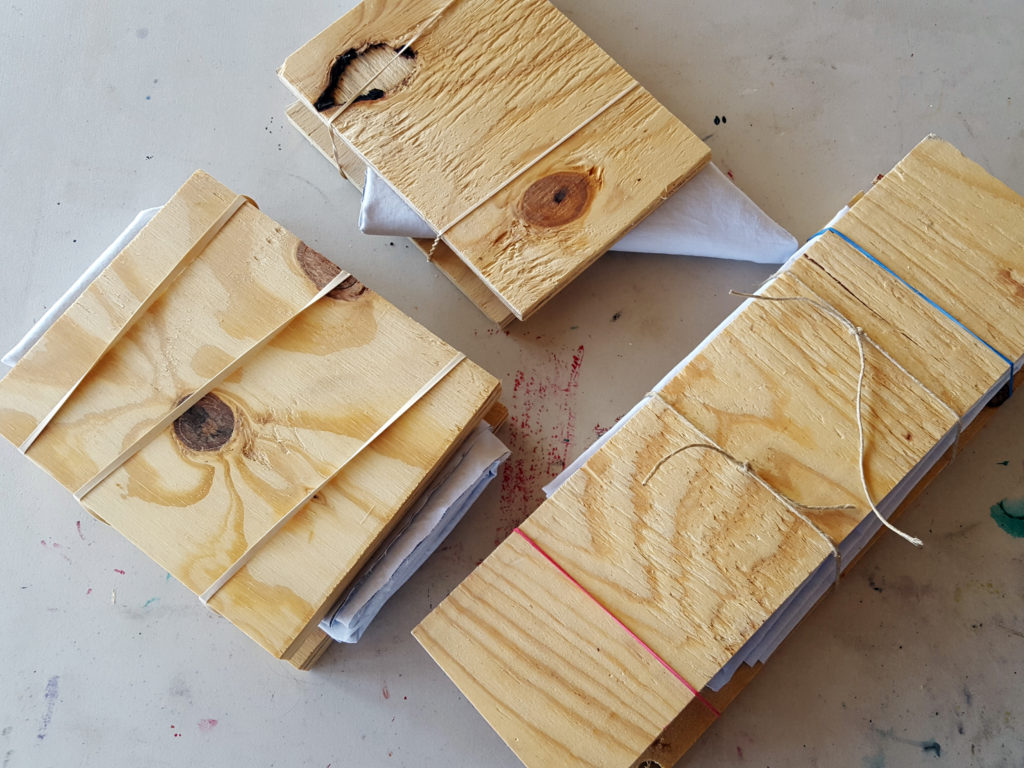
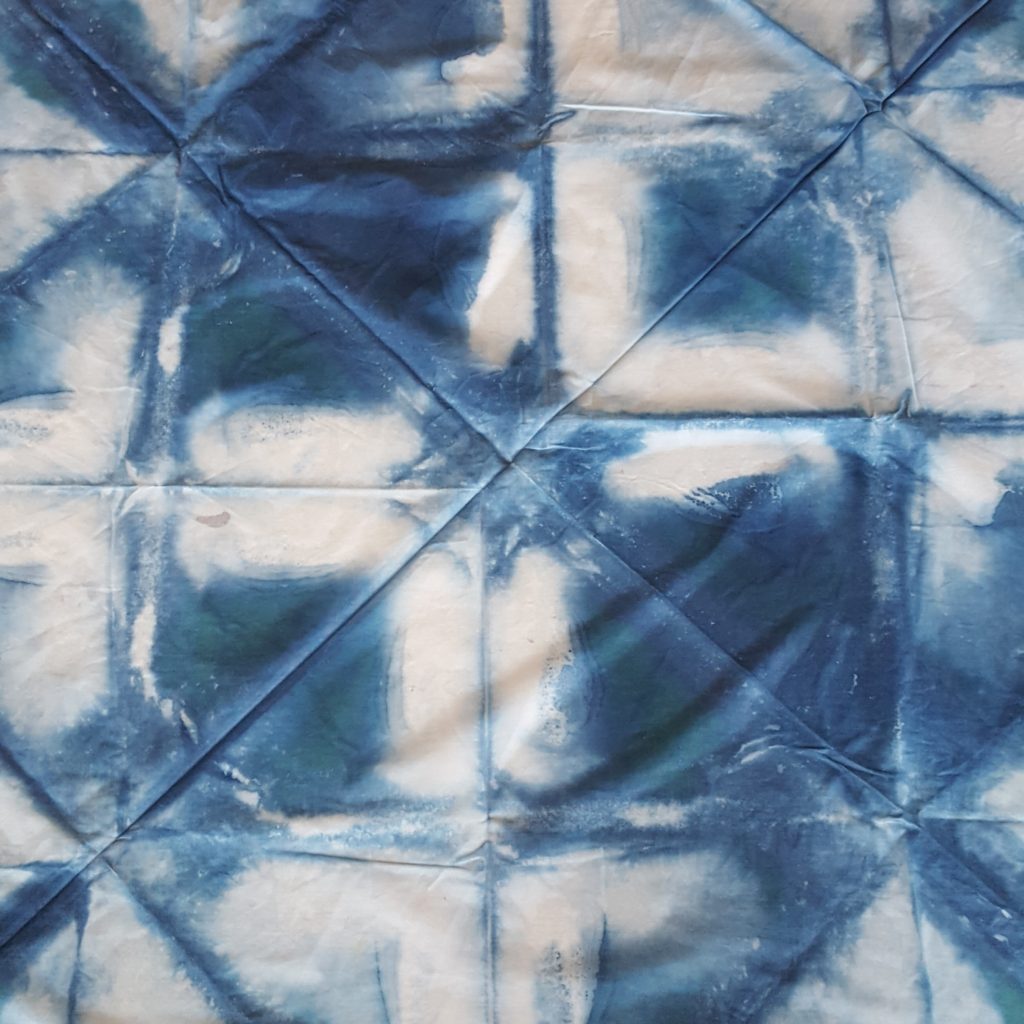
When ready to dye, fold, tie, stitch or bind your fabric or garment…. more on that in a future post!
Thoroughly wet or soak your fabric in water, squeezing out excess water. Have a clean pan at the ready to receive your dyed fabric.
Wearing gloves, squeeze out water and air in your fabric as you lower it into the dye vat. Do not drop it in as there is sediment on the bottom you don’t want it to touch. Once the fabric is submerged, manipulate it to make sure all the dye has penetrated all the unbound areas evenly.
When removing the fabric from the indigo vat, squeeze it below the surface as you gradually pull it out, trying to minimize introducing oxygen to the vat. The fabric will initially look a yellow green, but will quickly begin to turn blue as it comes into contact with the air. Replace the lid on the vat, and set the fabric aside to oxidize for 20 minutes. I left the fabric bound at this point.
Once you are satisfied with the color (remember that it will look darker when wet), unbind the fabric, and rinse away any remaining indigo with clean water. If you want it more intense then repeat the dipping process again. Unlike other dyes, the color doesn’t intensify the longer you leave it in the dye bath, but intensifies according to the number of times you dip it and let it oxidize.
Wash with a mild detergent in warm water.
Taking Care of Your Indigo Vat:
If you are done with your indigo dye, you can dispose of it down the drain and clean up your container and utensils with soap and water. (I use separate utensils and containers for dying that I don’t use for cooking!)
But, if you think you will want to do some more dying, you can keep a dye vat for several days or even weeks by taking care of it.
Give the dye vat another stir when you are finished, then cover with a tight fitting lid.
If the dye begins to seem weak, you can simply add more of the chemicals and pre-reduced indigo. Allow an hour before using.
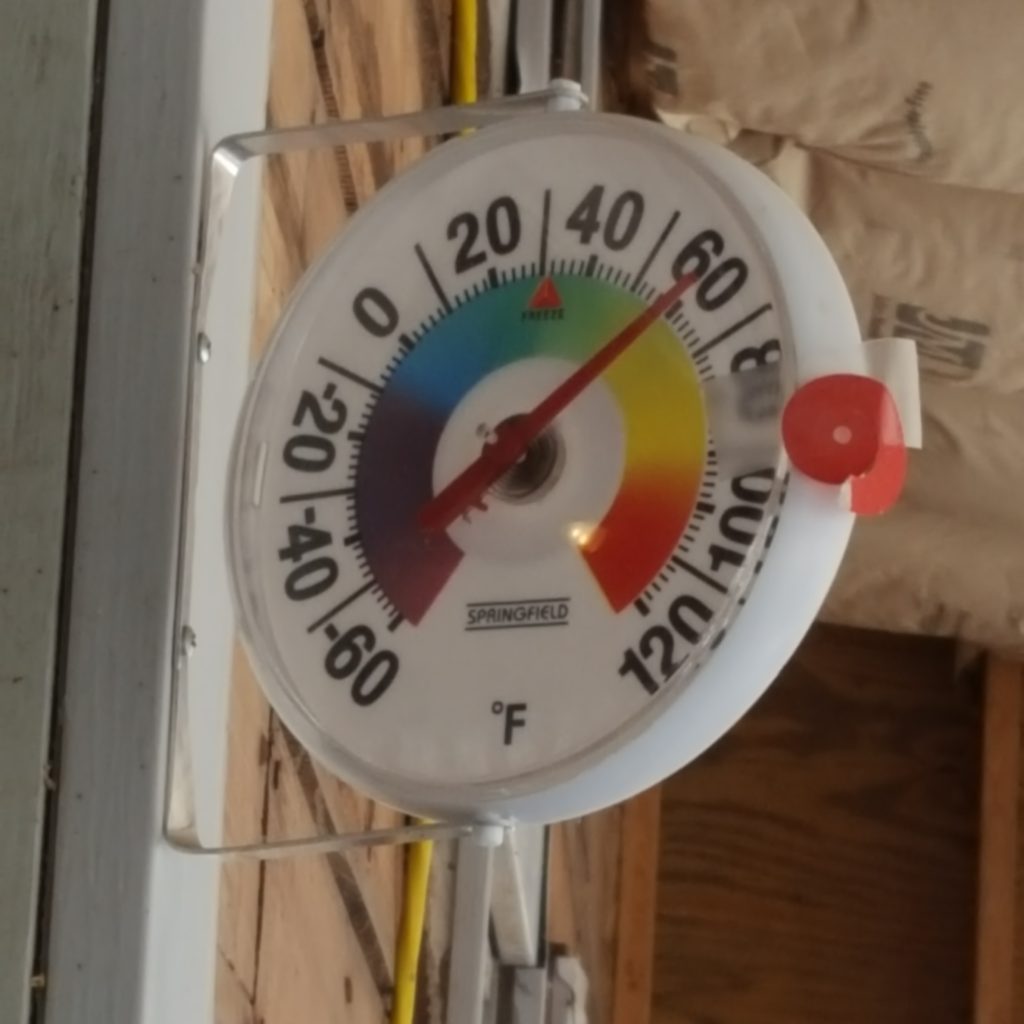
You are supposed to store the vat where the temperature stays in the 68-85 degrees Fahrenheit range, but my studio area drops to around 60 degrees and the dye process still seemed to work okay.
Hope you give it a try and enjoy the results!
Christen Halferty
The https://fromvictoryroad.com website is one of the best we have found, and the Preparing a small Indigo Dye Vat
Tutorial – From Victory Road article is very well written and useful!
I want to share with you a link that also helped me a lot in cooking:
https://bit.ly/easy-fat-burning-recipes
Thanks and kisses! 🙂